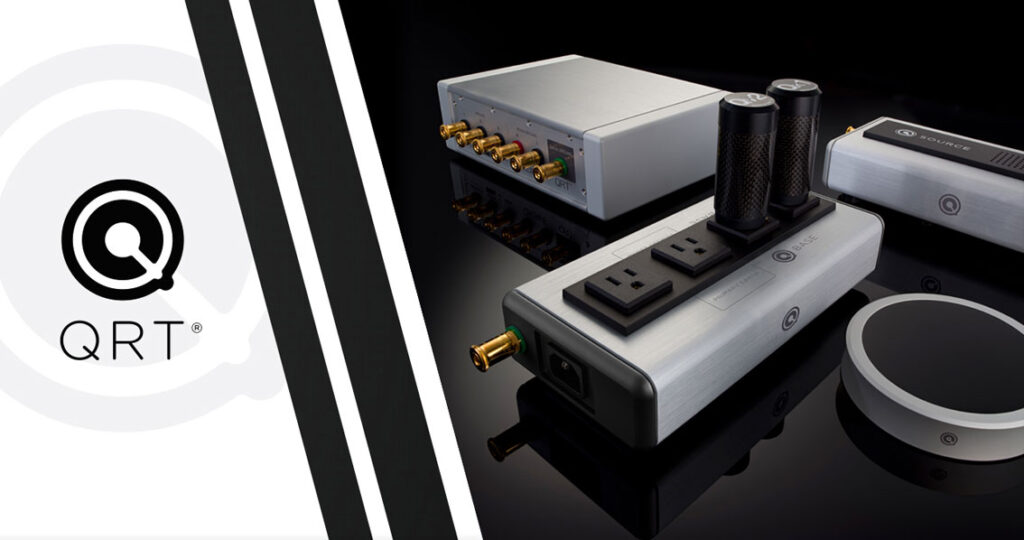
Nordost’s QRT family consists of several impressive audio enhancers. Each of these offerings works as an individually contained solution, with unique objectives for alleviating the poor power quality that impacts audio systems. Since the QRT portfolio is growing, we wanted to briefly explain each QRT solution on the market, and the distinctive benefits that they bring to a system.
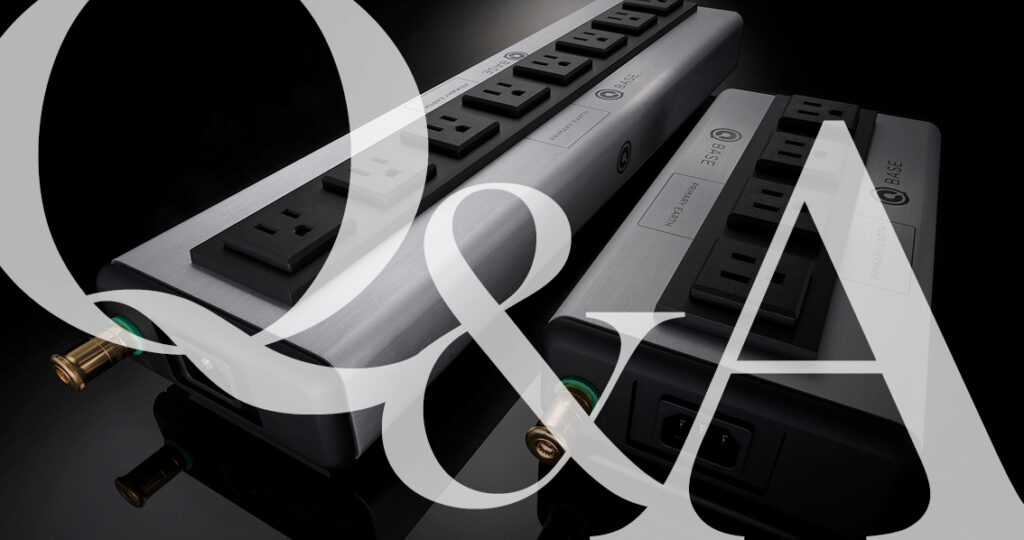
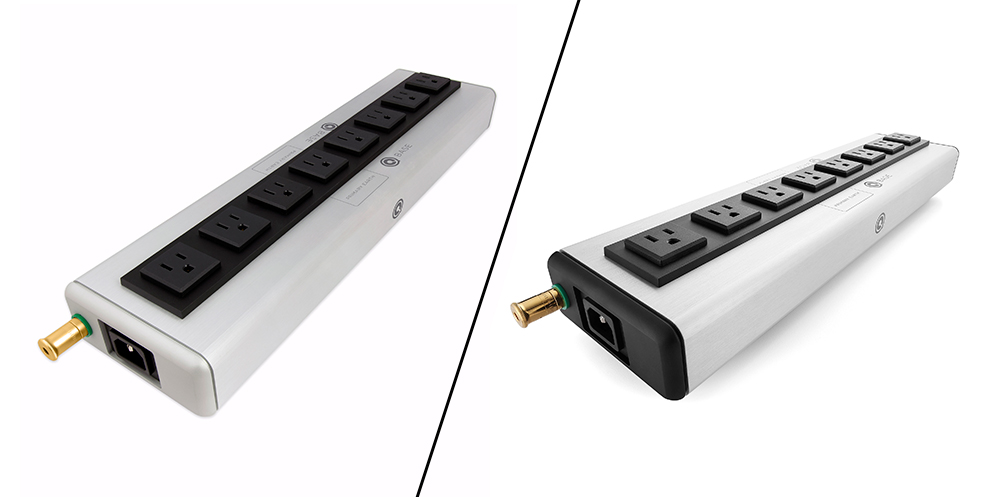
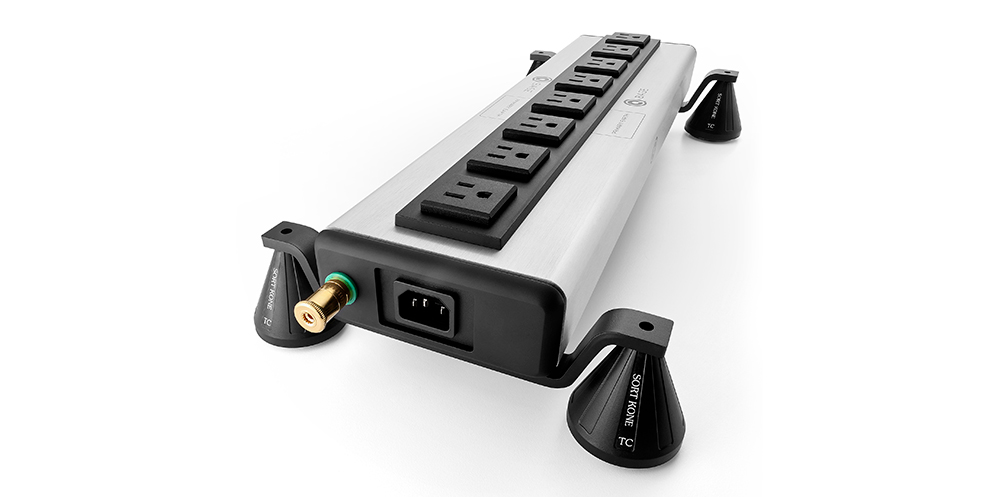
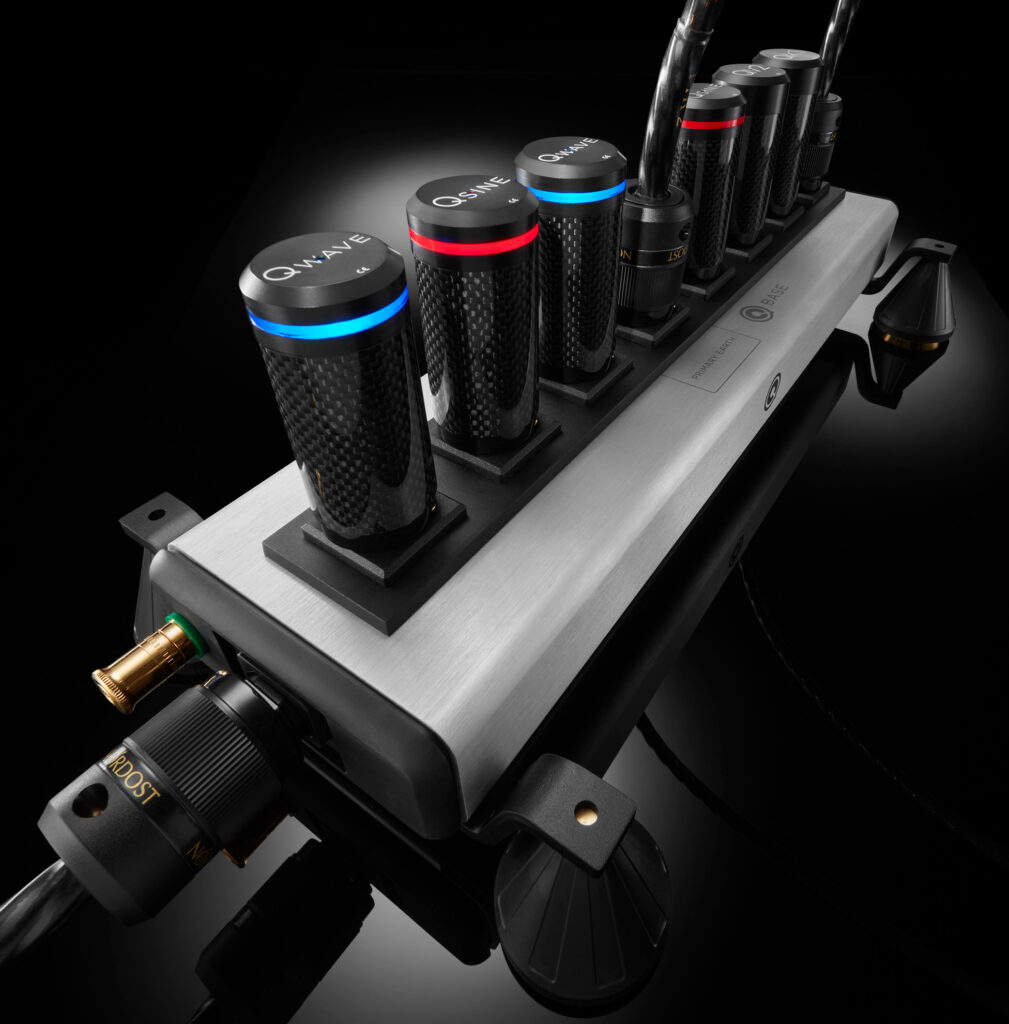
QBASE Mark III
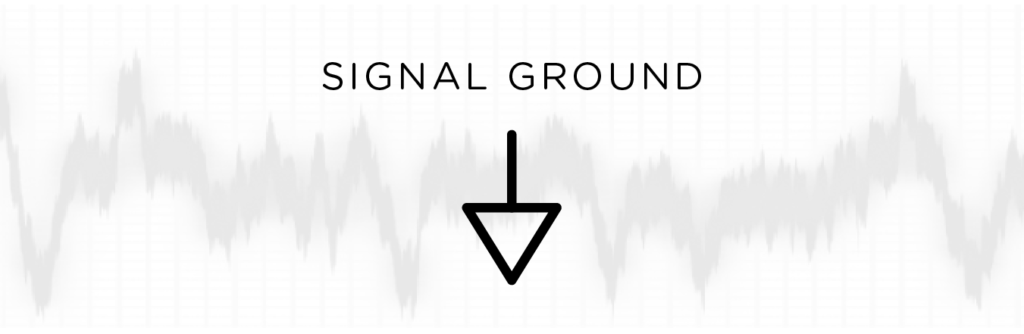
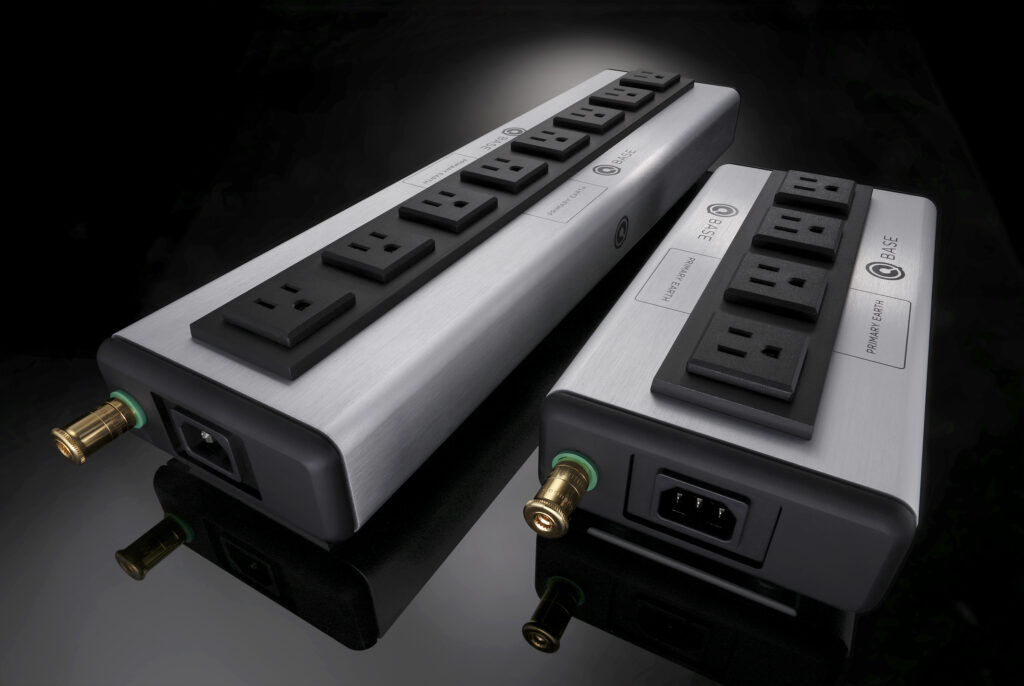
The QBASE is a passive AC distribution unit that addresses the noise caused by conflicting signal and ground paths in a hifi system. It does this by using Star Earth Topology, a design that provides ground separation and allows stray voltages and eddy currents to be referred to one, central, ground point, by lifting the resistance of all outlets on the device except for that of the Primary Earth (which would serve the pre-amp or integrated amp of the system). The QBASE is available with either 8 or 4 outlets (or 6 outlets for the UK model) and uses either an IEC C-14 or C-20 input.
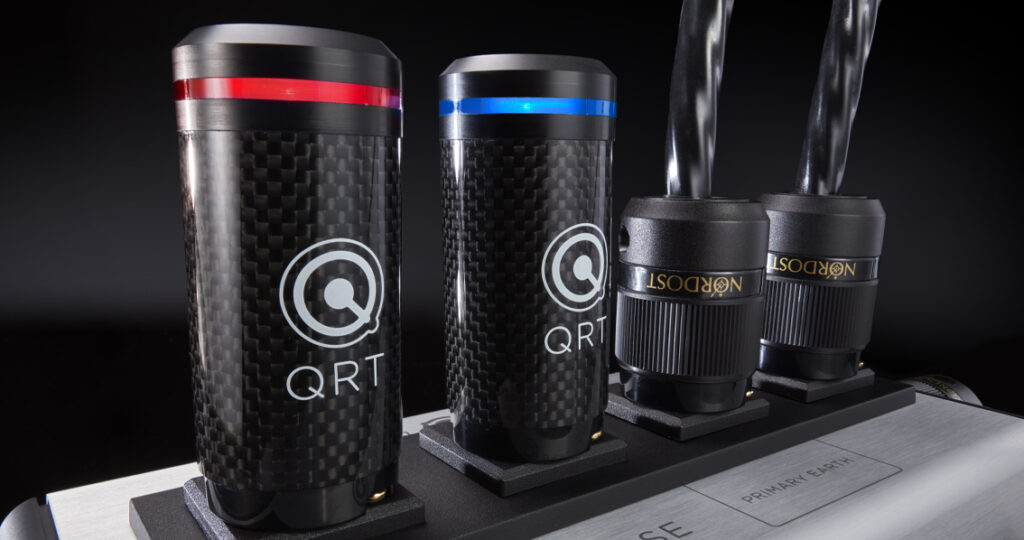
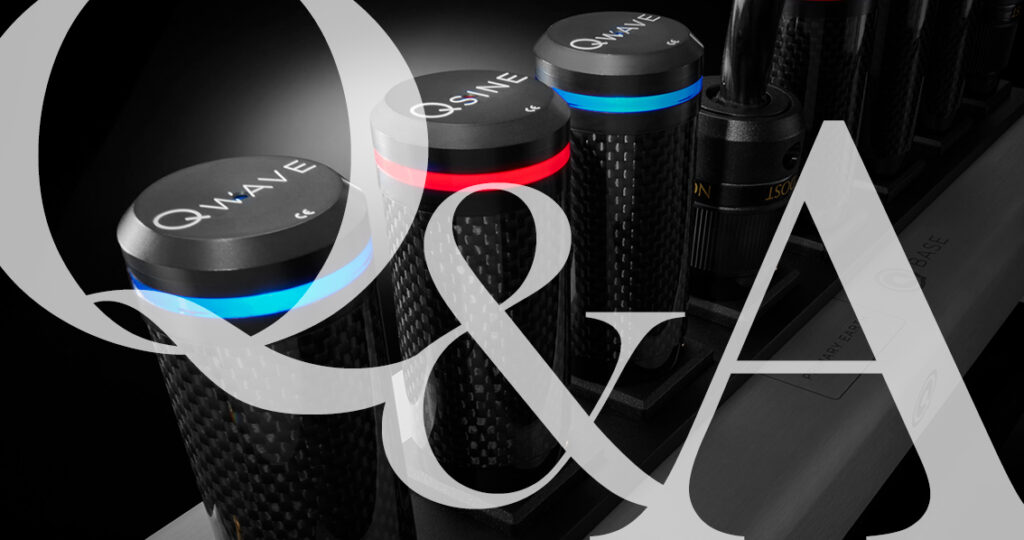
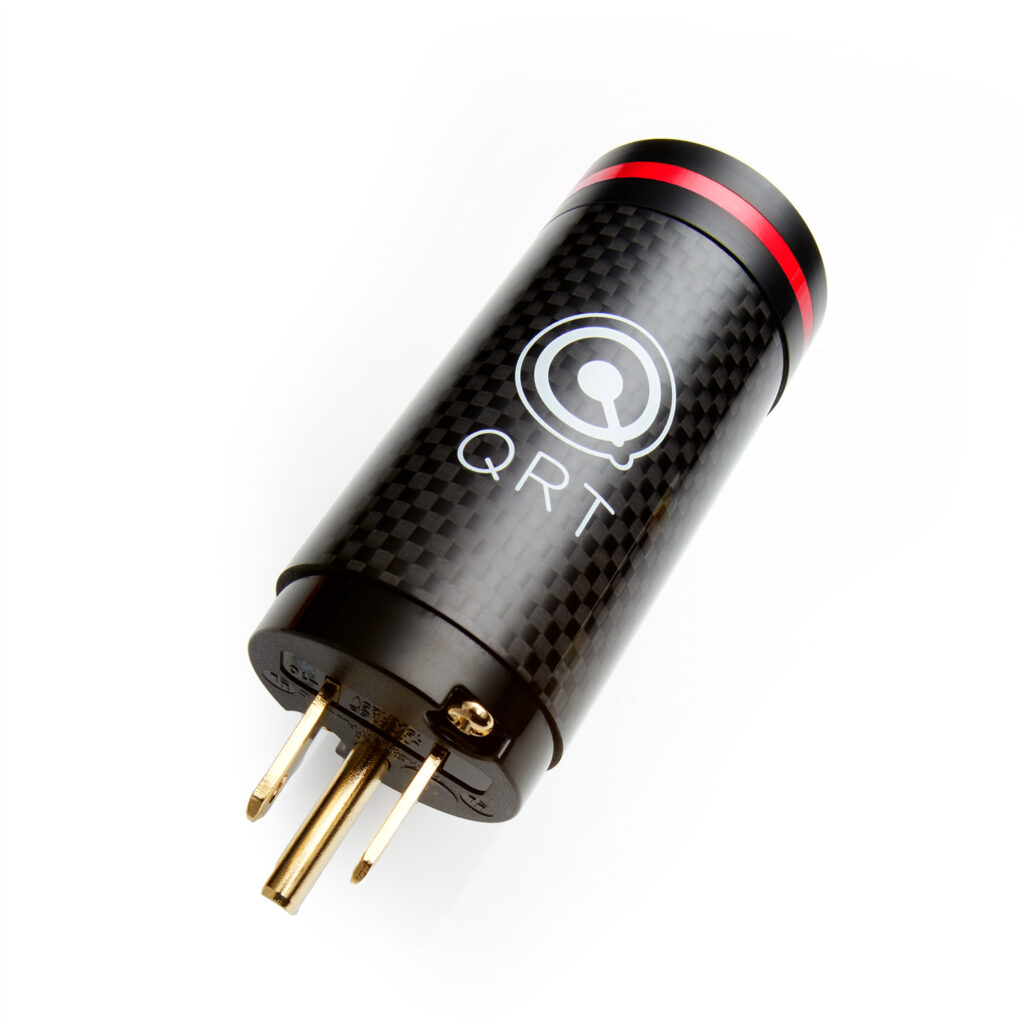
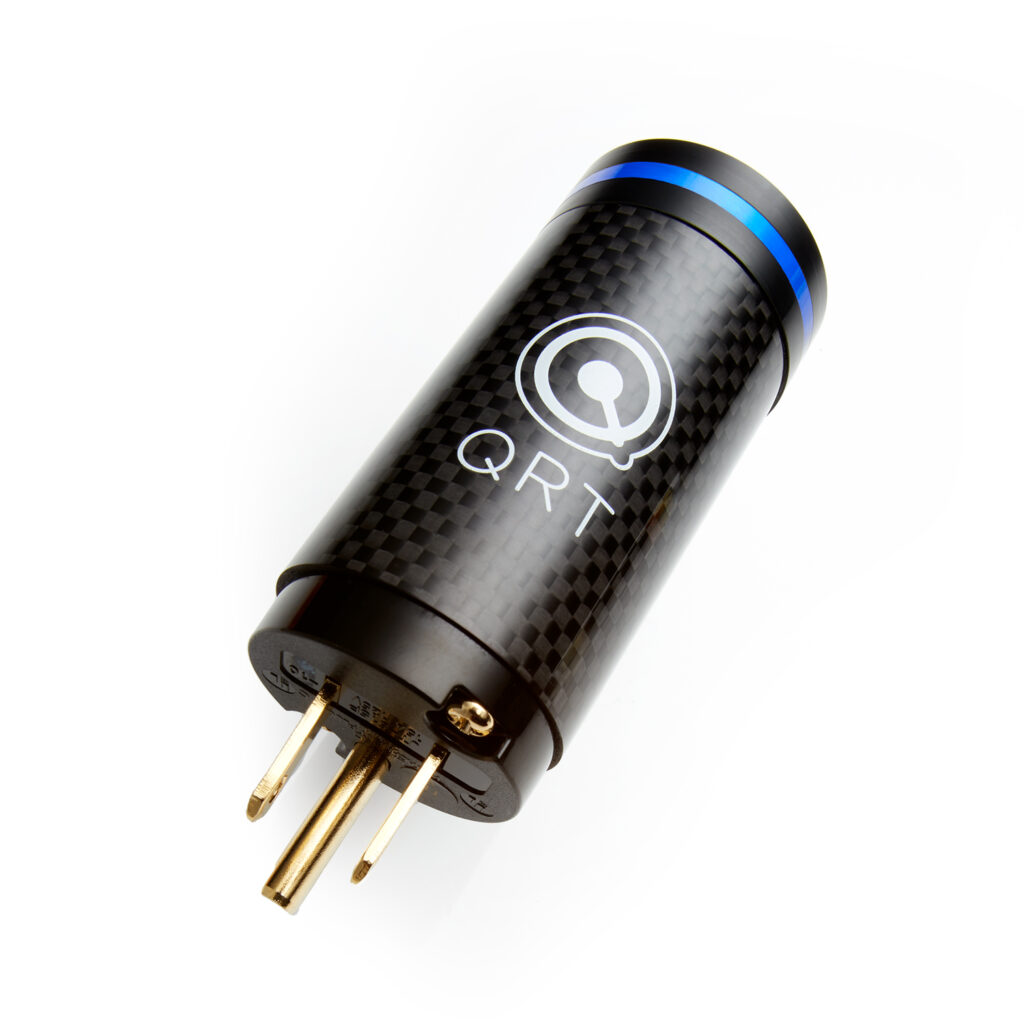
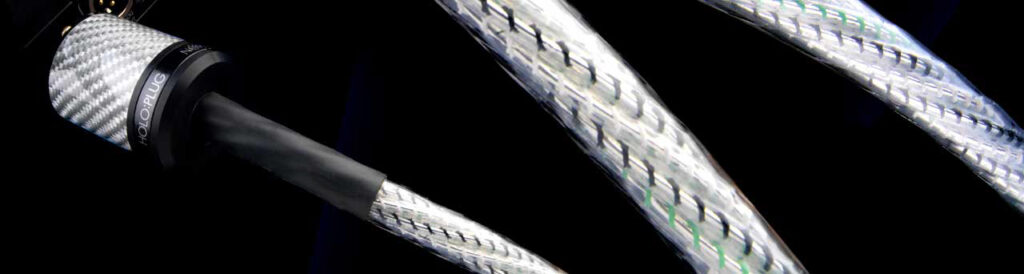
QRT Plug-Ins
The QSINE, QWAVE, QVIBE, and QKOIL are a range of complimentary, modular AC products that improve upon the AC quality that feeds your home sound system. Whether it’s by generating a field, reshaping a sine wave, or introducing harmonics onto the AC line, each of these unique solutions work to reduce EMI, lower the noise floor, and increase clarity and imagery of the musical reproduction.
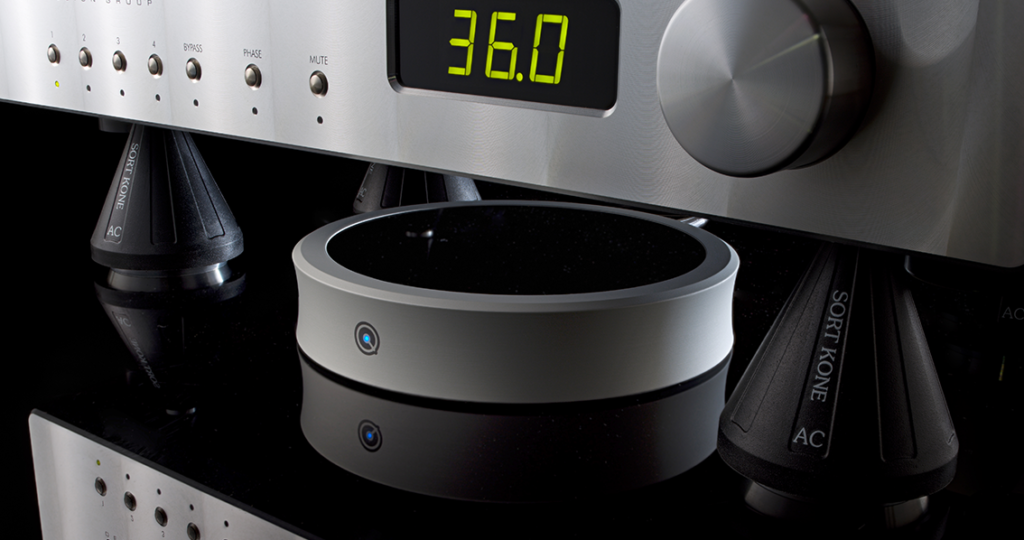
QPOINT
The QPOINT is a resonance synchronizer that manipulates the electromechanical resonances inside the components within its immediate proximity so that they resonate in unison with each other. Synching these resonances eliminates internal electrical noise and enhances the coherency and timing of the components themselves. The QPOINT allows users to switch between two distinct modes, each with their own unique characteristics, to better tailor results for each individual system.
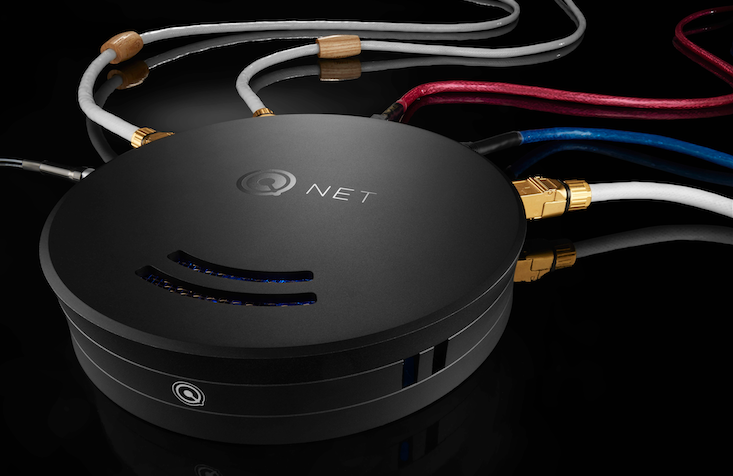
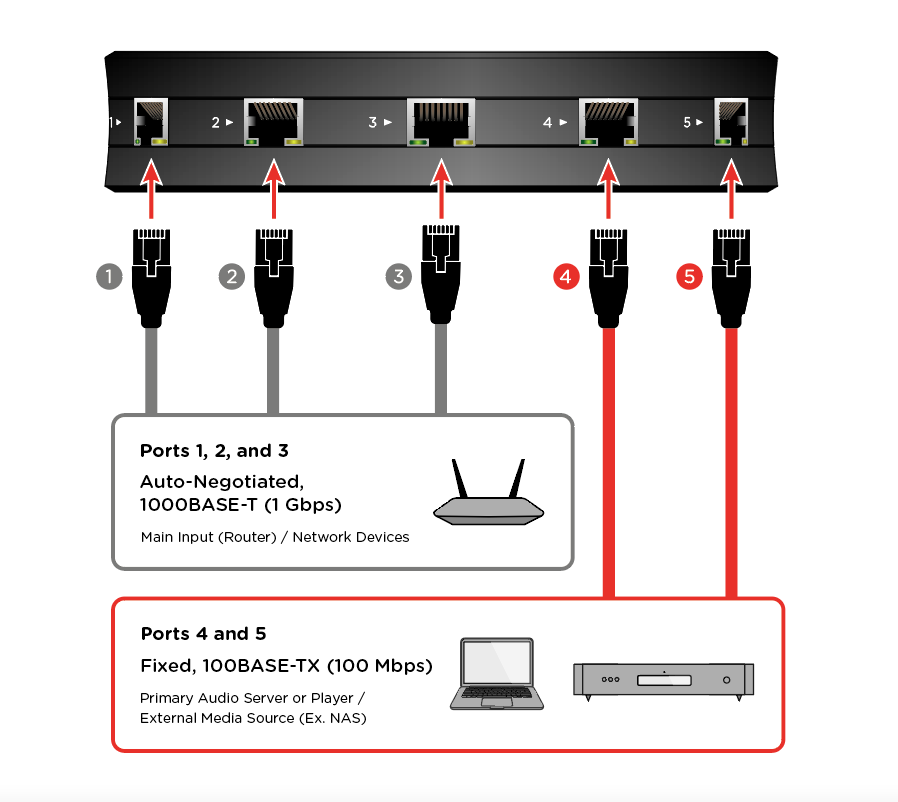
QNET
The QNET is a layer-2, five-port Ethernet switch that has been designed and constructed from the ground up to maximize audio performance. Every aspect of the QNET, including its multi-layered layout, its six dedicated power supplies, the incredibly stable oscillator for its clock, and the five, independent 8P8C ports, were chosen in order to minimize noise, crosstalk, and interference.
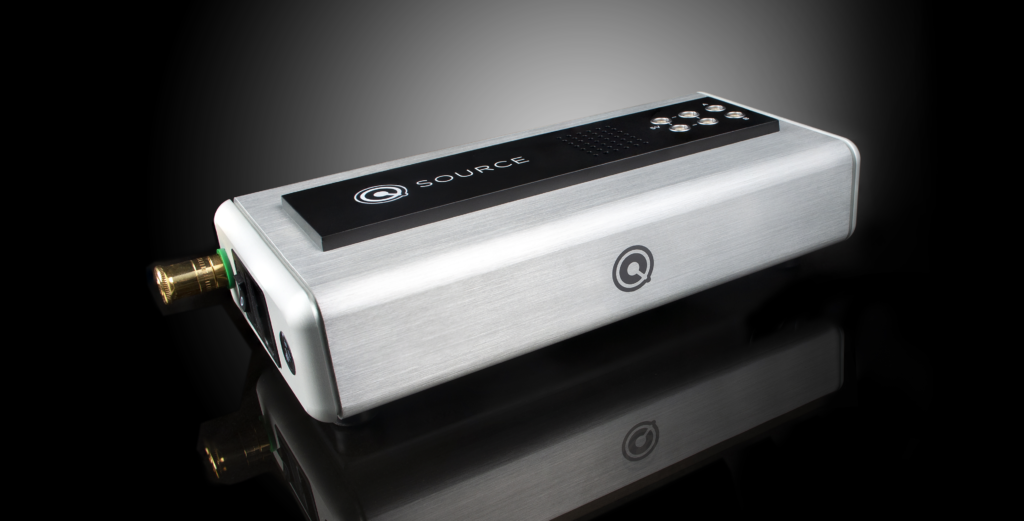
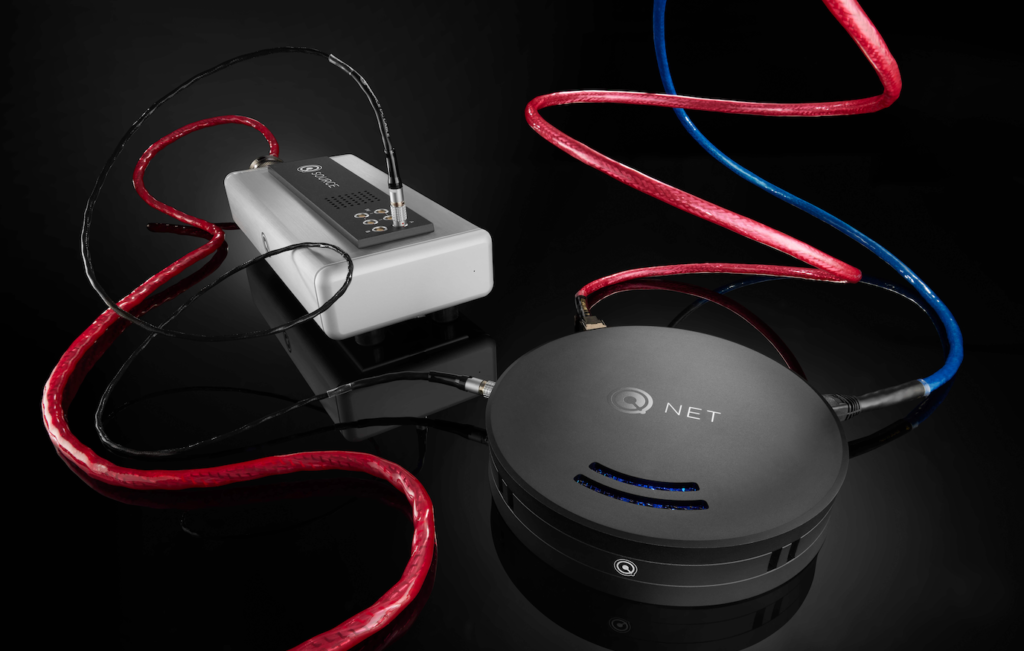
QSOURCE
The QSOURCE is a linear power supply that provides a stable, clean output of DC Power at select voltages. Its unique design removes electrical anomalies and noise artifacts from the line and smooths out DC output. Meanwhile, a fanless construction maintains extremely low noise levels, which allows heightened articulation and dynamics to shine through digitally-run systems. The QSOURCE is the perfect upgrade to Nordost’s QNET network switch and as many as four QPOINTs, while simultaneously powering two additional digital components (specced to run at 9V, 12V, 19V, or 24V respectively).

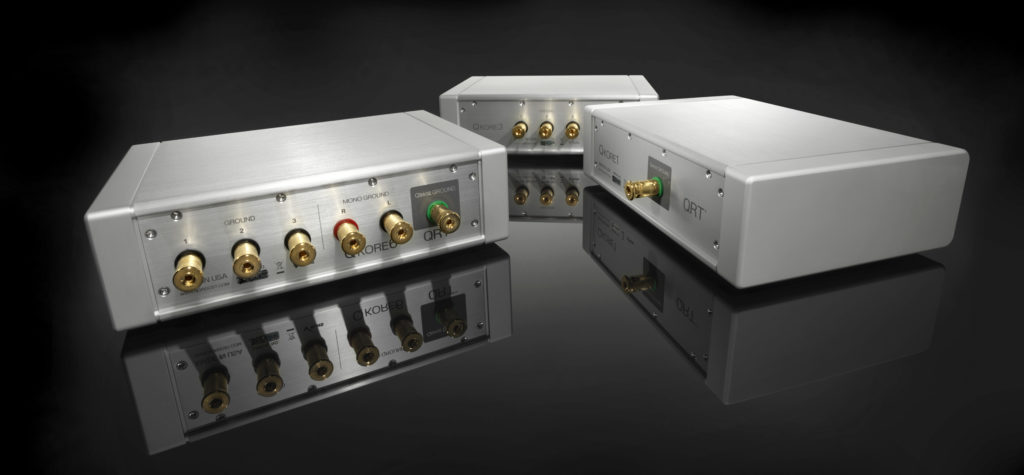
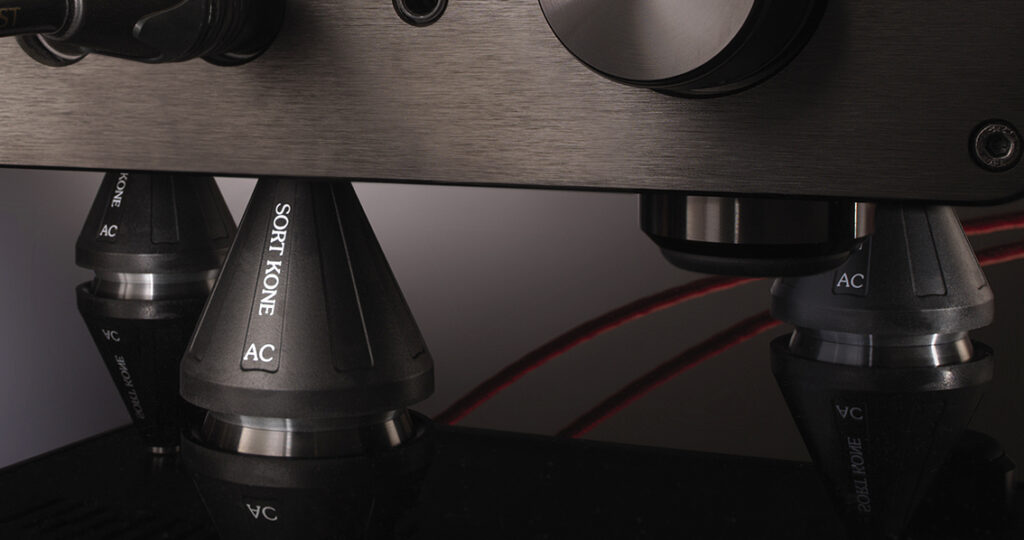
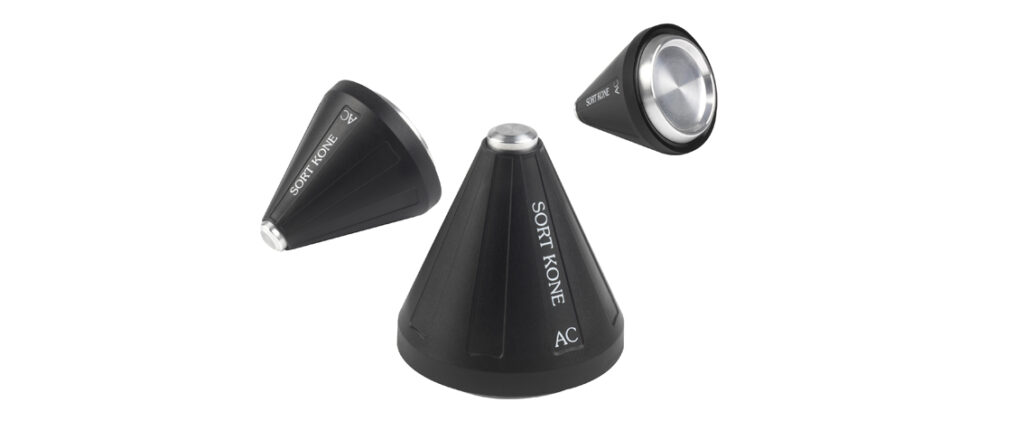
QKORE
QKOREs are parallel grounding devices which provide an artificial, “clean” earth for hifi systems by using both an electrical and mechanical approach. Using Norodst’s Mono-Filament technology, Low-Voltage Attractor Plates, and a passive electronic circuit, QKOREs draw stray high frequency noise and voltage-generated magnetic fields to a manufactured earth point, leaving a clean reference behind.
While it’s apparent how individualized each of these audio solutions are, it’s important to highlight that the benefits gained from using them together, as a family, can be staggering. Nordost’s QRT family is a holistic approach to achieving great sound. When used in concert, each and every QRT addition to an already well-composed system brings yet another layer of improvement to the musical performance.
The QRT family truly is a FAMILY of products, and we really encourage you to think of it in that way.