Questions and Answers (November 2014)

Our product specialists receive questions on a daily basis about Nordost products, their application, and hifi in general.  We thought that we would take a minute to share some of our most recent and frequently asked questions here so that everyone can get the answers they are looking for!


Is it safe to run my Nordost speaker cables under carpets?

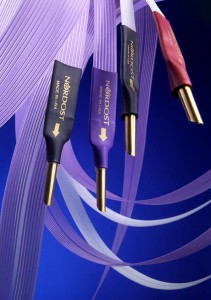
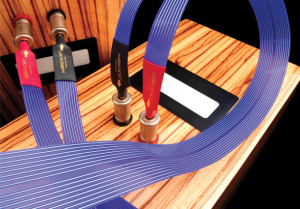
Nordost’s loudspeaker cables are made with extruded FEP, and as a result they are extremely durable. They were designed with installation in mind. Not only will you have no problem running your cables under carpets and rugs, but they can also be folded or bent to get around corners without delaminating or damaging the insulation

Picture 215

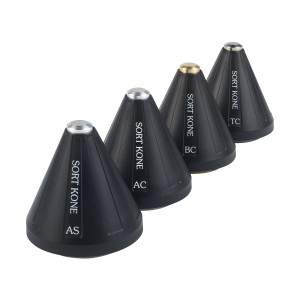
I have read several reviews in different magazines about your Sort Kones. I have read enough positive reports to believe that they work well, but I would like to understand HOW they work.

Sort Kones work like diodes by channeling mechanical energy to ground. The ball bearing within the device acts like any sphere would, moving energy away from the upper pivot point. This energy is then moved down into the lower plate, where the ball bearing makes contact, where it is then dispersed.

Vidar

I have recently purchased a new pair of Nordost speaker cables, and I have heard that the more they are used, the better they will sound. How long will it take for my new speaker cables to sound their best?

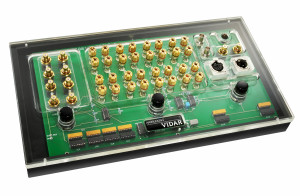
Yes, what you have heard is true, cables do sound better after extended use. It is a process that we like to call “burn-in”. The very best way to burn-in a set of cables is to have them burned-in by your Nordost dealer on the VIDAR burn-in machine for about 100hrs. They will burn-in on your system over time, but the VIDAR really makes a huge difference. The VIDAR is designed to put a very wide band signal of varying amplitude through the cables connected to it. In the normal course of use, cables such as tonearm and analog interconnects never get a high level of signal. This means it can take a long time for them to burn-in fully. The VIDAR speeds up this process by the combination of frequencies it puts through the cables.  The results from the VIDAR will always be better than any other burn-in method used.

Leif Speaker

I would like to buy some short runs of cabling, but before I make my purchase, are there any minimum cable lengths that Nordost recommends using?

Nordost cables can run over longer distances with less signal loss than those of other brands due to the use of extruded FEP insulation and Micro Mono-Filament technology. However, on the other end of the spectrum, the shortest lengths of Nordost cables that we recommend for optimum performance are as follows:

Power Cords – 2 meters
Analog Interconnects – 1 meter
Digital Interconnects – 1.5 meters
Tonearm Cables – 1.25 meters
Loudspeaker Cables – 2 meters

Questions and Answers

Our product specialists receive questions on a daily basis about Nordost products, their application, and hifi in general.  We thought that we would take a minute to share some of our most recent and frequently asked questions here so that everyone can get the answers they are looking for!


I know there are a lot of fake cables on the market, do you have some guidelines for how to identify fakes? 

The only way to make sure that your cables aren’t fake is to purchase from an authorized Nordost dealer. Many Nordost dealers offer trade in programs and may offer second-hand cables for sale.


Picture 105

What are Nordost’s thoughts on bi-wiring speaker cables?  

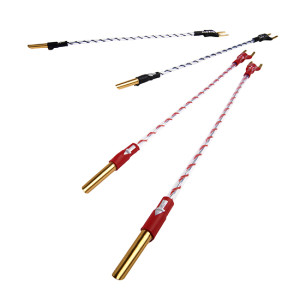
We at Nordost feel the best way to wire for bi-wire is with two pairs of identical length speaker cables. If you can’t do that, use one speaker cable in a shotgun configuration paired with high quality bi-wire jumpers.


lg-qrt-qk1

What’s the difference between Qv2 and Qk1, and should Qv2s be replaced by Qk1s or can they be used together?

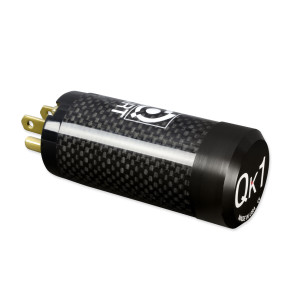
The Qk1 and Qv2 work wonderfully together and their effects are cumulative.  The Qv2 increases the quality of the AC signal by injecting certain mid and lower harmonic frequencies into the gaps of the AC signal that have been taken away by noise. At the same time it lowers mid-range and bass frequencies, providing a more open, airy soundstage with greater depth and focus.

The Qk1 focuses on the upper mid-range and high frequencies, providing pinpoint precision to the soundstage, with a more natural/organic timbre. Voices and instruments have better clarity and snap and attack in micro and macro details.


Lg-Qrt-QB8-US

Is it better to run dedicated AC lines or to use a power distributor in your listening room?

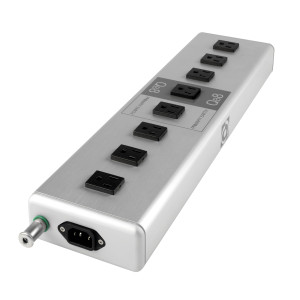
It would be best to run a single dedicated 20 Amp line to feed your power distribution. Dedicated lines are great, but as soon as you connect your electronics with interconnects they are no longer “dedicated”. The interconnects can form harmful ground loops and our QRT Qb8 stops this from happening.


What is Cable Burn-In?

vidar

From anti-static treatment to cable elevators, there are several things one can do to maximize the performance level of audio cables. For years now, manufacturers have been aware of another practice that drastically improves upon performance that has recently been gaining acceptance from hifi enthusiasts: cable burn-in.

Any listener will be able to identify a marked change in audio equipment within the first 100 hours of use (whether it be a new cable, component or loudspeaker). But what is the reason for these improvements and what can be done to facilitate this process?

During the manufacturing process, as insulation is extruded over the conductors, gases can become trapped. This combined with the high electrical charges often found in new cables, result in a brittle and bright sound that lacks the detail and depth desired for music reproduction. There are a few ways to solve this problem. One way to burn-in your cables is to simply hook them up in your home audio system and play music for a minimum of 100 hours. Even better, use a burn in disc, like Nordost’s System Set-Up & Tuning Disc, which provides a track specifically designed to produces a range of tones that stress the cables and expedite the burn-in process. However, the best solution is to treat your cables using a designated cable burn-in device such as Nordost’s Vidar.

Vidar

When cables are first put into use, their directionality is not securely established. However, once the Vidar begins running current through the cables, the trapped gases are dissipated and small impurities in the conductor’s metal begin to act like a diode, favoring current flow in a particular direction. By using extremely wide bandwidth signal as well as a range of both ultra-low and high frequency sweeps, the Vidar stresses the conductors, neutralizes charges, improves the way that signals pass through metal and  ultrasonically conditions the surface of the conductors. It is these changes in both the conductor and insulation material that refines performance in audio cables.

While it is most important to implement burn-in upon purchase, there is something to be gained from routine maintenance as well. If cables are left unused for a prolonged period of time they become stagnant. And even through everyday cable use, electrical equipment experiences current leakage, imparting a charge onto your cables. By having your cables treated with the Vidar you are treating your cables with the Vidar you are conditioning them and allowing the charges to neutralize once again.

This service is only available through  authorized Nordost dealers.To locate the Nordost dealer nearest you, please consult the “Where to Buy” page of our website.


Why use the same brand of audio cables throughout your hifi system?

Often times when hifi talk comes around to cabling, you will hear people preaching the importance of using one brand of cables throughout an entire system. But what possible difference could mismatched brands make—especially if they are all eminent companies each with upstanding products?

loom vs no loom-01

Each cable manufacturer constructs their products in different ways. They use a variety of different materials and employ a range of specialized technologies to create a core cable design. As a result, companies (and sometimes ranges within each company) tend to have their own sonic signature. The quality and timbre of each brand’s sound may be brassy, light, bass-heavy etc. There are some cable manufacturers that strive to reach a particular “type” of sound with their products by using filters and network boxes. On the other hand, Nordost’s aim is a more neutral sound, filtering as little as possible so that you are left with the music as it was originally intended. Ultimately, it is up to the listeners to determine their own opinion on the merits of each cable’s sound.

What is undeniable is that the effect of mixing cable brands and their respective sonic signatures can have mixed results. If you are lucky, the cables will balance themselves out and you will be left with a pleasant sounding system, but more often than not different cable brands clash, leaving you unable to hear the composition of your system as it was intended. When that happens, you get to deal with the fun task of finding where the problem lies through trial and error.

Besides not being able to find the cable that may be less desirable than others, mixing cable brands makes it harder to determine weaknesses in your components. You may find yourself wondering if thin sound should be blamed on your speakers or your speaker cables, if the slow-timing is the fault of your pre-amp or interconnects. Upgrading a hifi system can become that much more frustrating and time-consuming when it is not clear what upgrades need to be made.

By using a uniform loom of cables, or at the very least using cables that use the same core technology, you are no longer faced with these problems. There is no need to “balance out” a system, weaknesses are easier to assess and fix, the components are all on a level and comparable playing field, and you are able to achieve a greater coherency from start to finish.

Picture 774


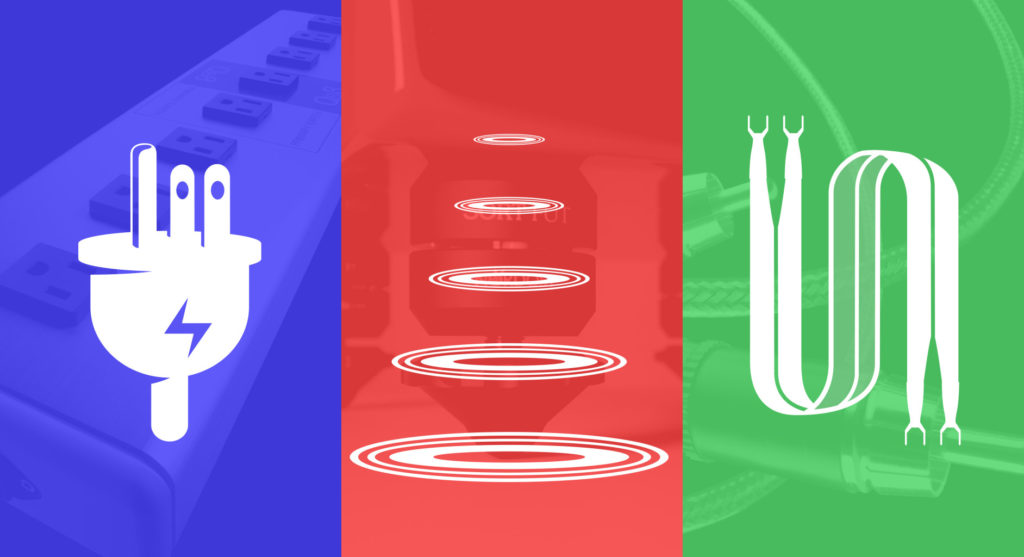
What every audiophile should know: 3 Steps to Great Sound

If you have followed the Nordost blog, seen a Nordost ad or are familiar with any of our other written materials, this phrase (or a similar iteration of this phrase) should ring a bell: Discover the full potential of your sound system.  But what does that really mean?

Many times people will buy expensive components and loudspeakers, and then upgrade those same components and loudspeakers, all without truly experiencing the full effects of their purchases. There are 3 major factors needed to achieve the intended performance levels of your hifi equipment.  Unfortunately, until these 3 areas are addressed you will never reach your systems full potential, nor will you be able to accurately identify what needs to be improved.


1)      AC Power

The AC current that comes into your wall makes a huge impact on the performance of a hifi system. This is the energy that feeds each of your components and has a big hand in the integrity of the music produced. Although trying to control the quality of current that has been running through miles of wire before reaching your listening room may seem fruitless, there are a number of elements you can control to “clean up” your AC line and give your devices the chance to run properly.


 2)      System Supports

For years, the popular train of thought was that components and loudspeakers had to be “isolated” from the damaging effects of the outside world. However, this just doesn’t hold true. All devices that either pass or create energy vibrate. Unnecessary vibration is detrimental to sound quality. Therefore it would stand to reason that in order to achieve better sound, one must dispel this extraneous energy.

Supports that provide a mechanical ground path for energy dispersion are a must. Supports are useful for virtually every element in your sound system: components, loudspeakers, power conditioners, distribution blocks and even cables. Remember, the larger the component, the more power involved; the more power involved, the bigger the problem.


3)      Cabling

People spend a lot of time and resources finding and buying the best components for their systems. But all of the work that those devices do can be lost in even the smallest runs of substandard cabling. Cables are a necessary evil in the hifi world. Without them there would be no sound, but it is impossible to find a cable that adds to the quality of music passed through it.  Even the best cable manufacturers have to try to do the least amount of damage possible to the delicate signals their products transfer from one device to another. When they succeed, the difference is staggering.


These three often overlooked aspects of hifi make up what Nordost likes to call the “foundation of great sound”. For more information, including tips on improving your AC supply, equipment supports, and of course cabling, refer to Nordost’s “Foundation Theory: Beginners Guide to Building a Better System” here:


Speaker Placement in 5 Easy Steps:

Implementing correct speaker placement could be one of the most beneficial changes one can make in an audio system. The slightest shift or rotation in your loudspeakers can completely transform your soundstage, for better or worse. And when even one centimeter could be responsible for transforming the sound system that you have invested so much in, the idea of tackling and perfecting speaker placement may seem daunting. Because speaker placement is heavily dependent on the room and loudspeaker being used, there are no precise rules. We have simplified the process into 5 easy steps here.  (For a more detailed walkthrough of this process, consult our Speaker Set-up Guide.)

1.  Come Prepared

5 steps to speaker setup blog images-04

While this process of placing your speakers is simple, and even fun, it becomes infinitely more so when you are working with the right tools to get the job done. Besides the more obvious appliances that are specific to the particular loudspeaker you are working with, before starting your speaker placement make sure you have the following: masking tape, a felt tipped pen, tape measure and a level.

2.  Voice the Room

5 steps to speaker setup blog images-01

As many of you already know, the positioning of your loudspeakers in relation to the wall can have a significant effect on the speakers’ performance. For example, speakers placed with a close proximity to the wall tend to register as “bass-heavy”. In order to find the best positioning for your listening room, you can use a technique called “voicing the room”. Essentially, this tests the acoustics of the space.

Standing with your back to the far wall behind your speakers, simply start speaking in a loud, even voice while taking small steps into the center of the room. Once you have found a spot in the room where your voice takes on a natural quality, mark it with your masking tape and continue to advance until your voice begins to lose that characteristic. Continue the same process, now starting at the side wall, and walk towards the center of your initial marks. Once finished, you should have a squared off area. You will place your speaker a third of the way into this area.

This should be repeated on the opposite side of the room for the second speaker.

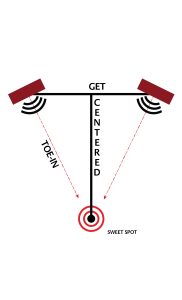
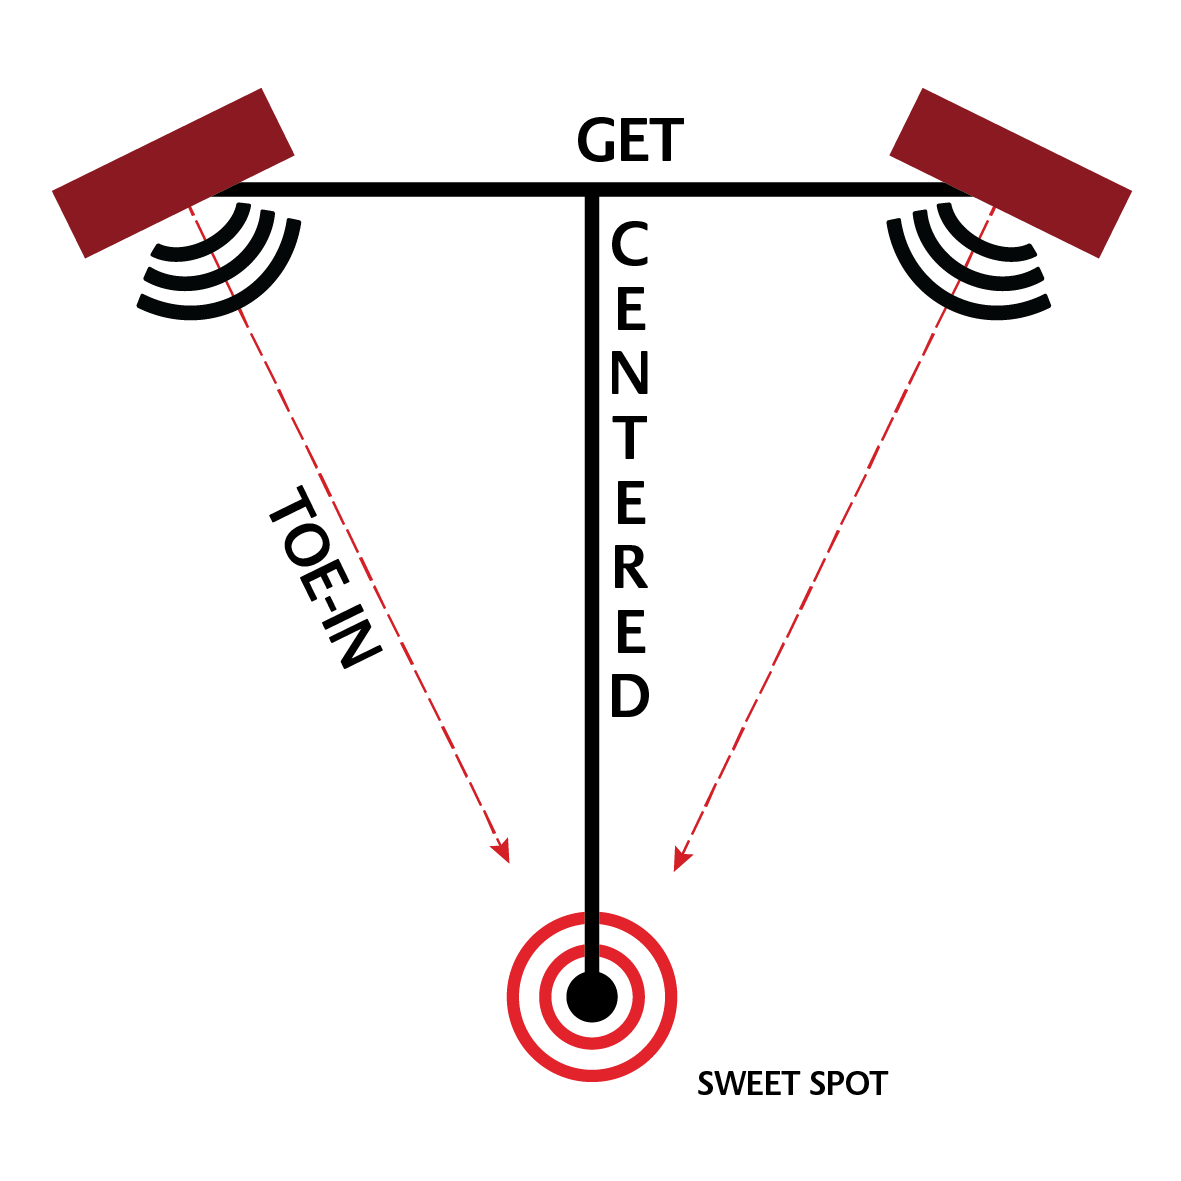
3.  Get Centered

Once you have placed your speakers, it is now time to determine your “sweet spot”. In order to do this, imagine that your speakers and “sweet spot” make a triangle. You can use your tape measure to find the vertex where the legs extending from both speakers converge. As a starting point, your sweet spot is the same distance in front of your speakers as the distance between them.

5 steps to speaker setup blog images-02

4.  Toe-in

When you “toe-in” your speakers, what you are really doing is angling them towards your sweet spot to truly shape your soundstage. There is no hard-fast rule for a proper toe-in since so much of the results depend on the speaker model and the room itself. What is sure, is that the adjustments you make should be made little by little and should be identical for each speaker. The difference in focus and tonal balance after toe-in is powerful.

5 steps to speaker setup blog images-03

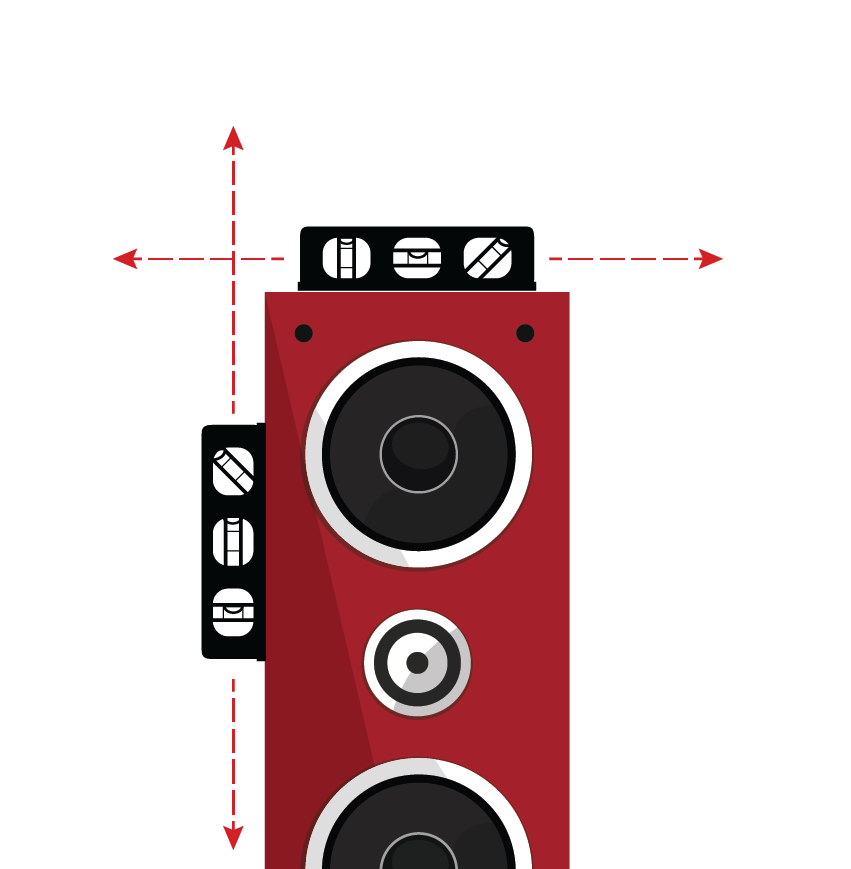
5.  Leveling

Make sure that both loudspeakers are leveled horizontally and vertically. This last step ensures that the tweeter, mid-range and woofers are vertically aligned so that the cone and tweeter disbursement is coming from the center vertical line. It also ensures that the driver assembly of your woofers has a firm base and can move with maximum efficiency.

To get more detailed information on other methods of speaker placement:


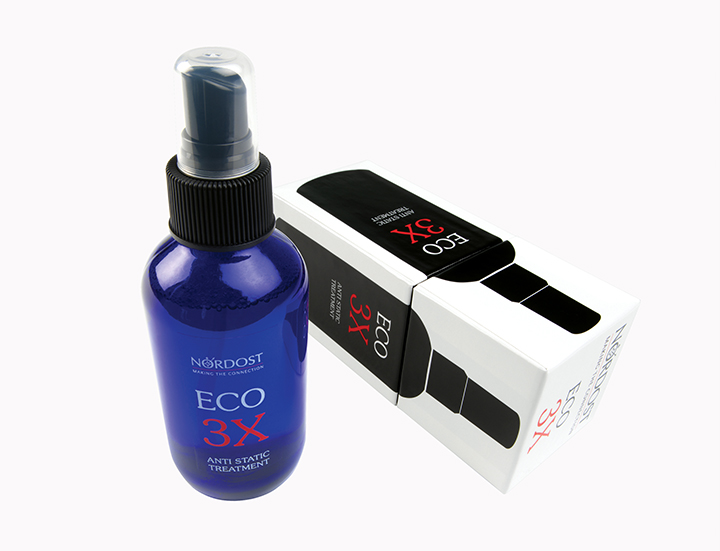
Why Use Anti-Static Treatment for Audio/Video Cables?

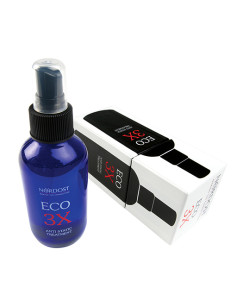
We all know what anti-static spray is: a spray used in order to dispel static charge on your audio/AV gear that will also hinder future build up. But why is this treatment so important?

Eco3x_blog_2

The slow build-up of static charge is a subtle, yet dangerous problem that undermines the performance of all audio and AV systems, flattening perspectives, dulling colors and inhibiting dynamics. And it is a problem that is only getting worse. Today’s current technology allows for multiple source options and increasingly complex audio/AV systems which generate even more static. By using anti-static treatment on not only your cable jackets, but also on the shelves of your racks, plastic cones under drive units, TV and computer screens, CDs, SCDs, DVDs and Blu-ray discs, you will notice a marked improvement in both visual and audio performances.  Once static has been removed, your system will be able to achieve a striking sense of liveliness and clarity that had been missing before. Anti-static treatment is one of those simple yet effective tweaks that could produce that difference that you’re searching for.


For more helpful tweaks to make on your system, check out our Tiny Tweaks, Big Pay-Offs download!