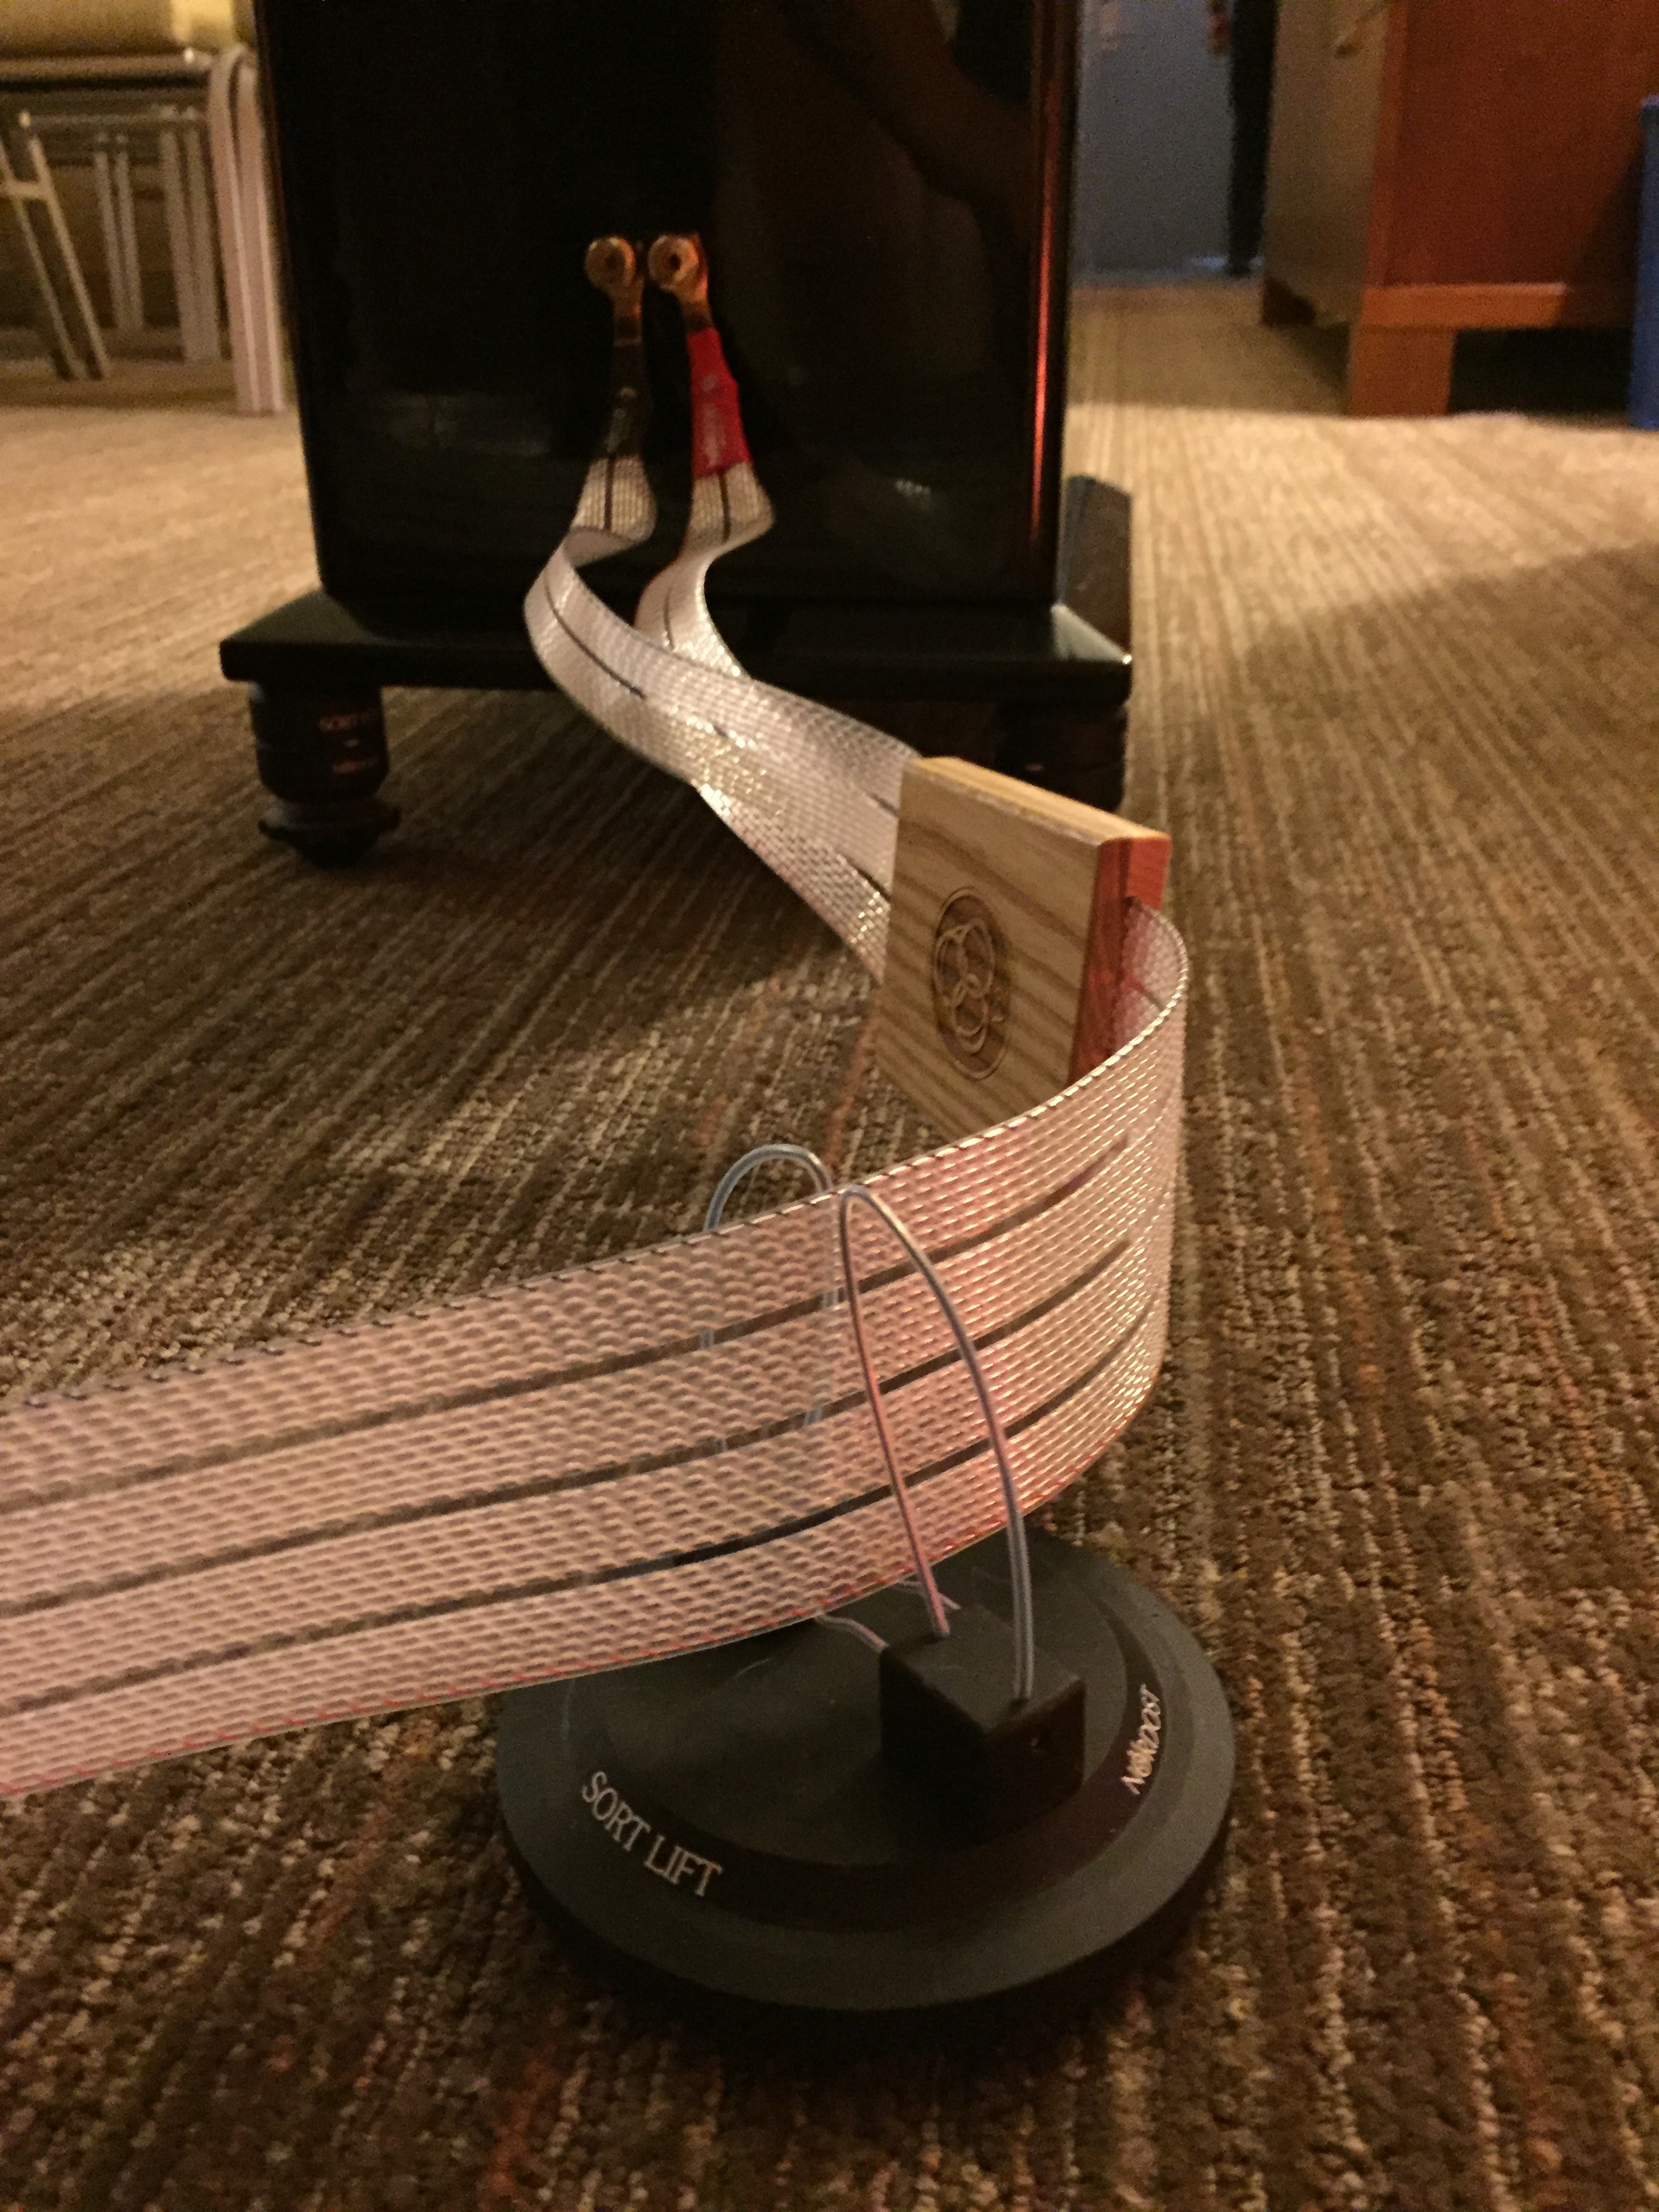
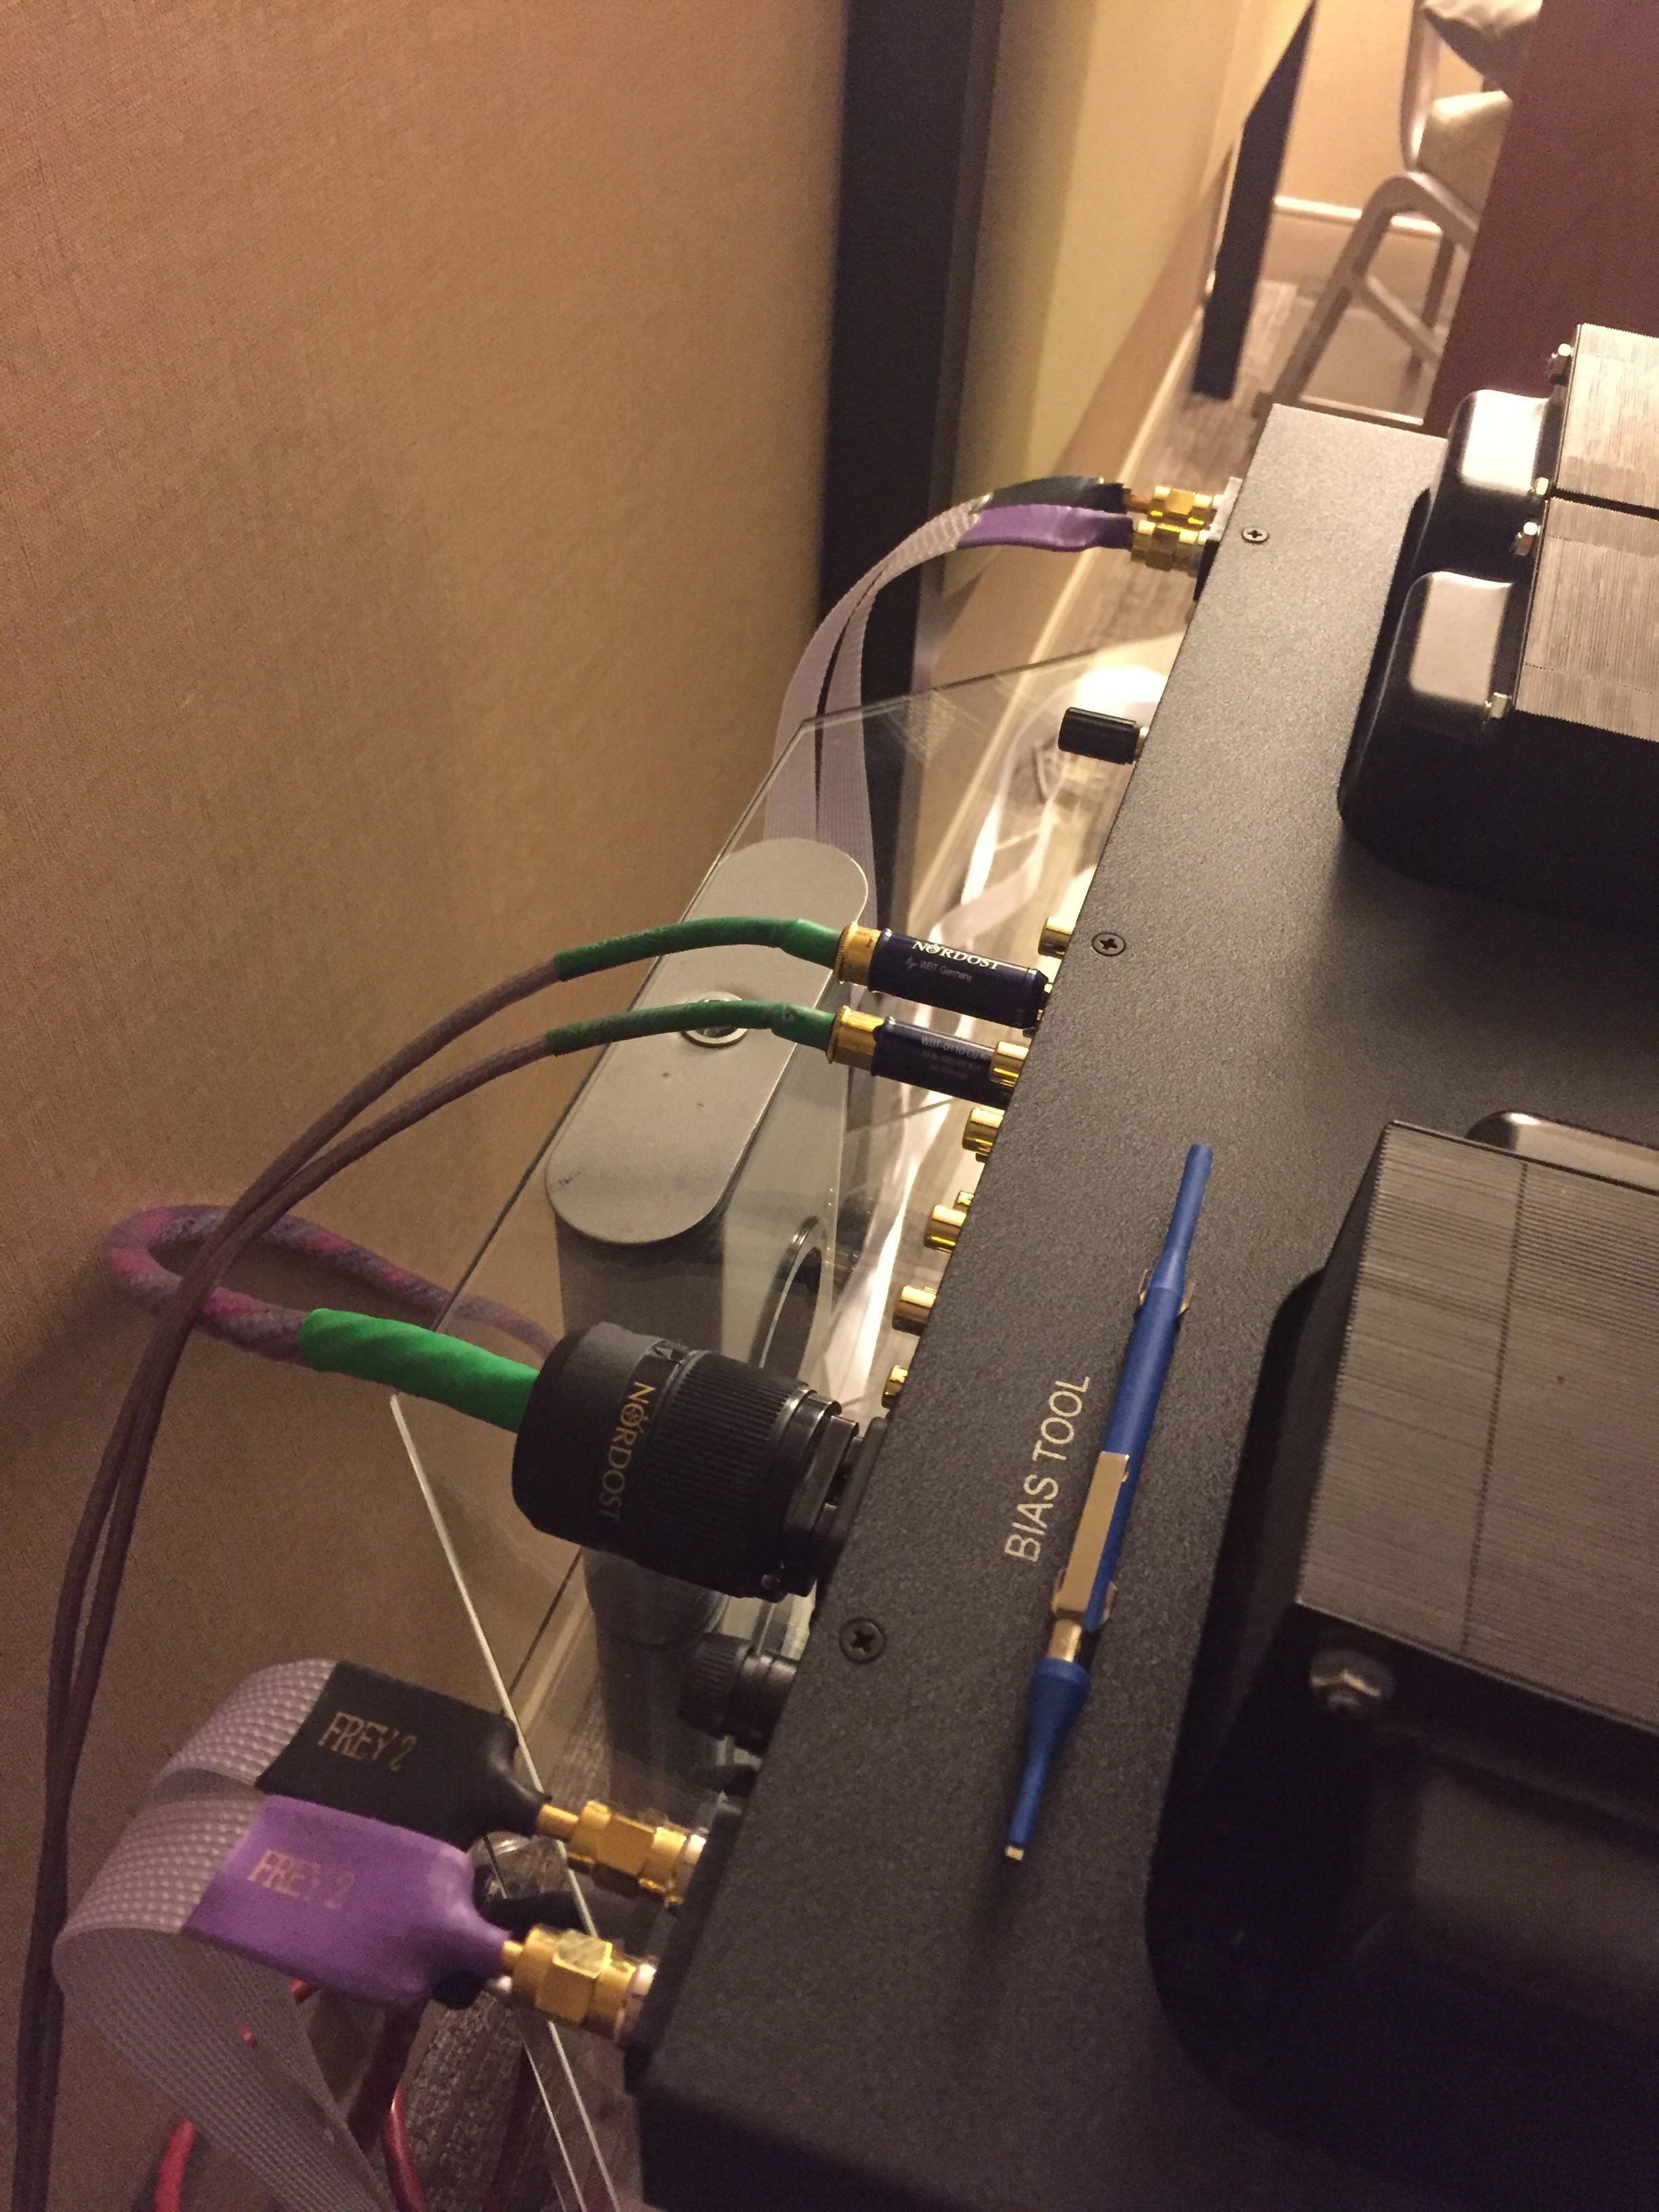
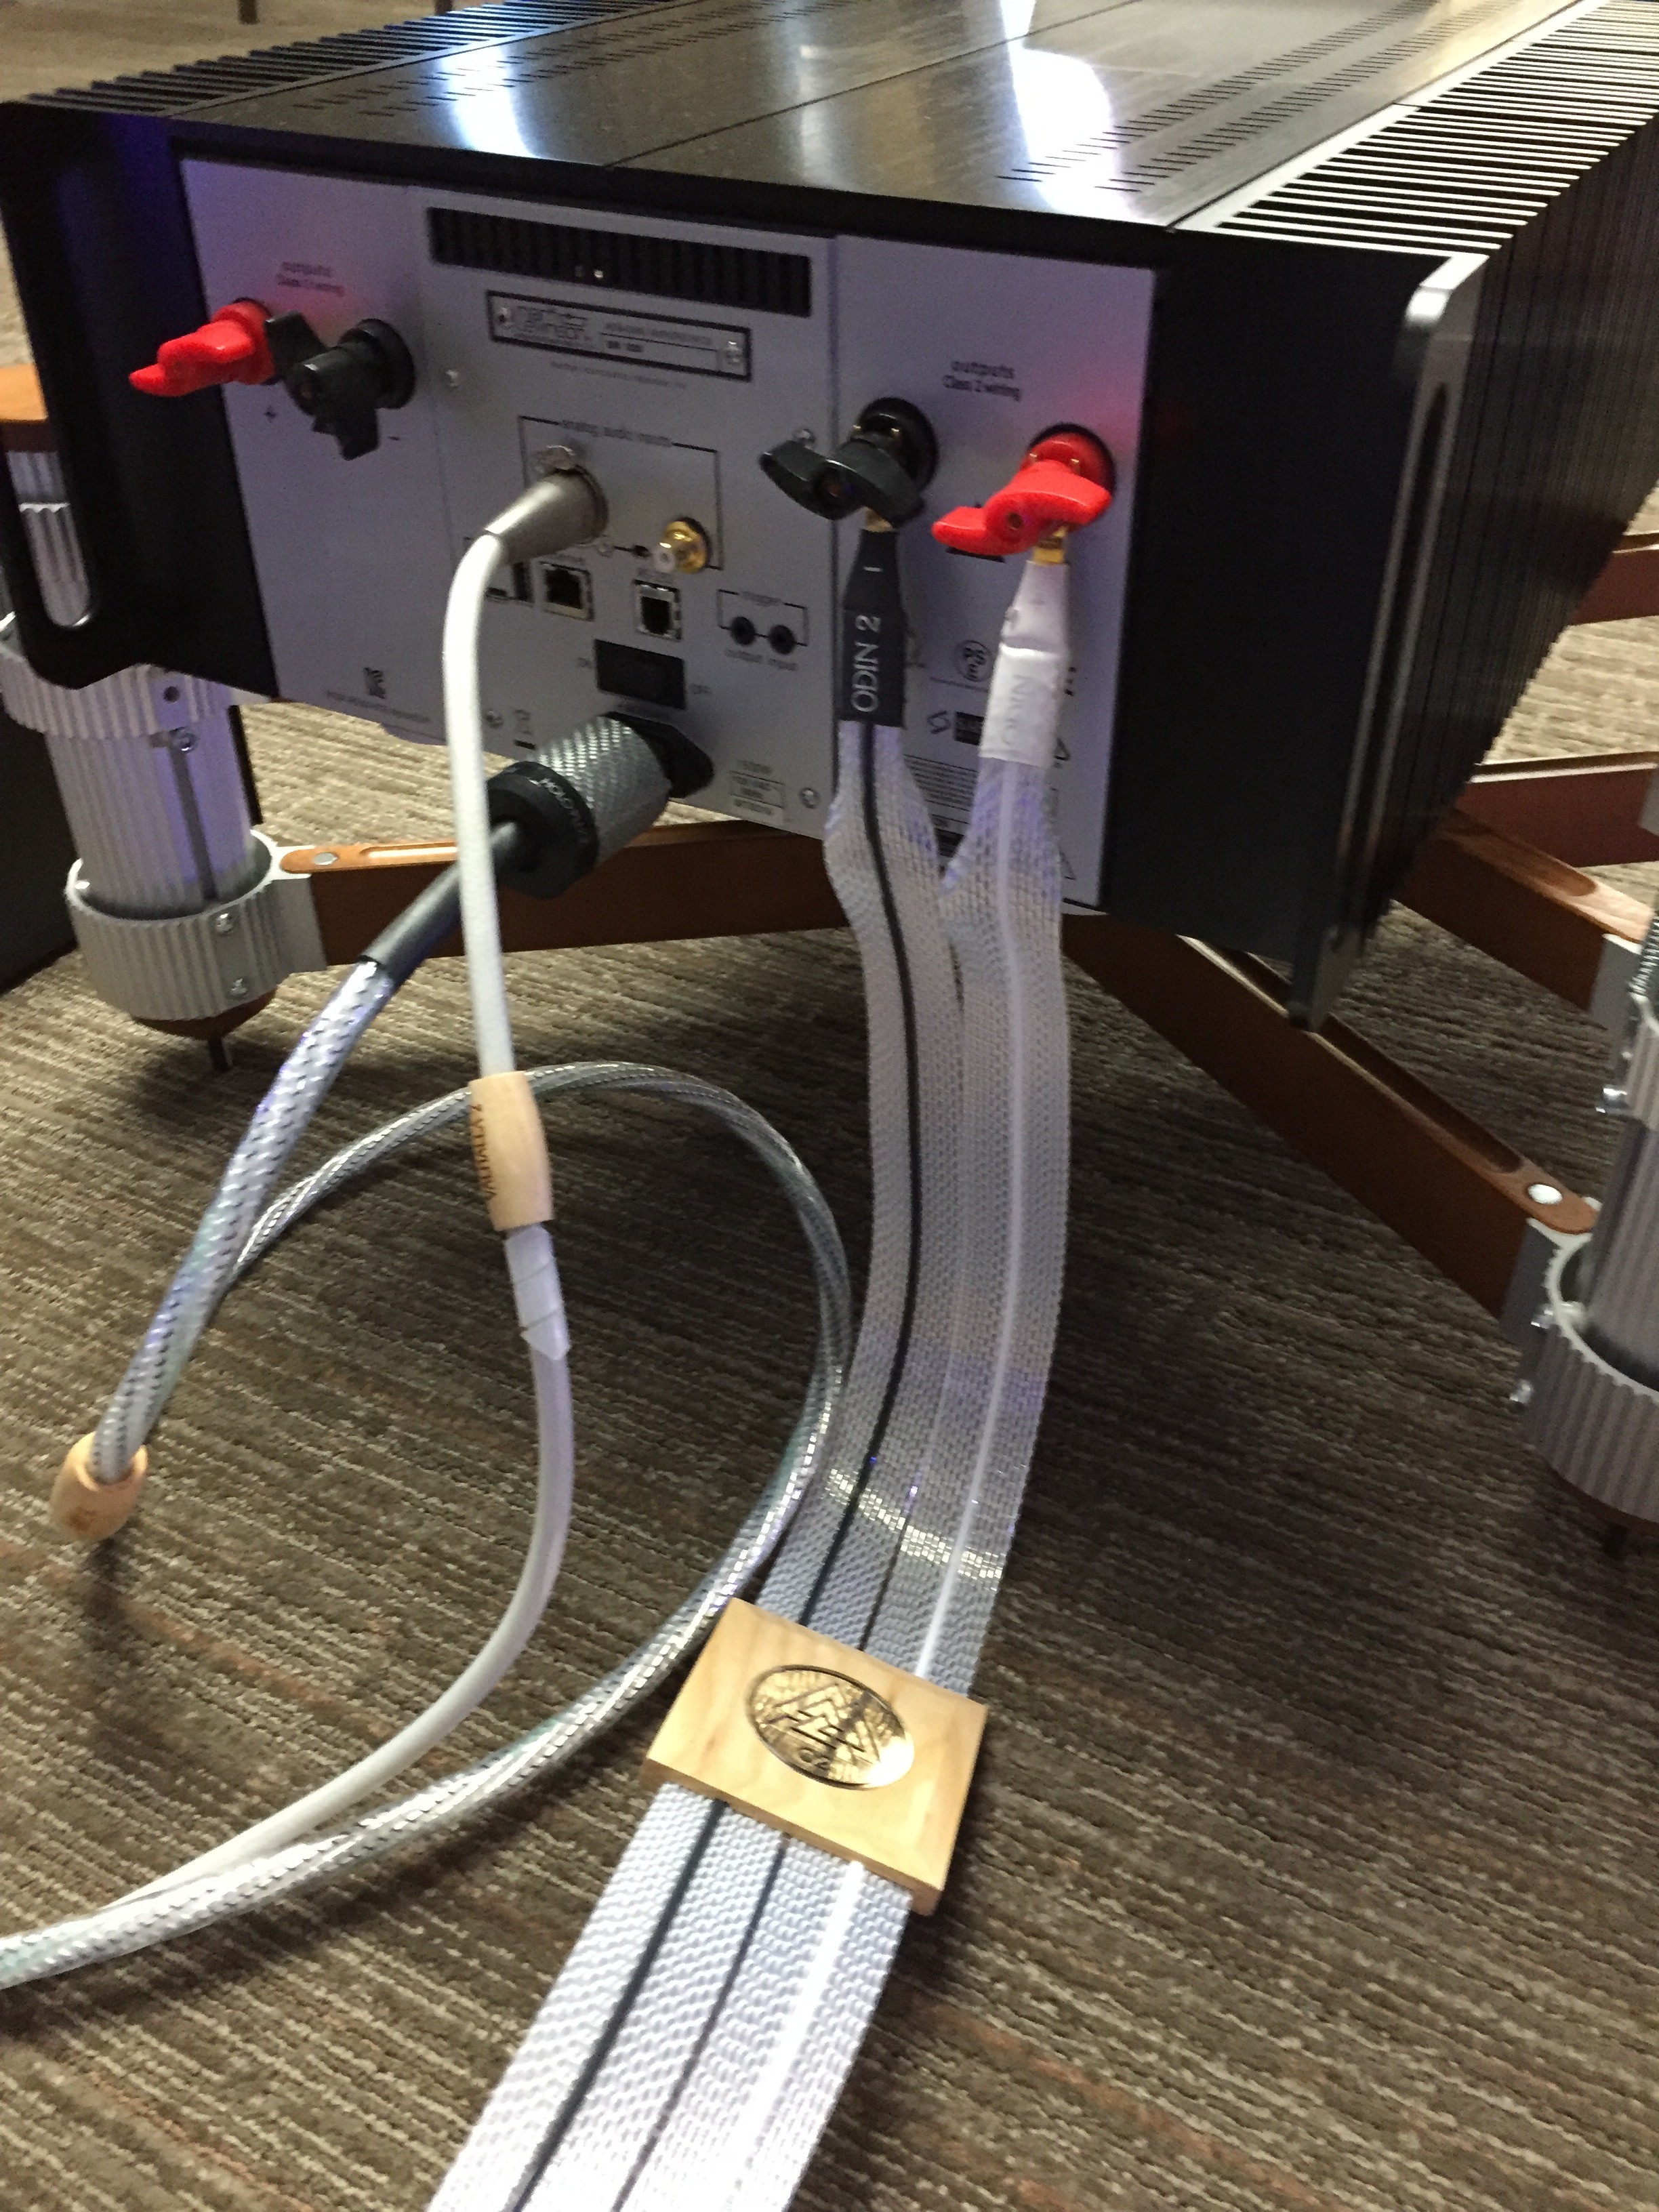
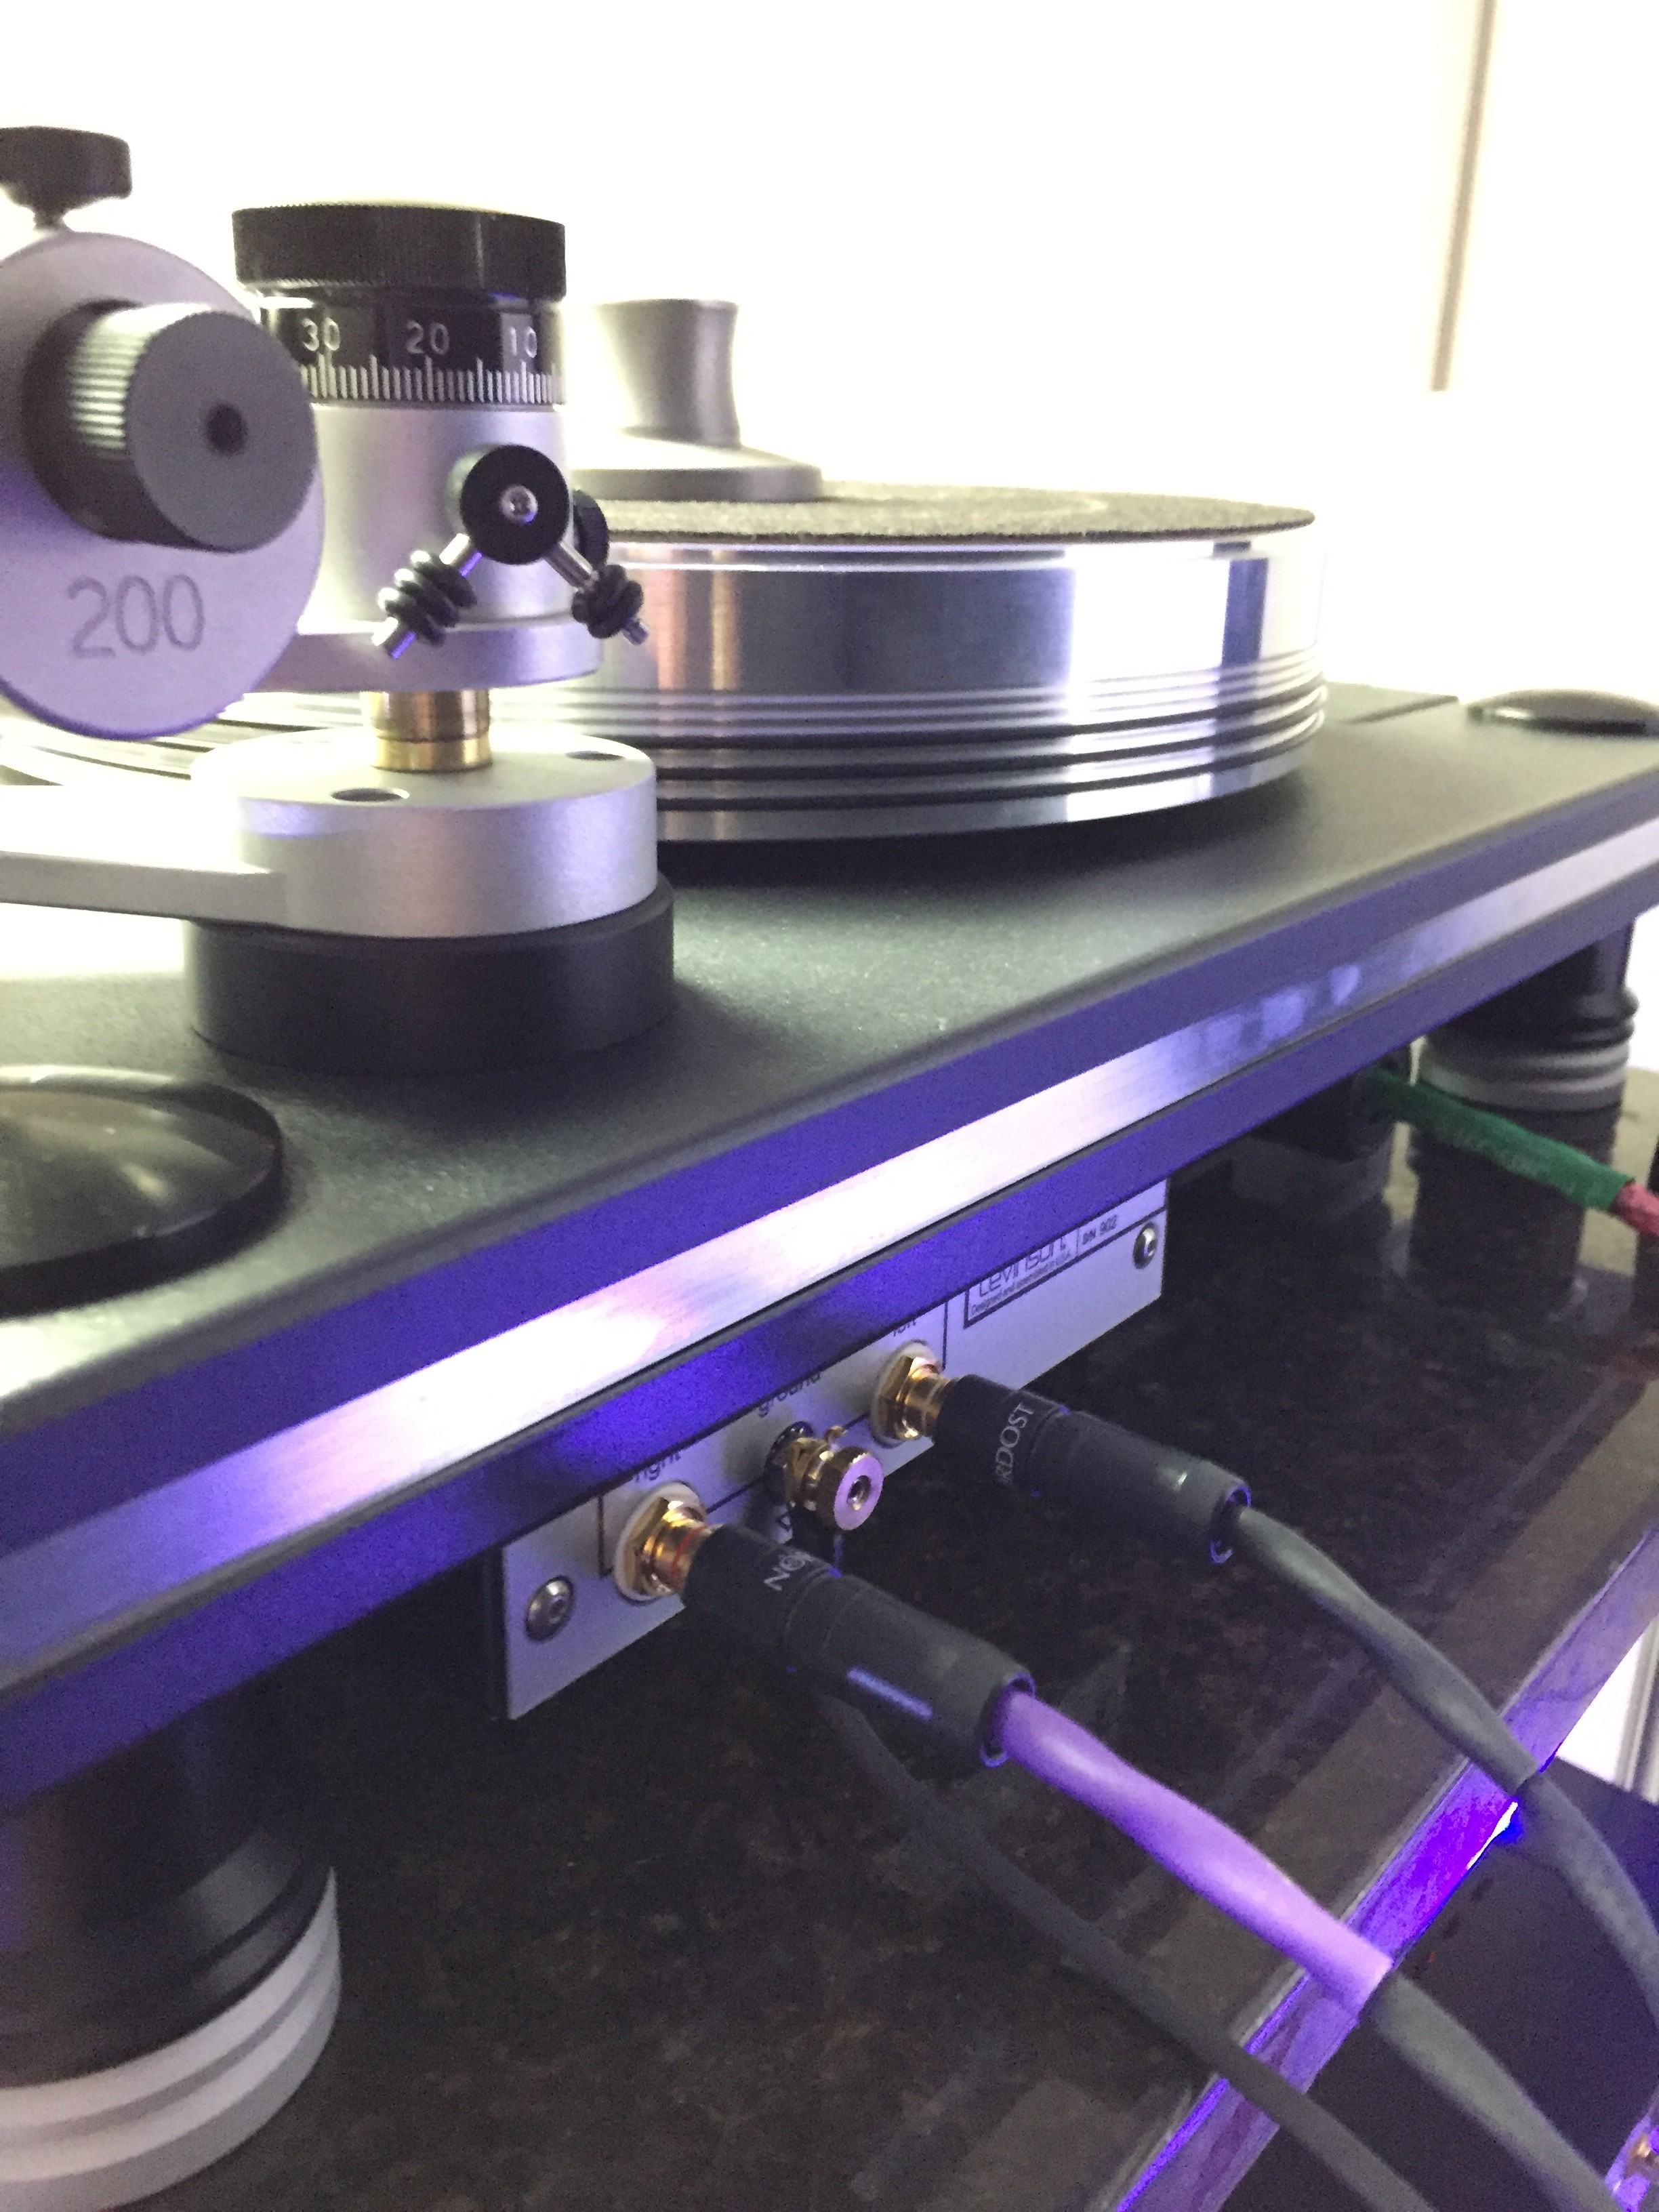
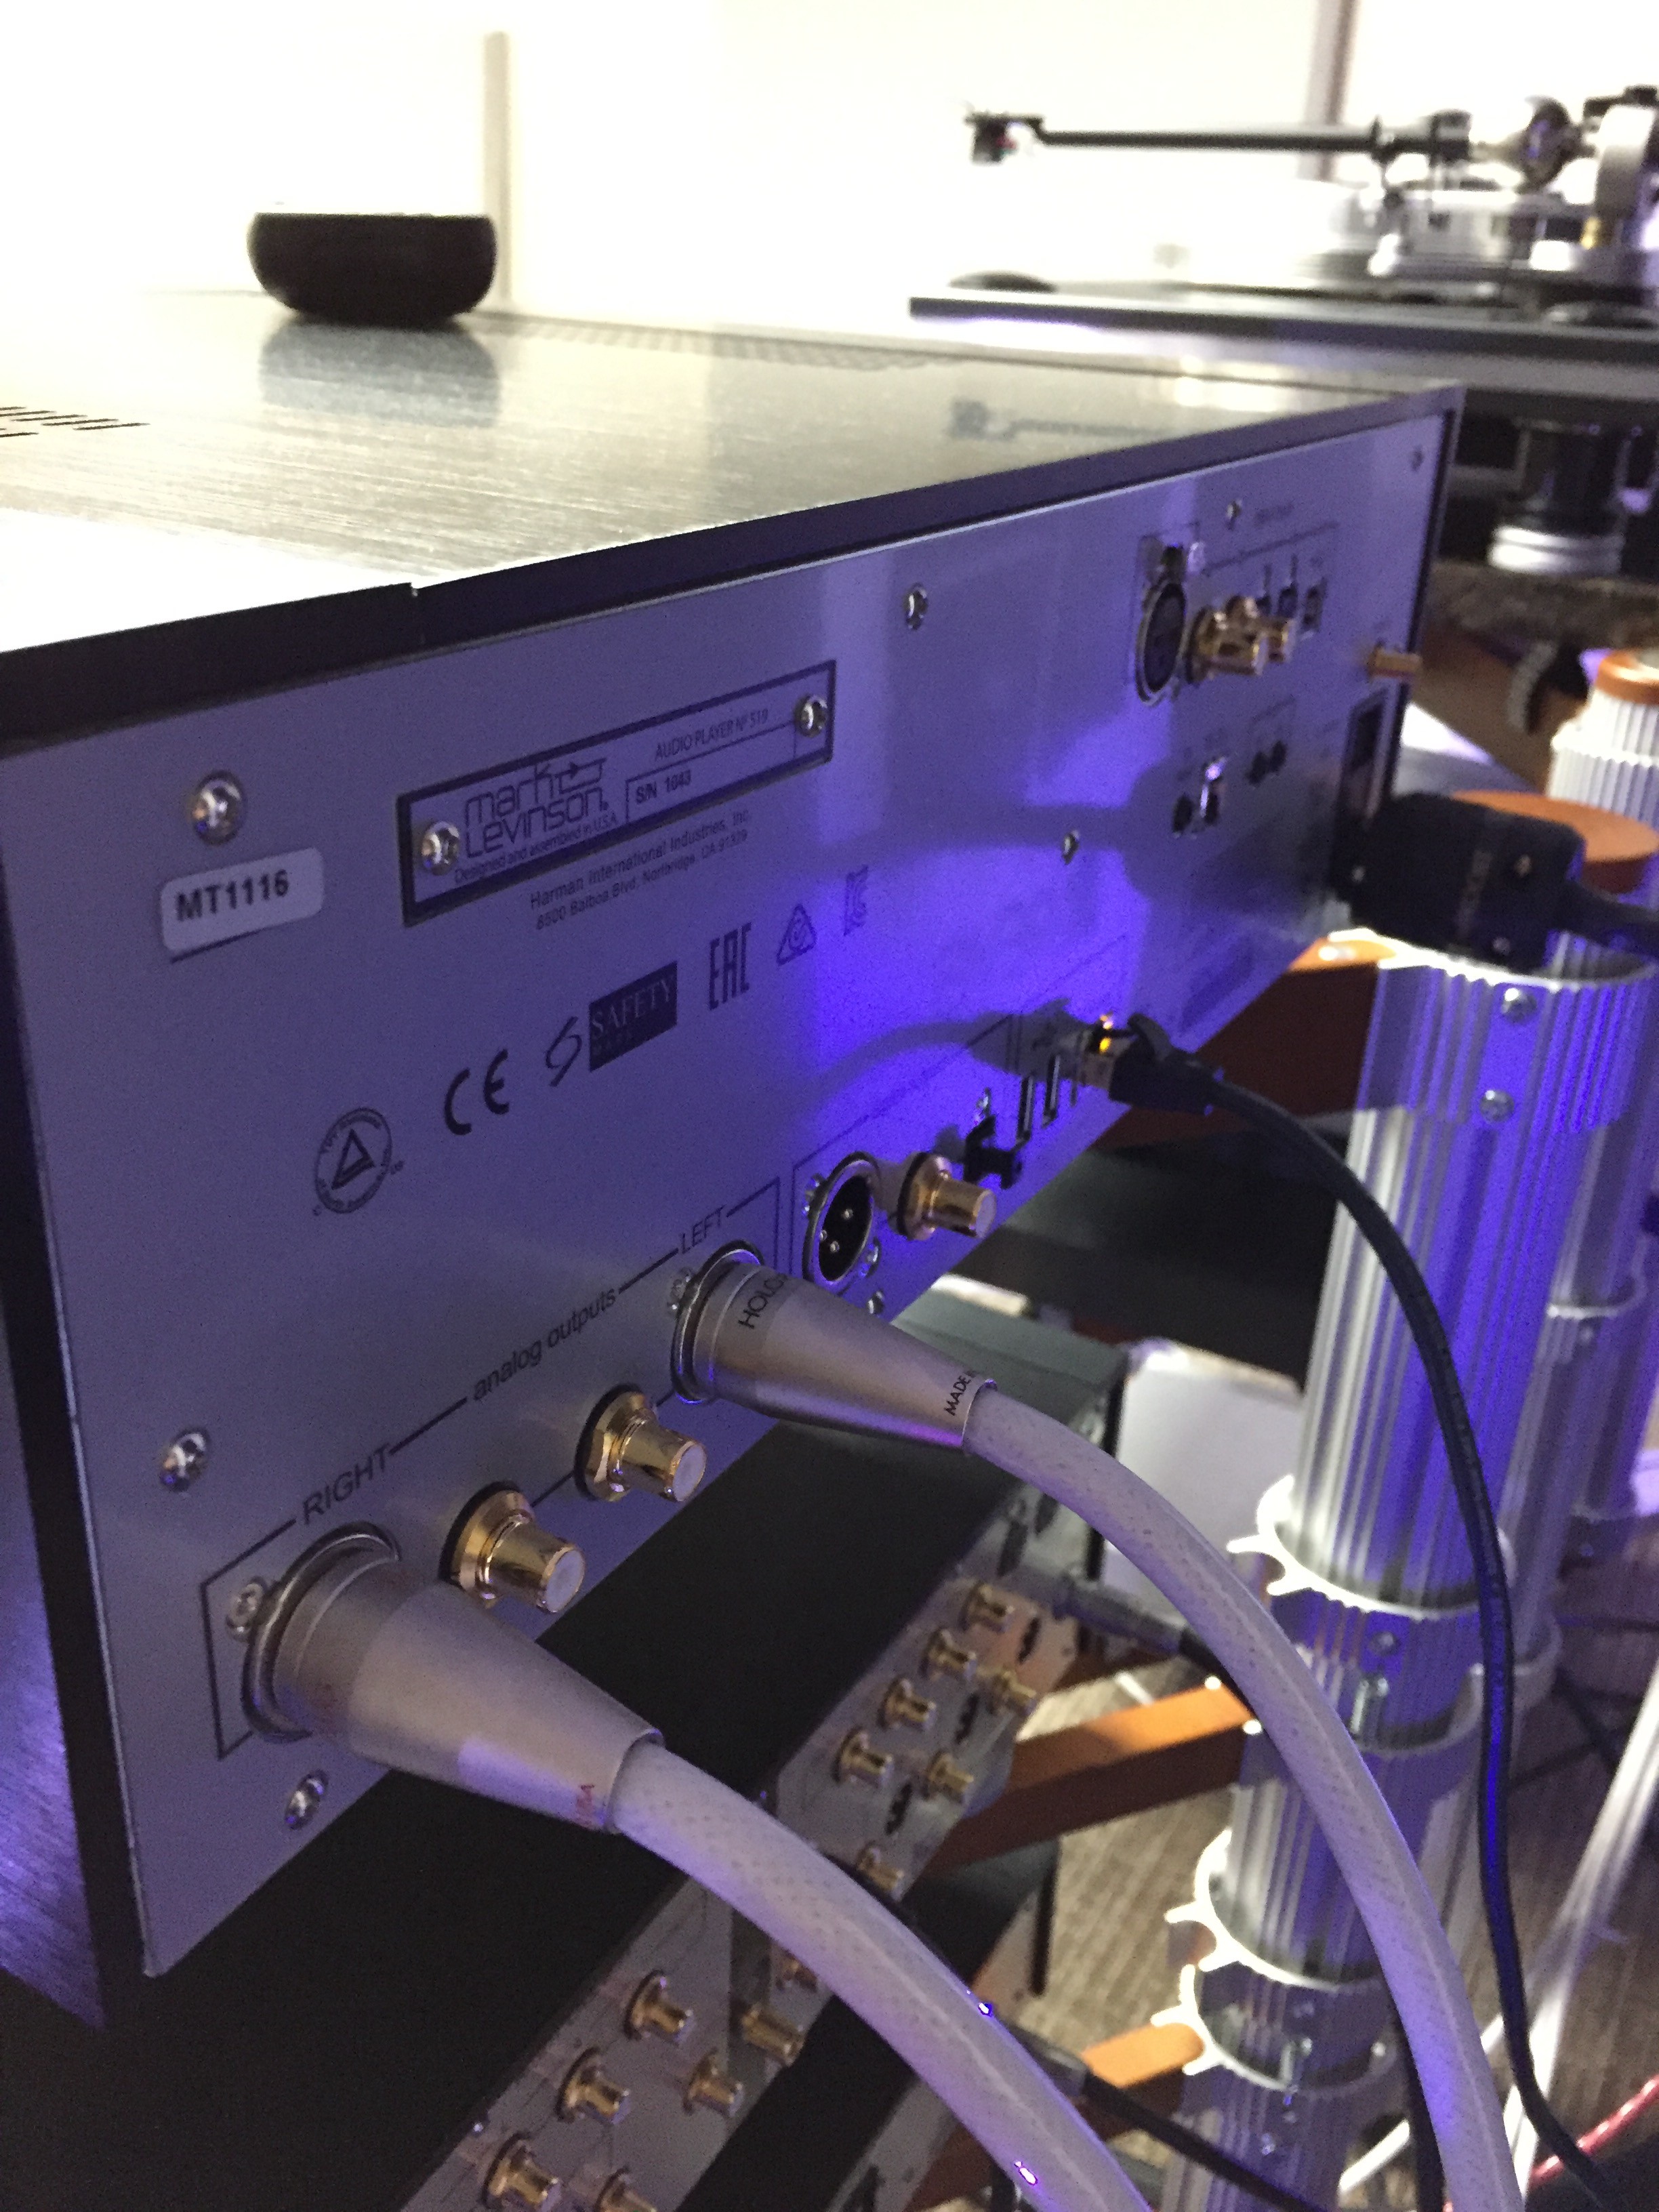
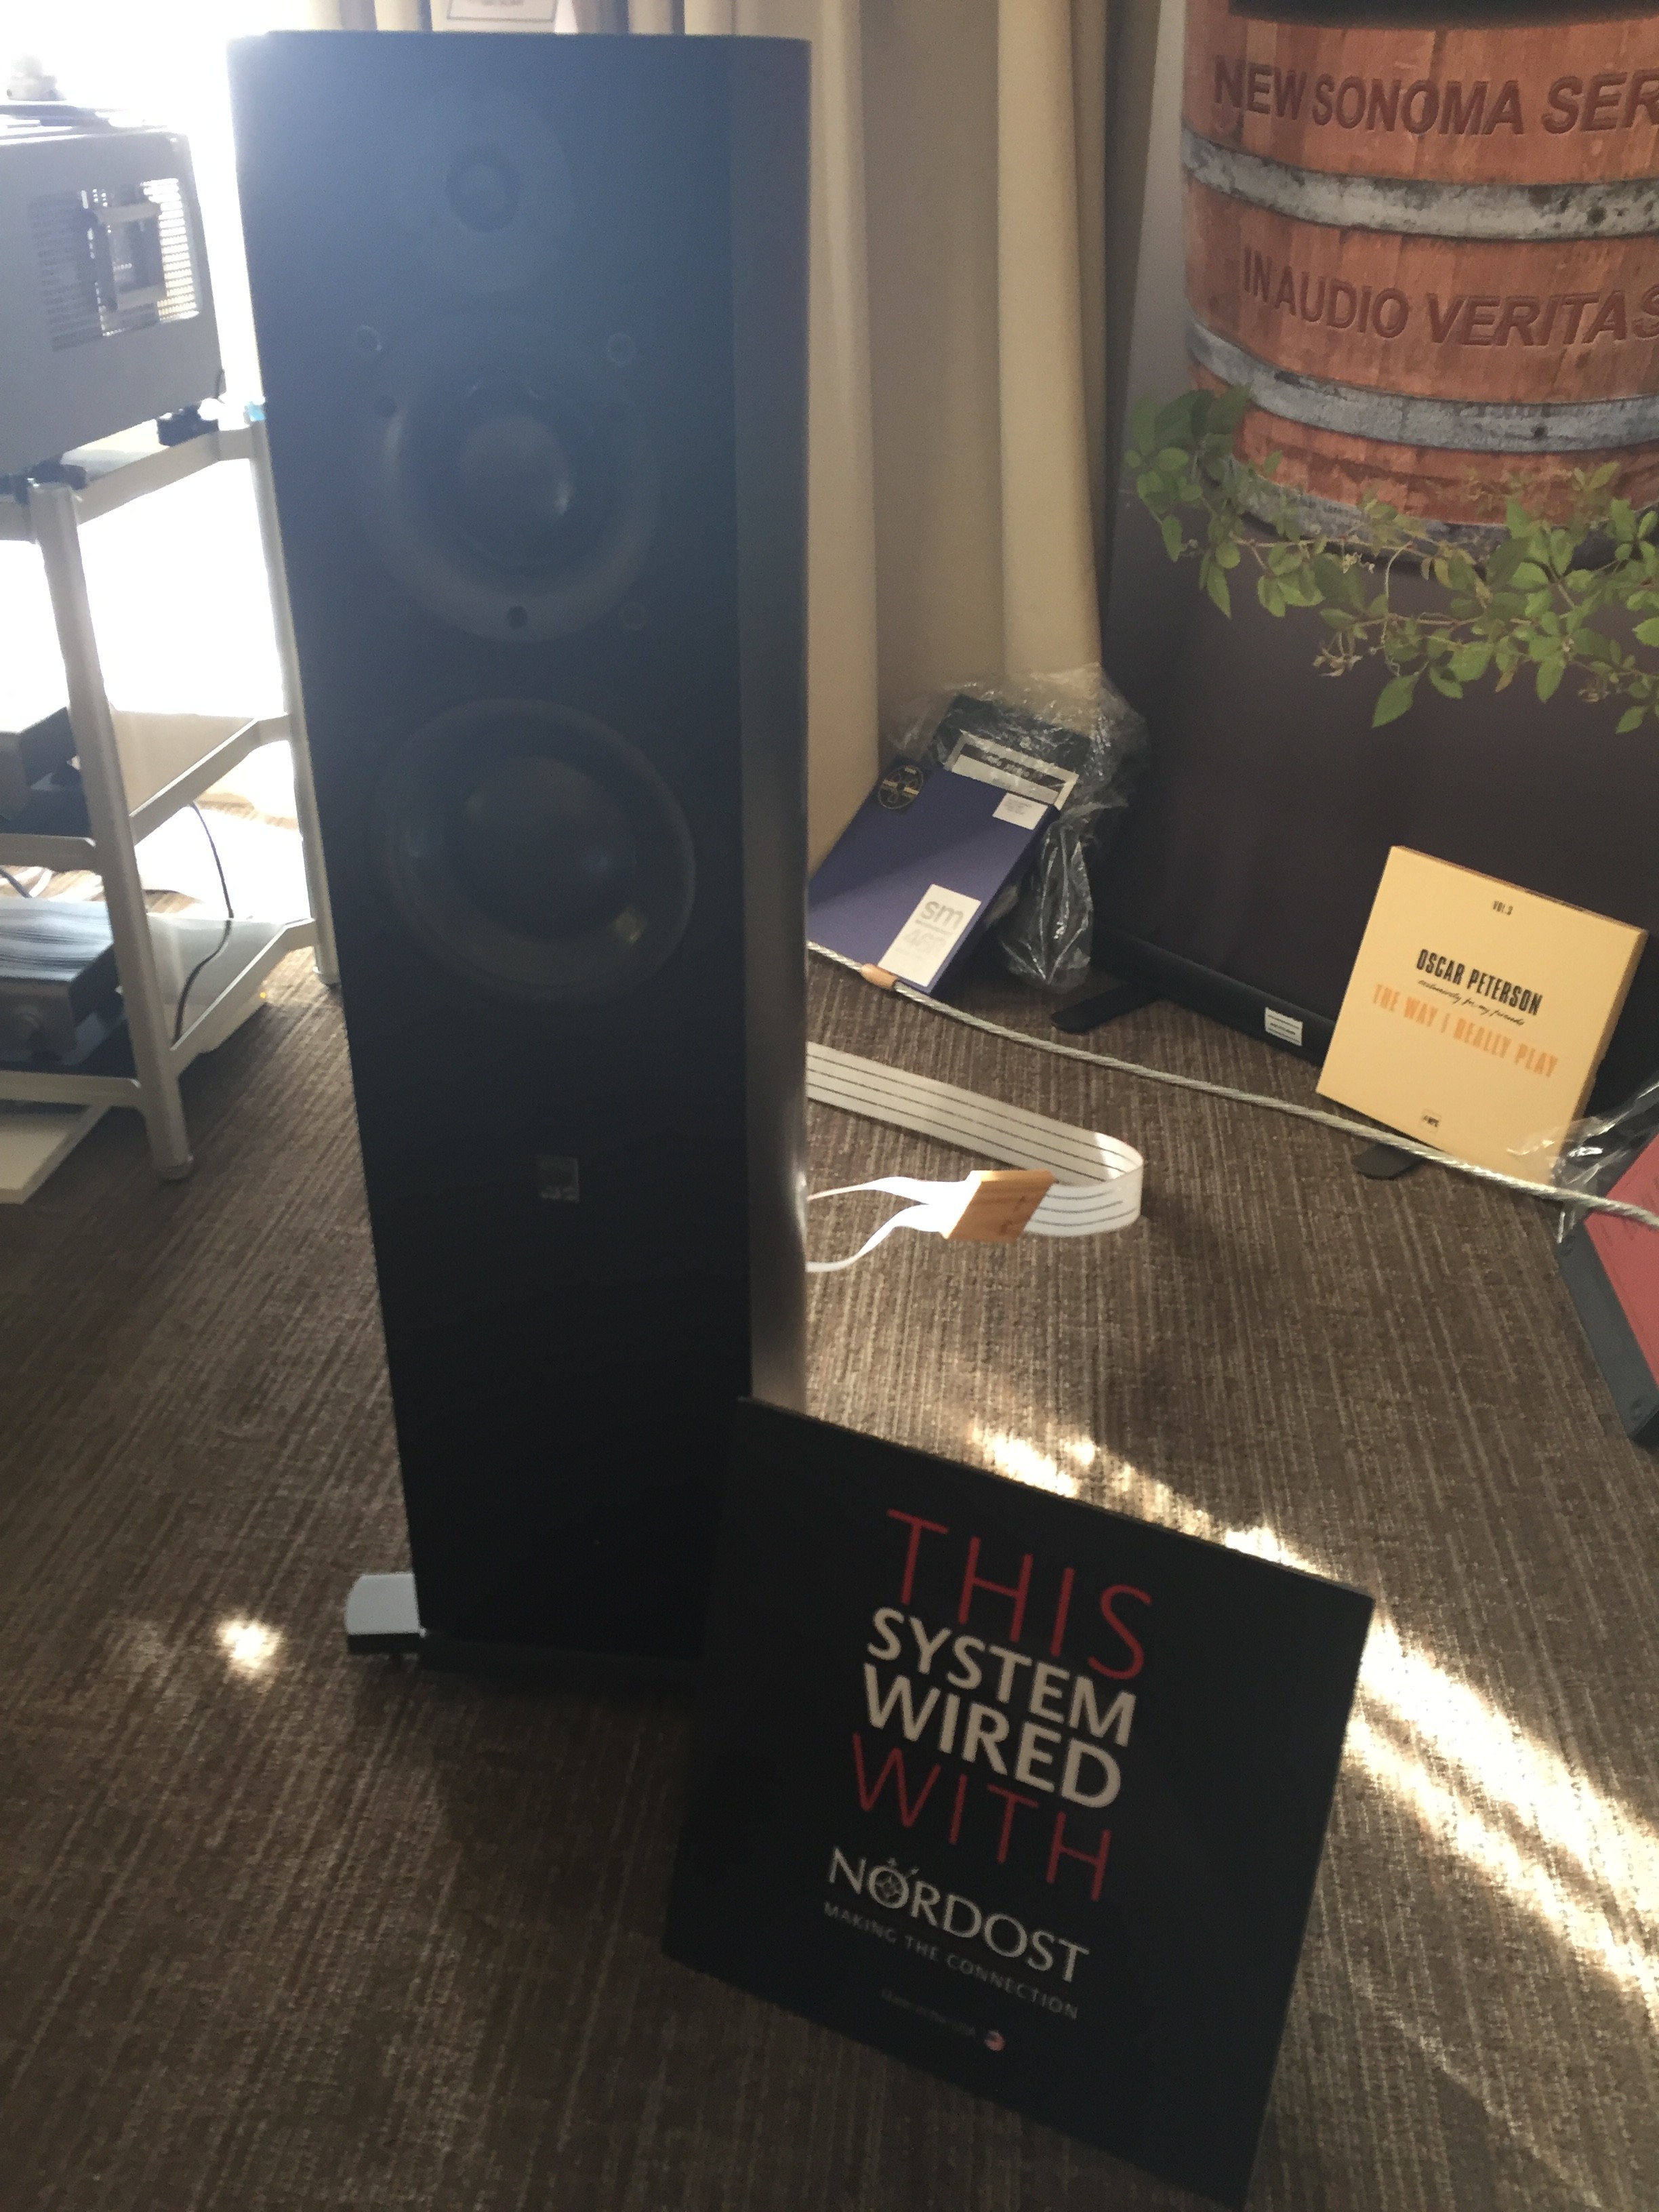
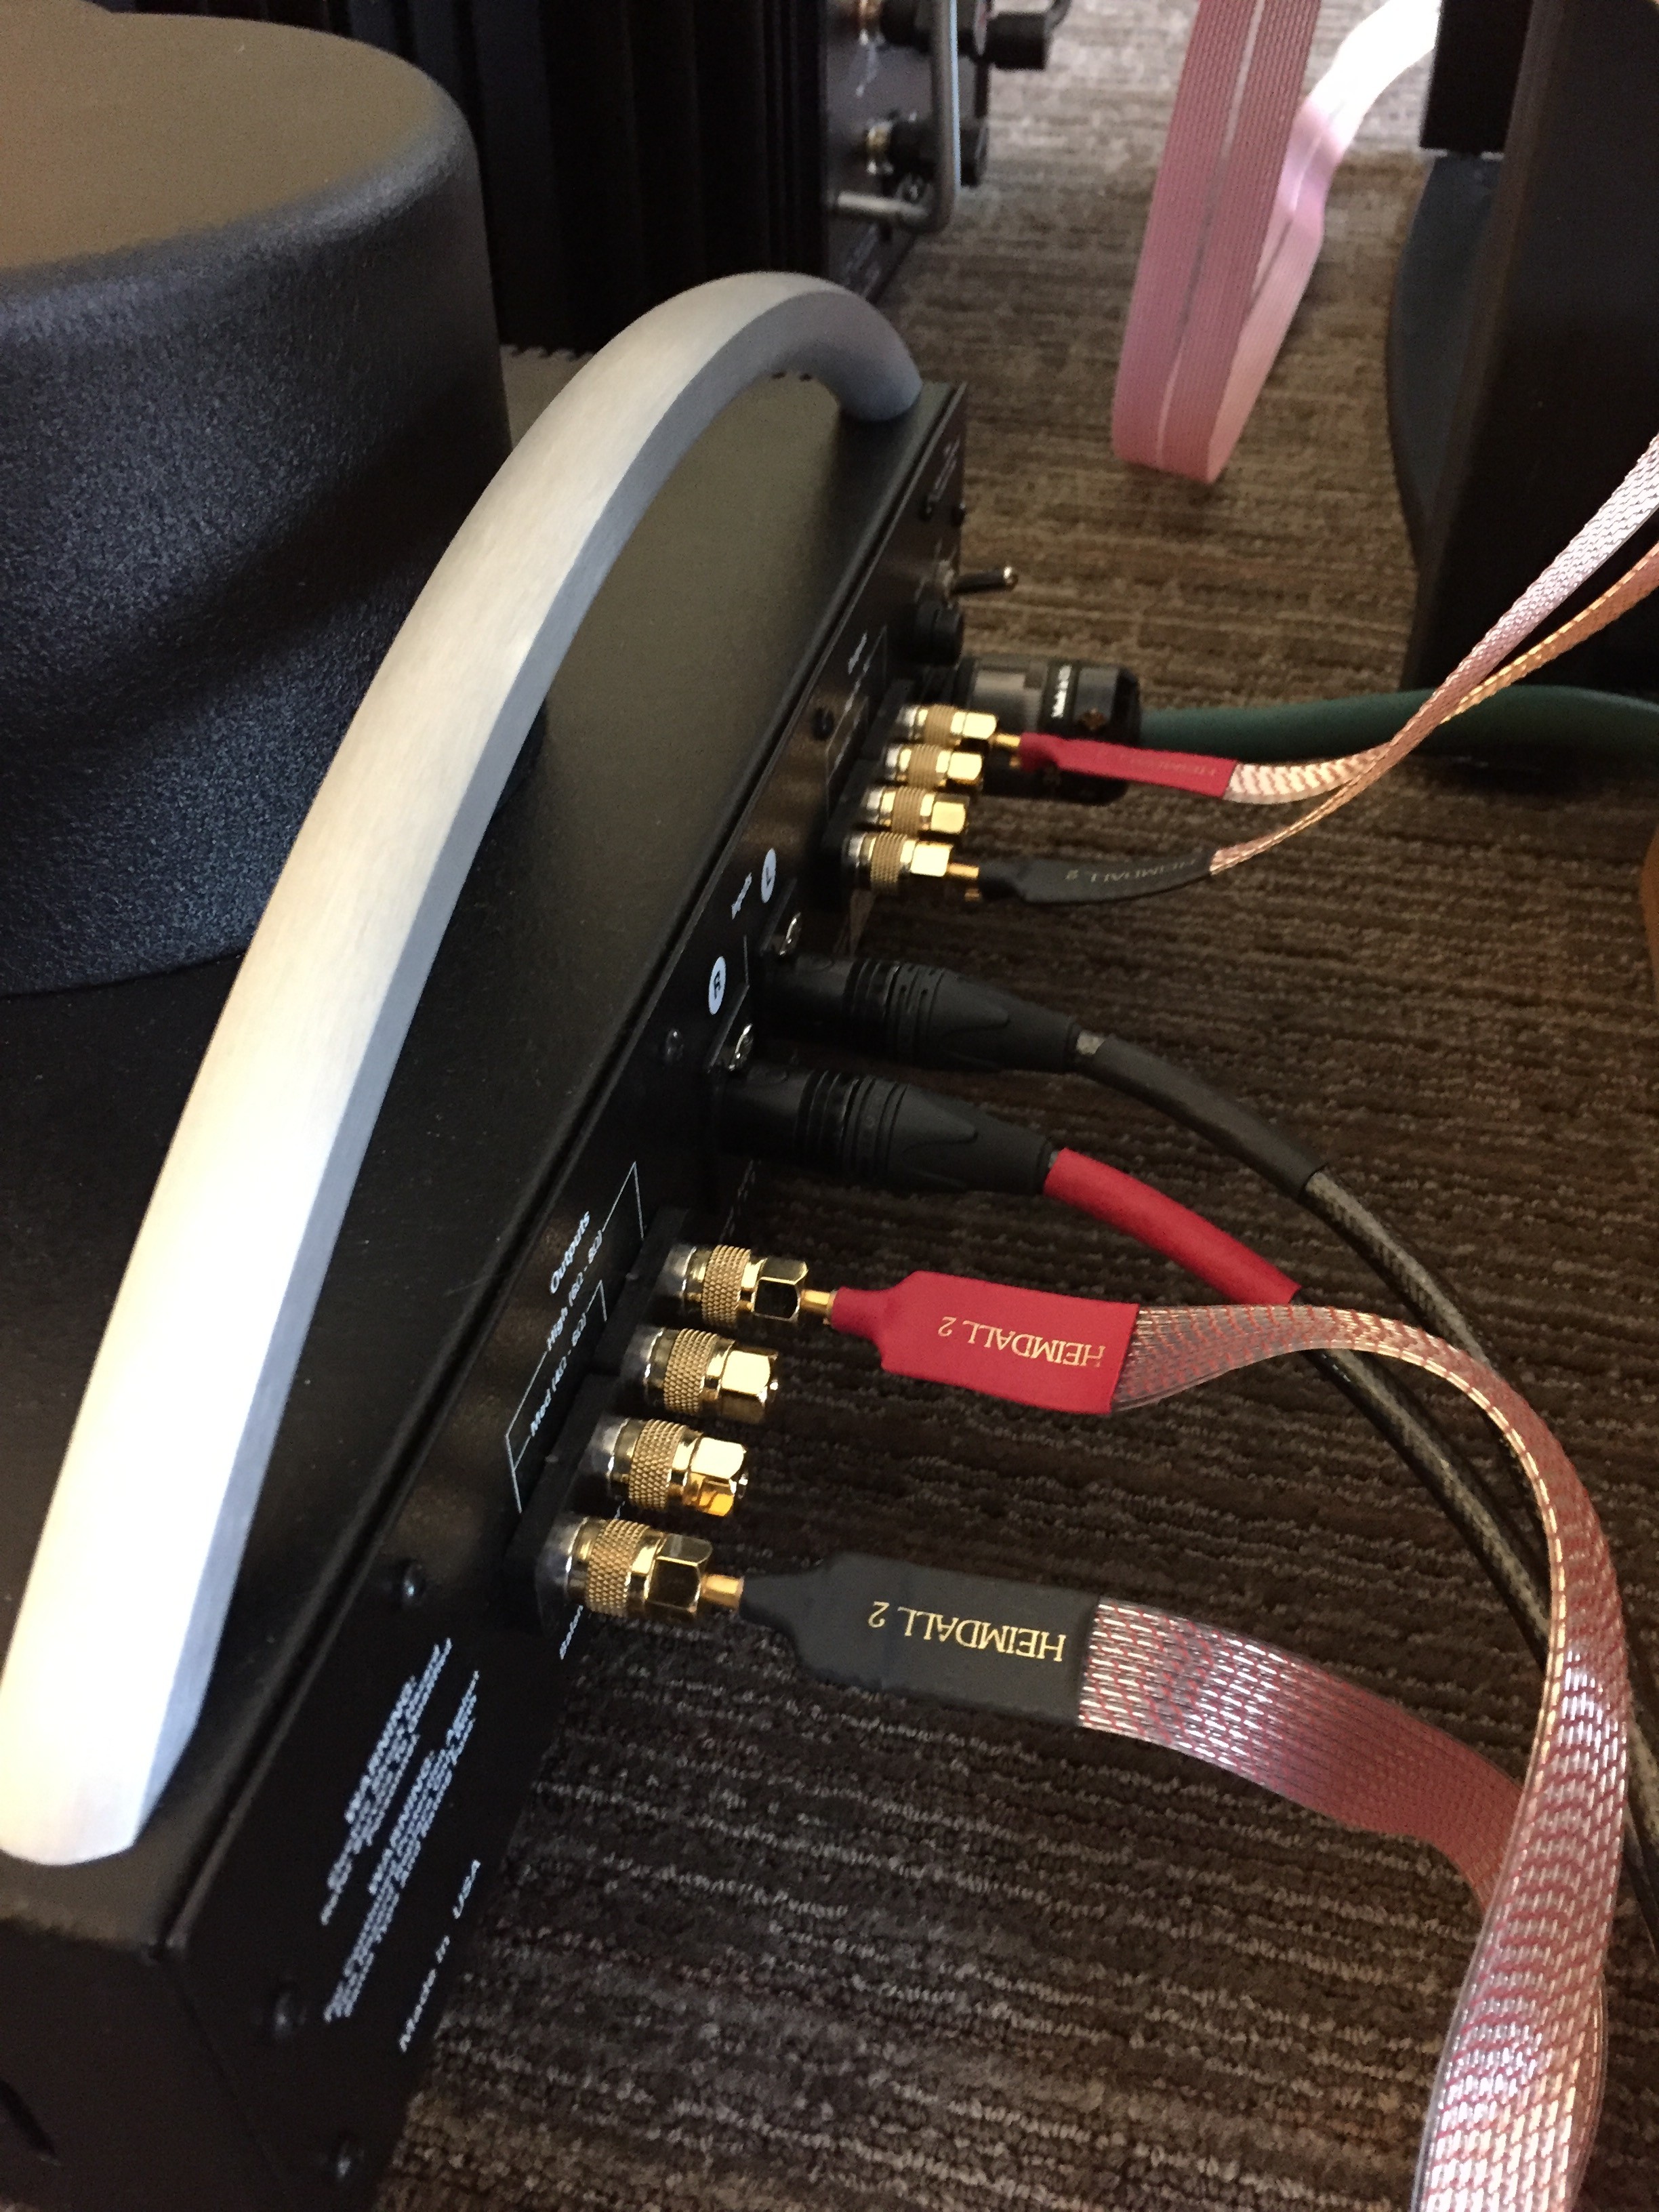
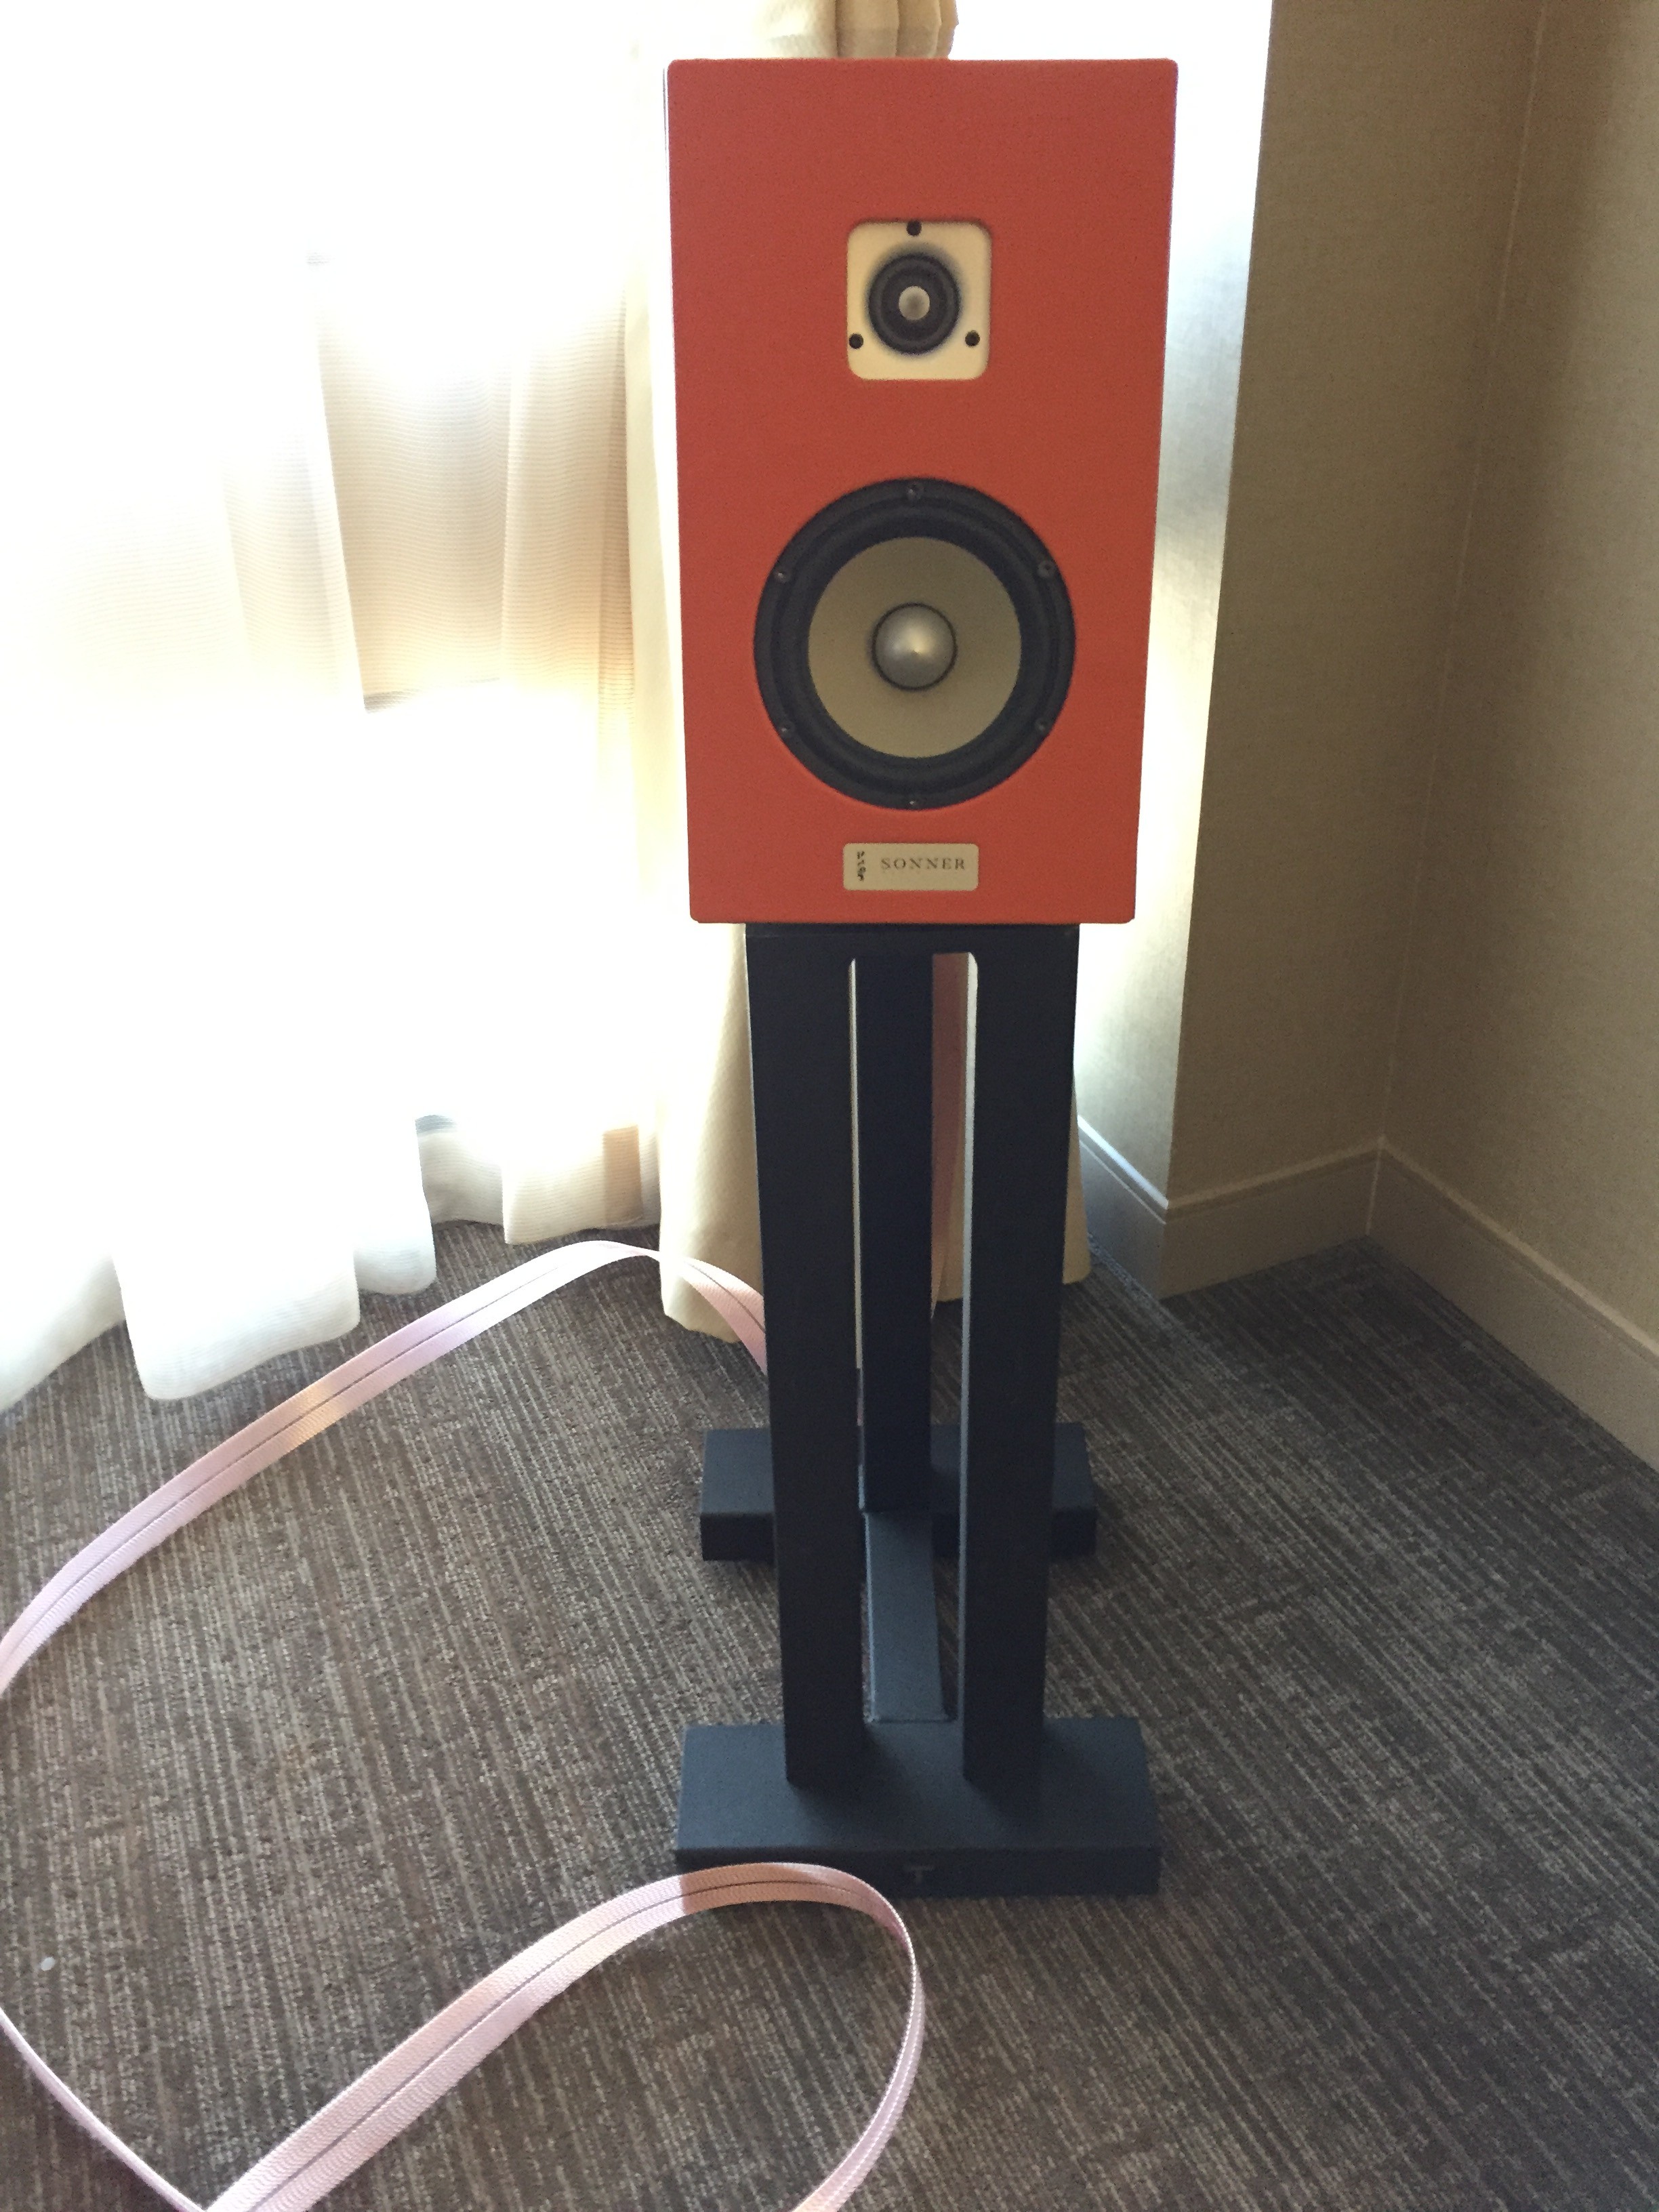
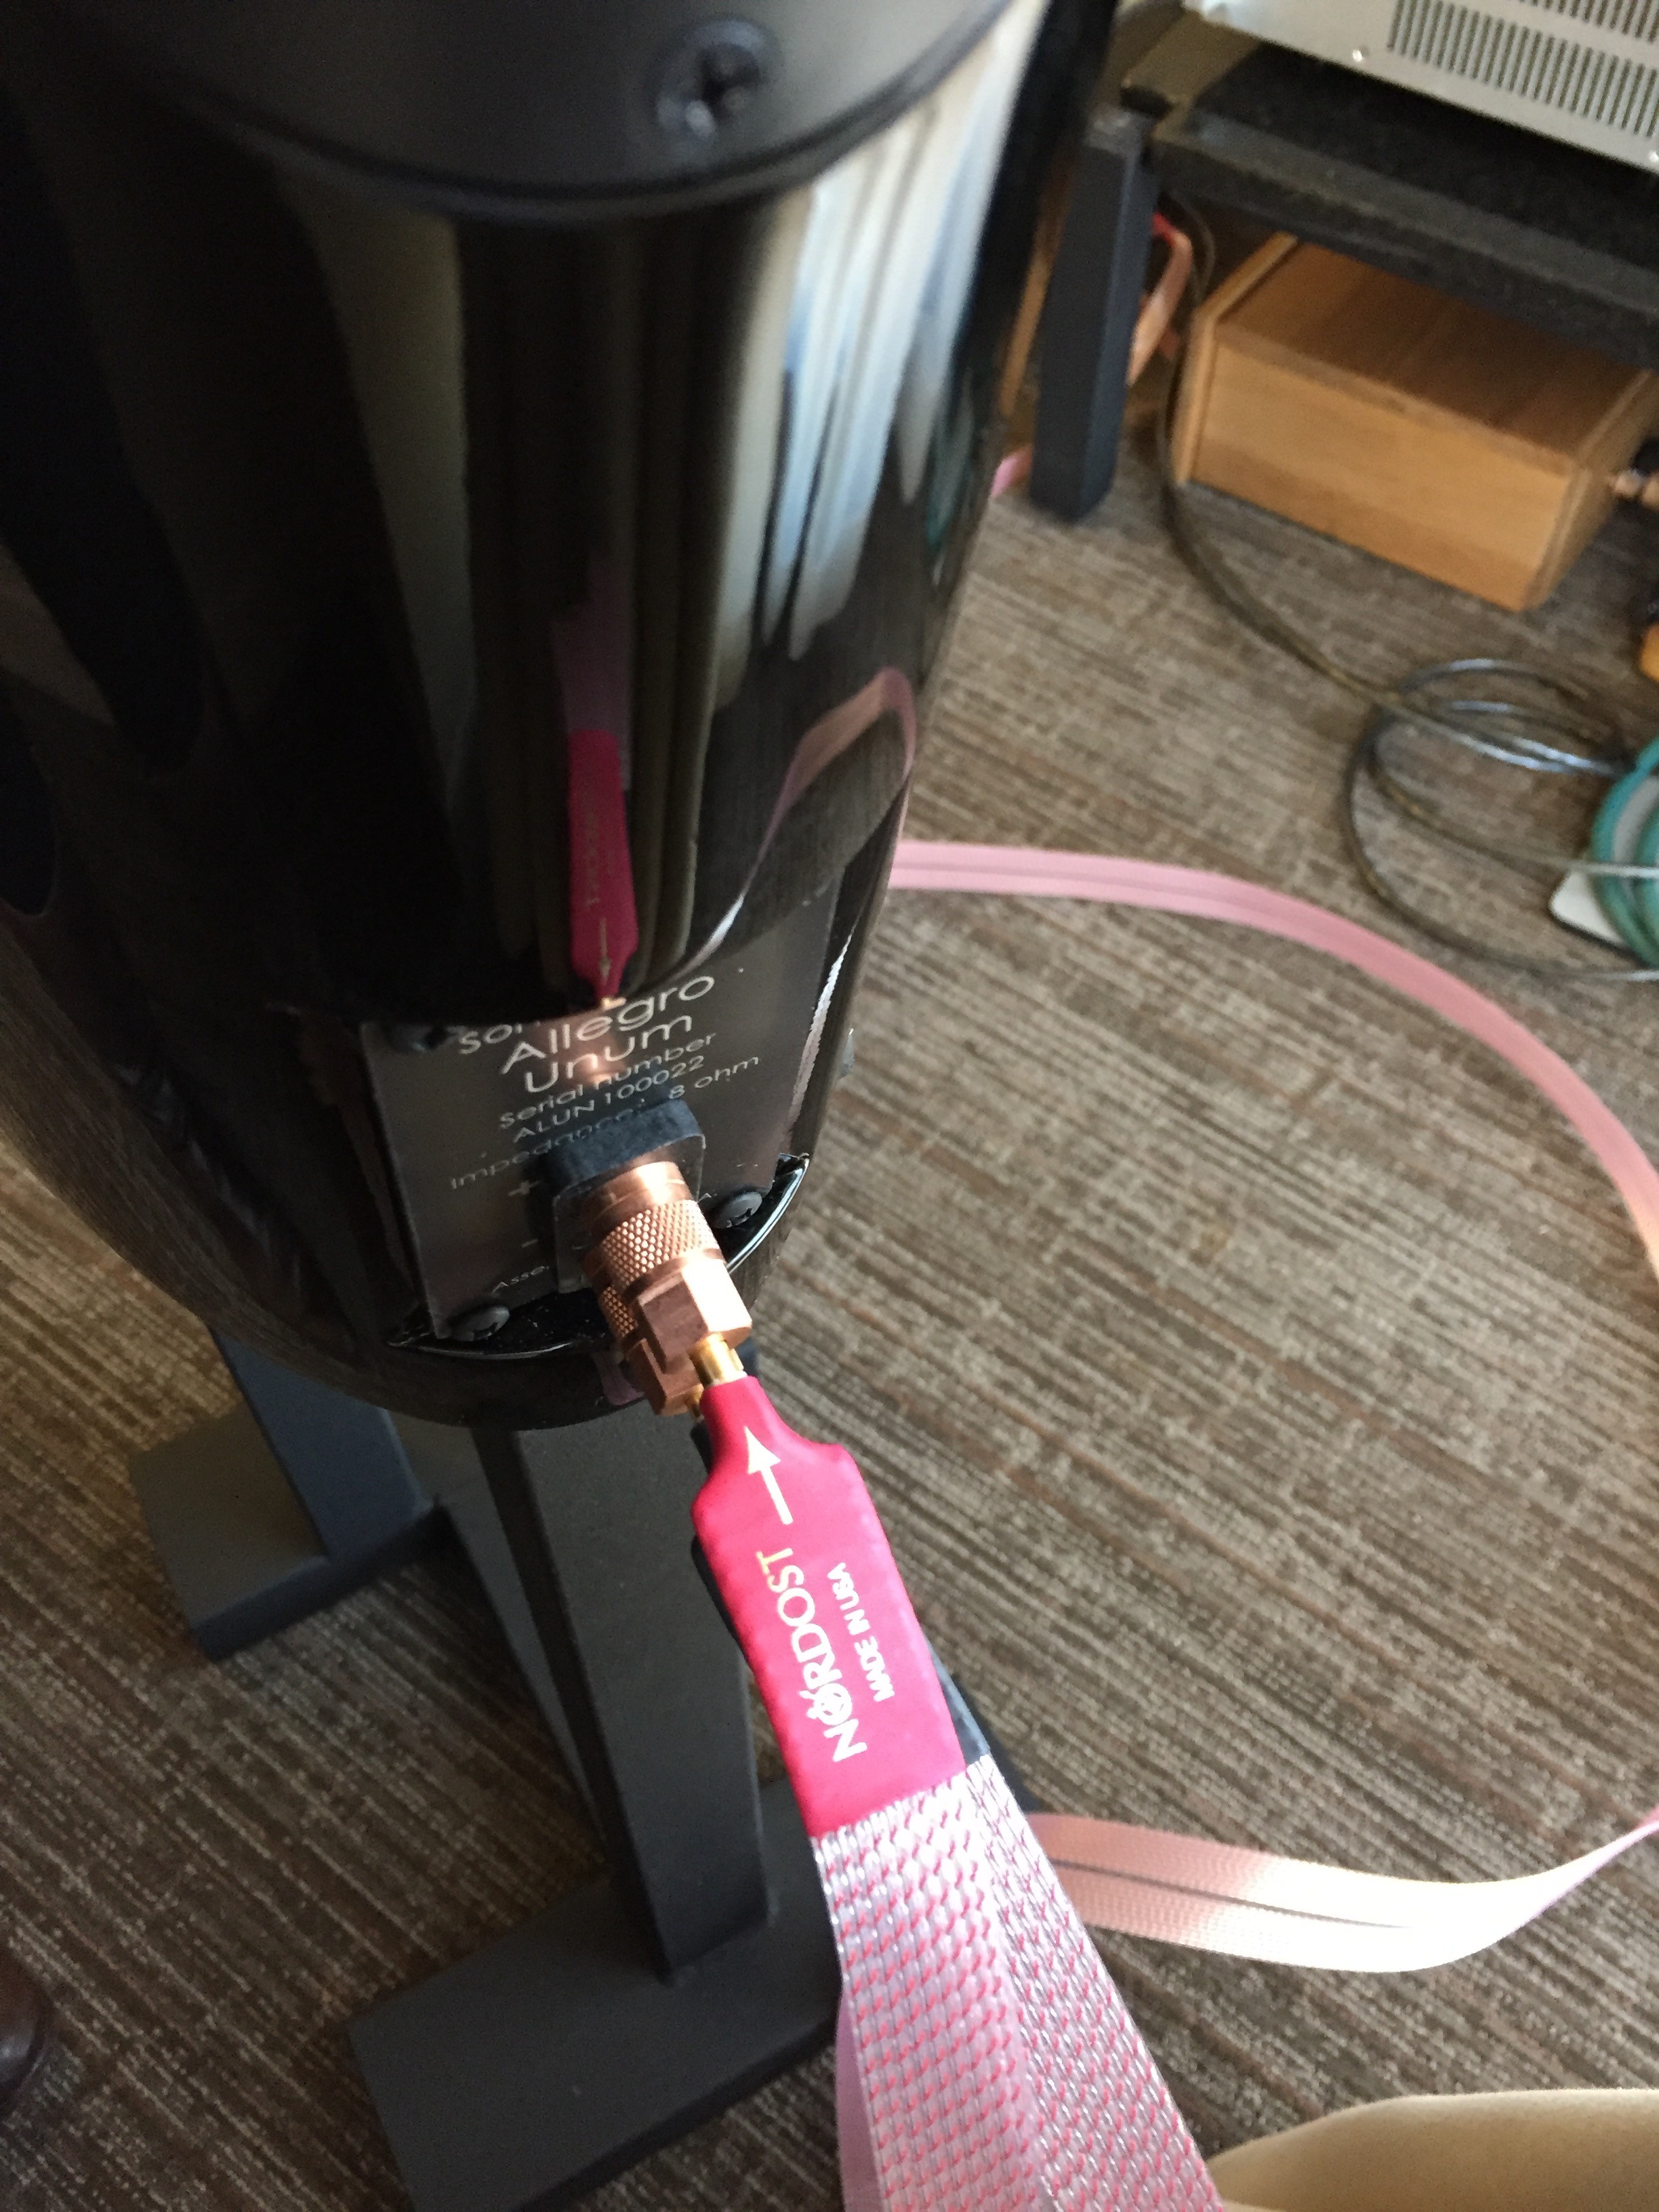
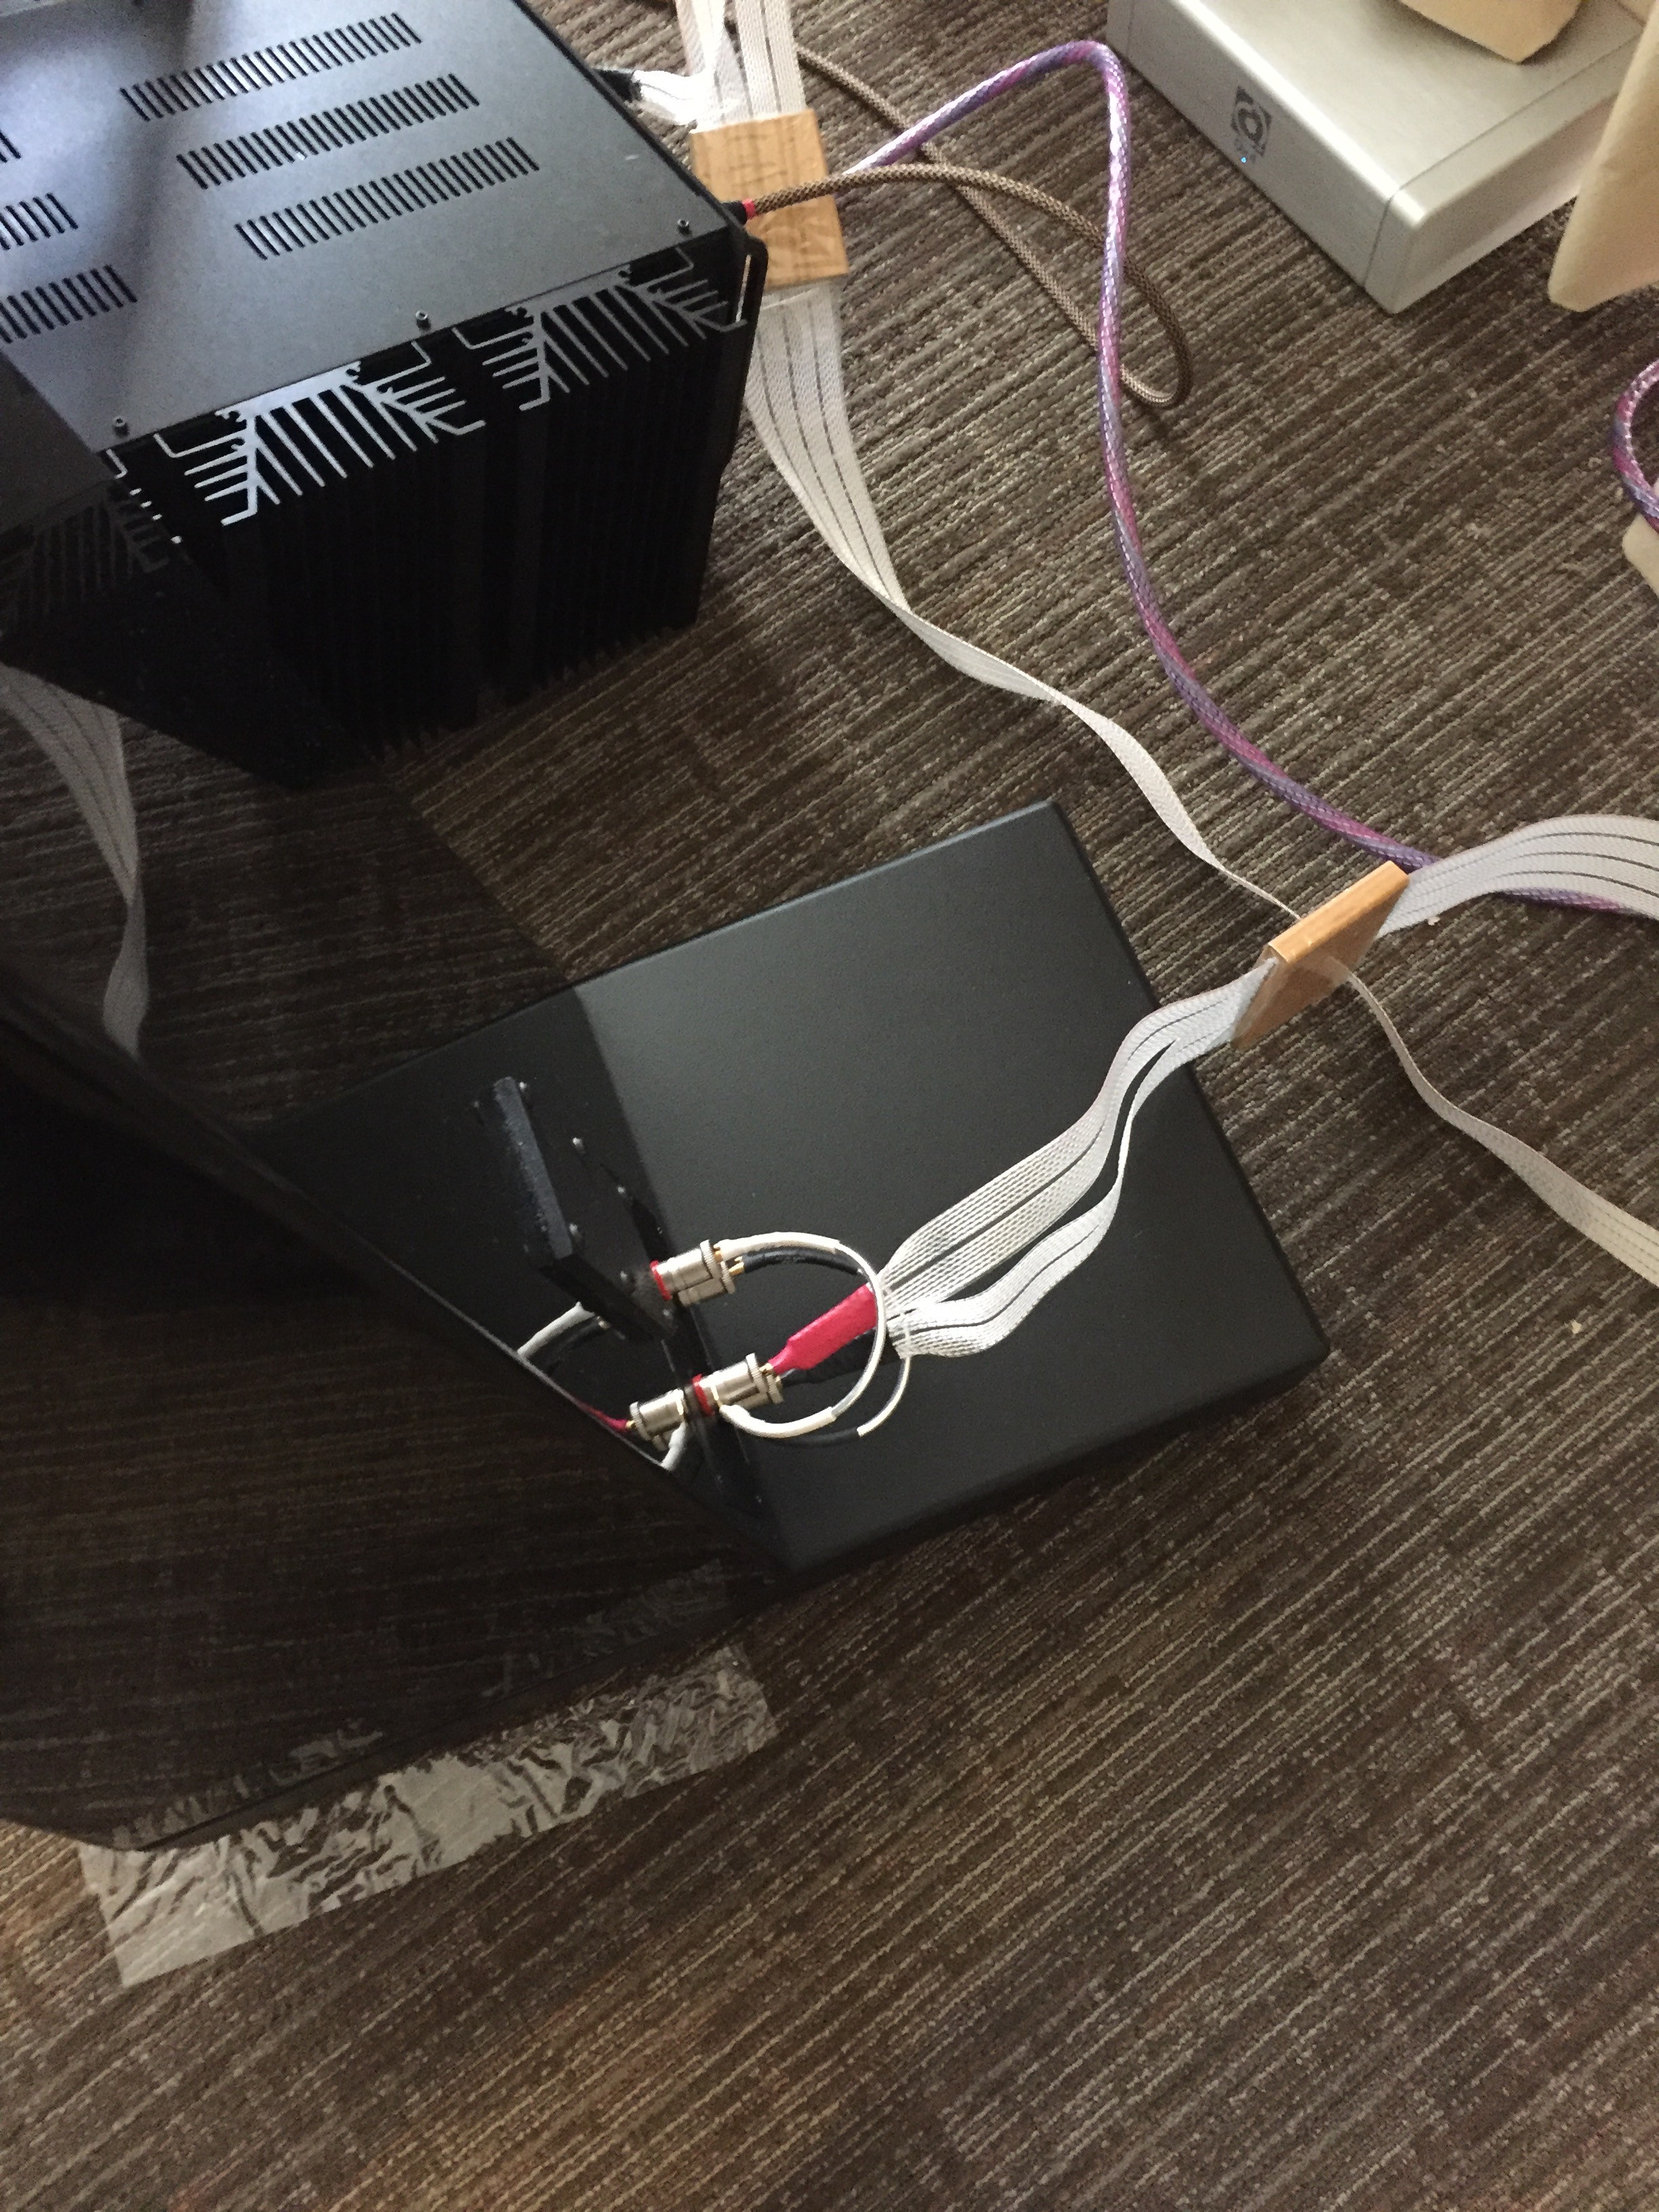
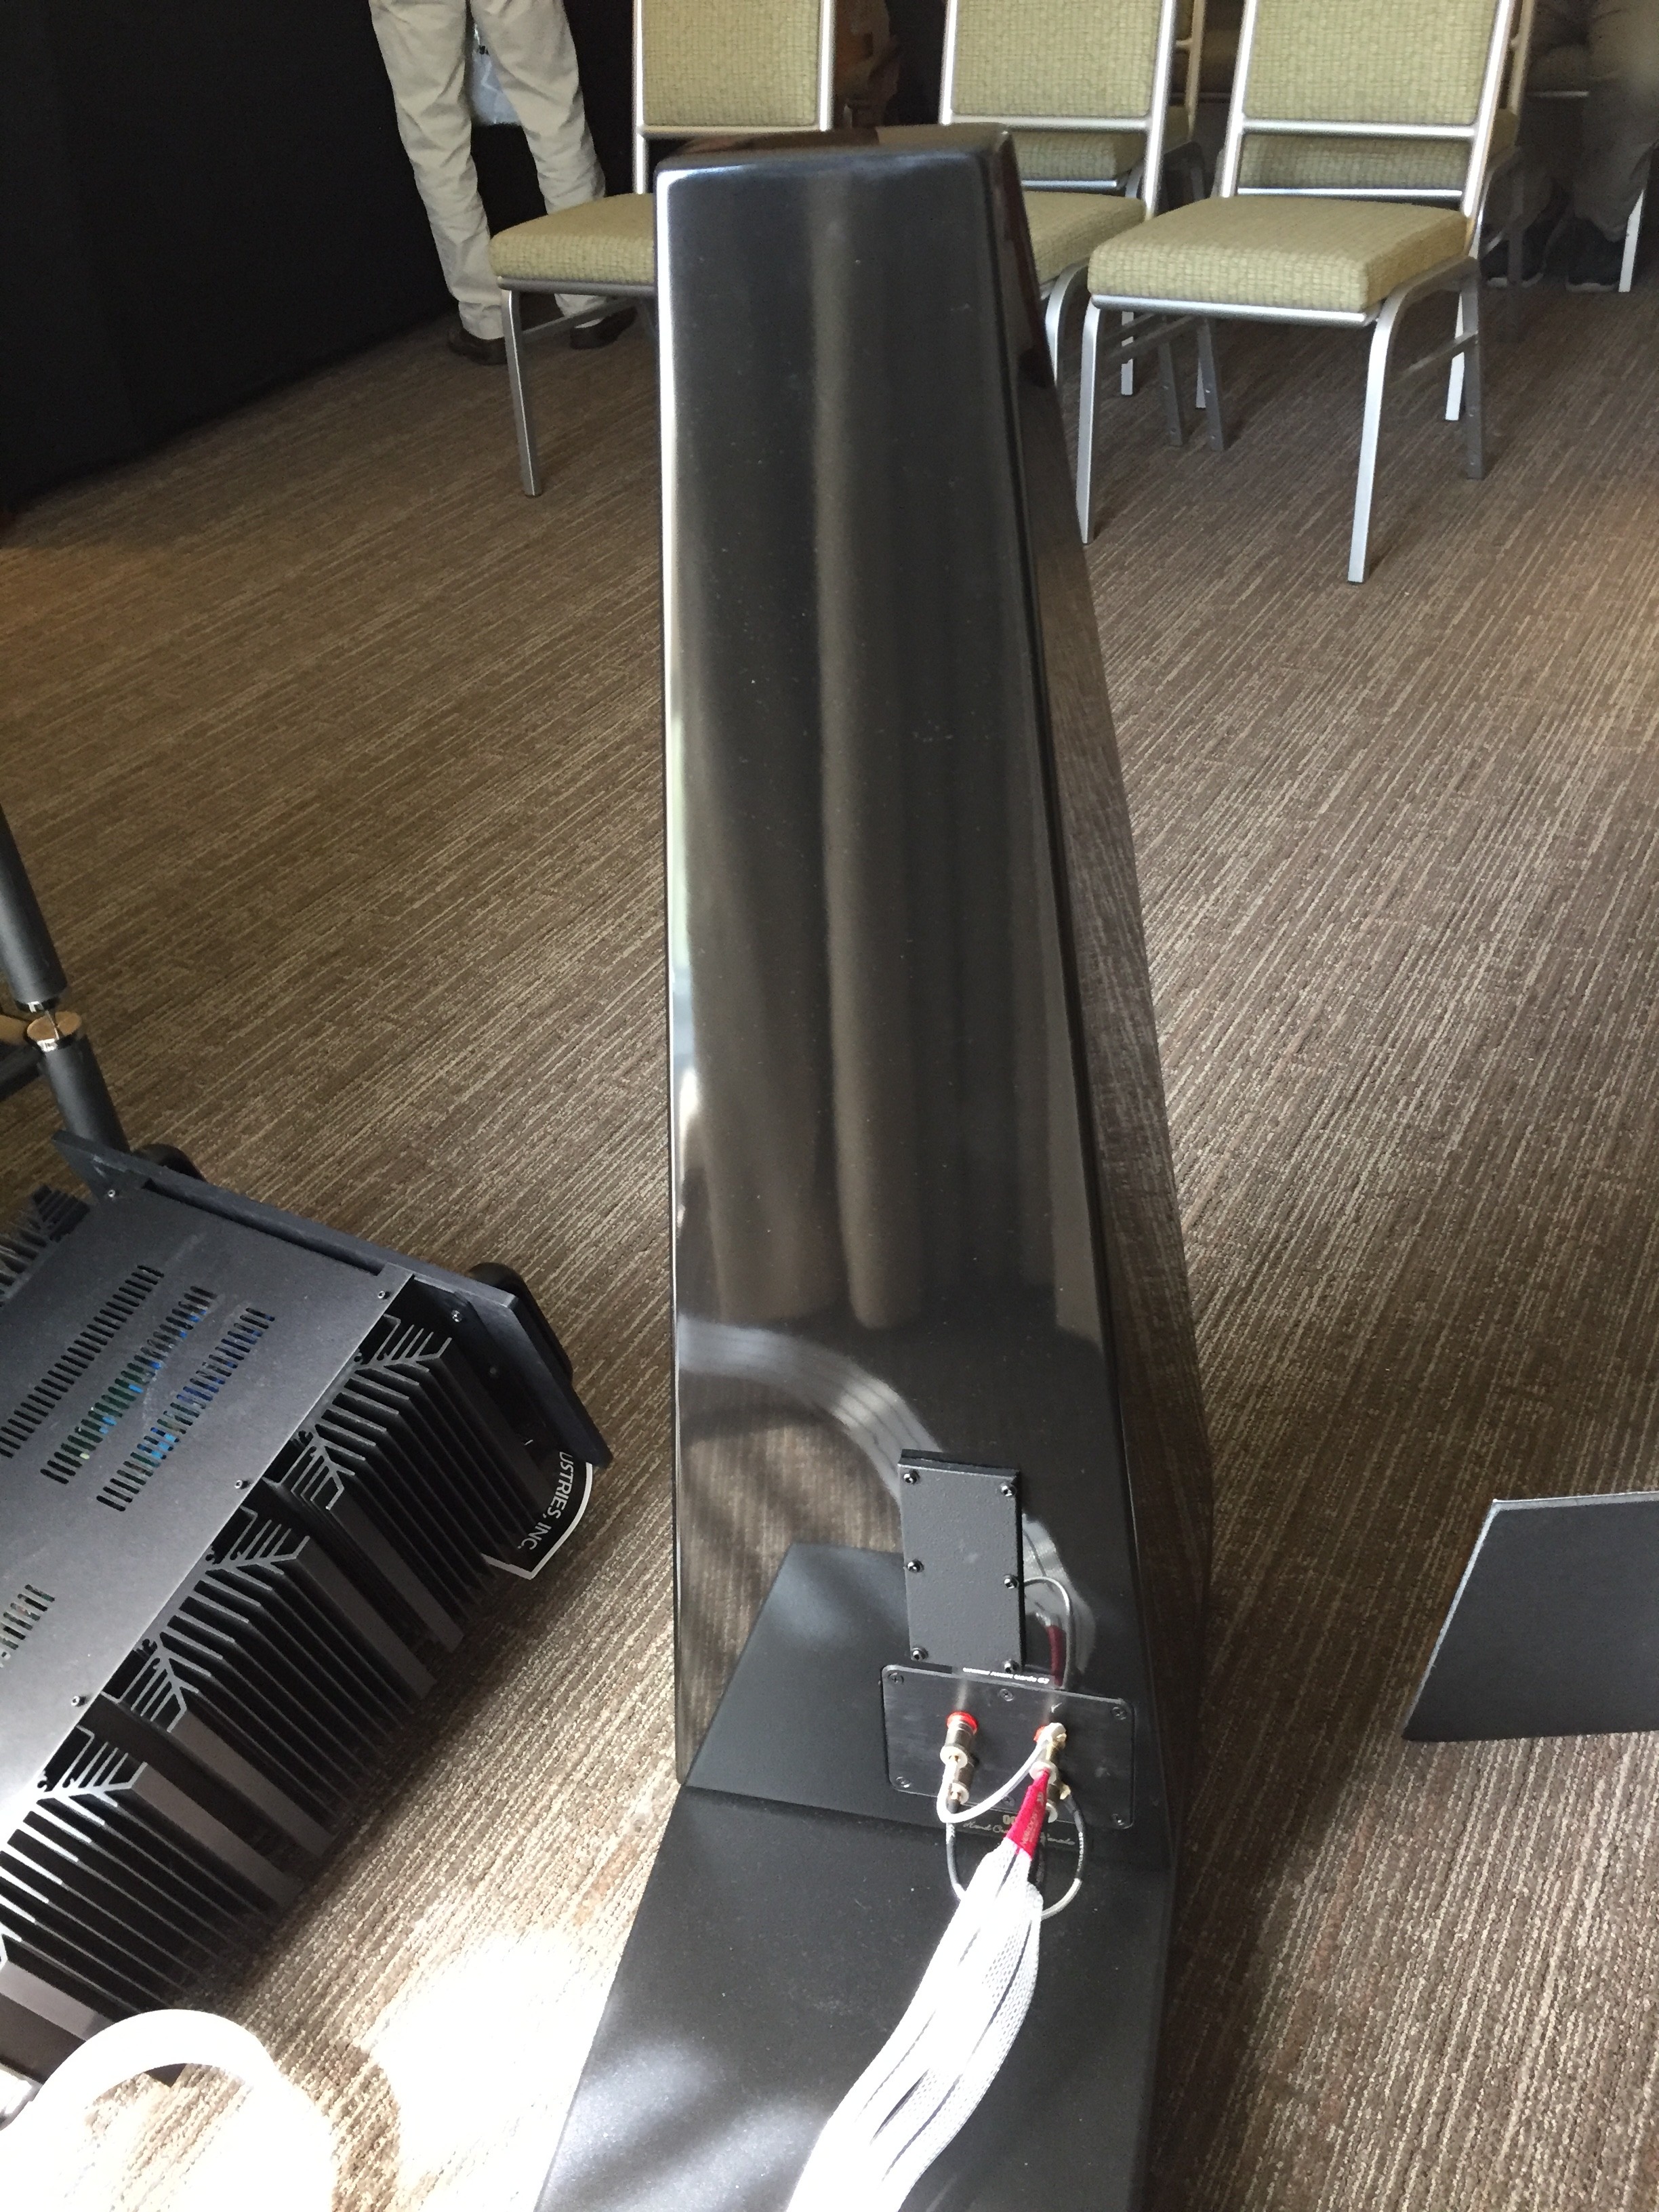
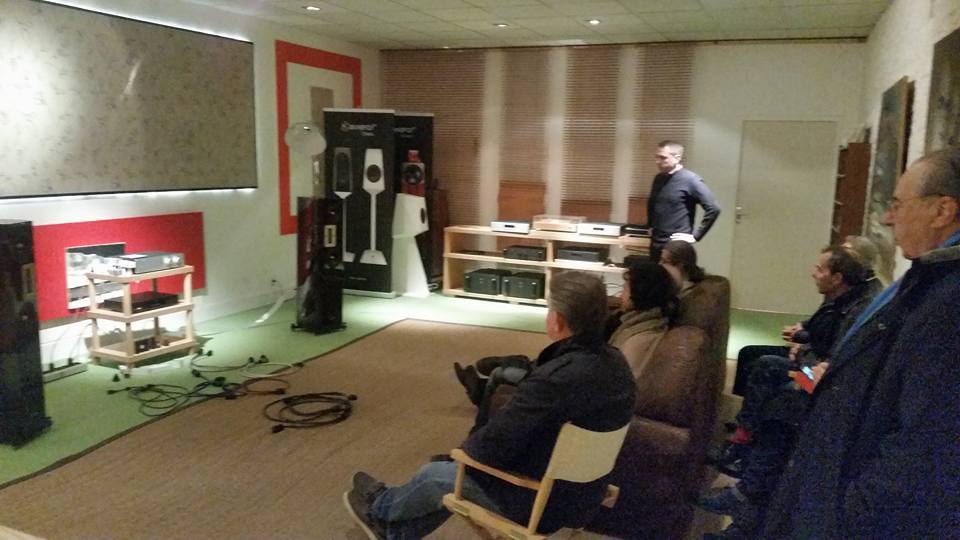
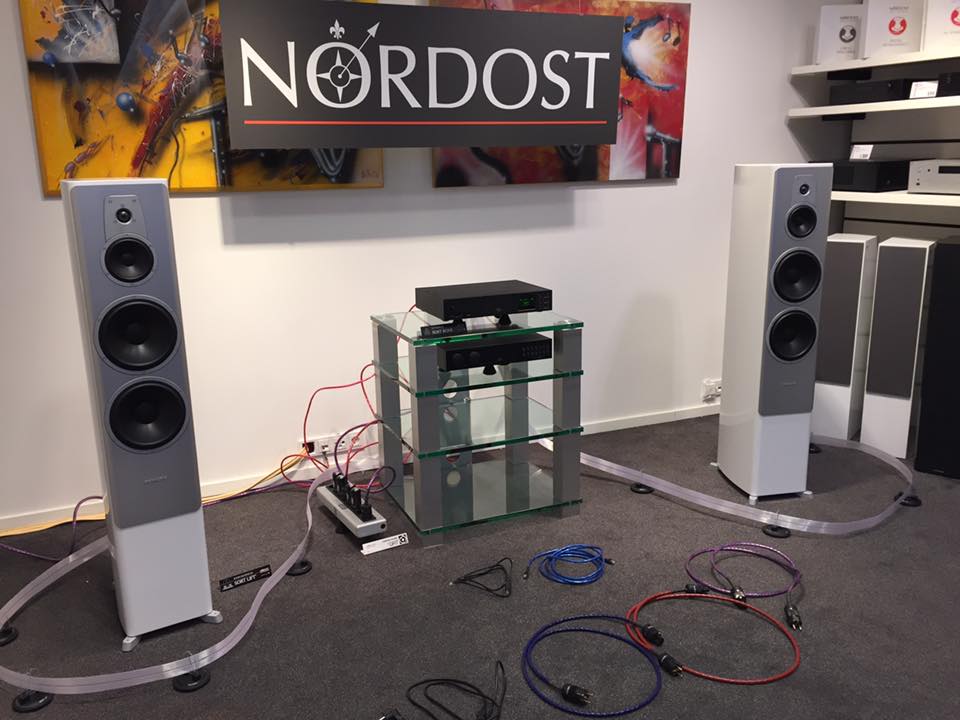
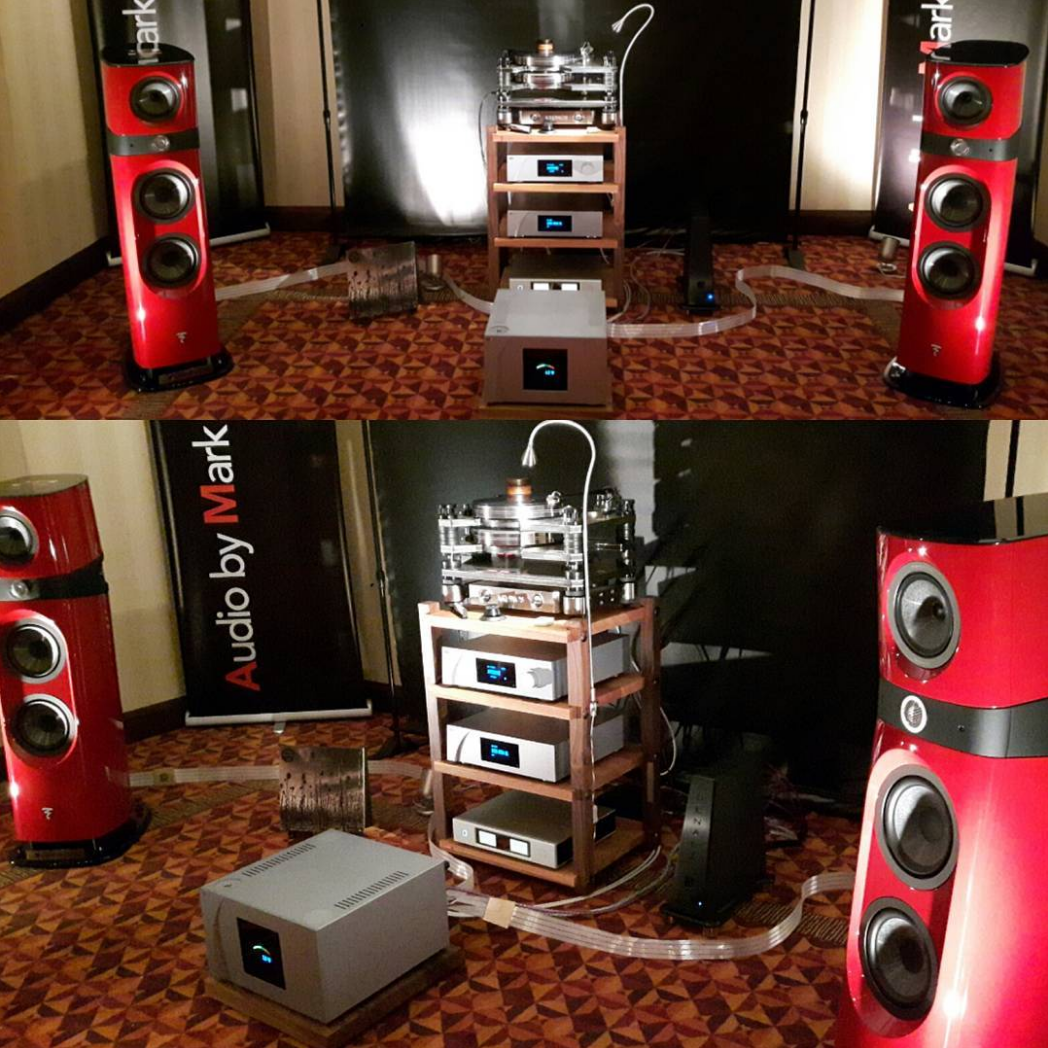
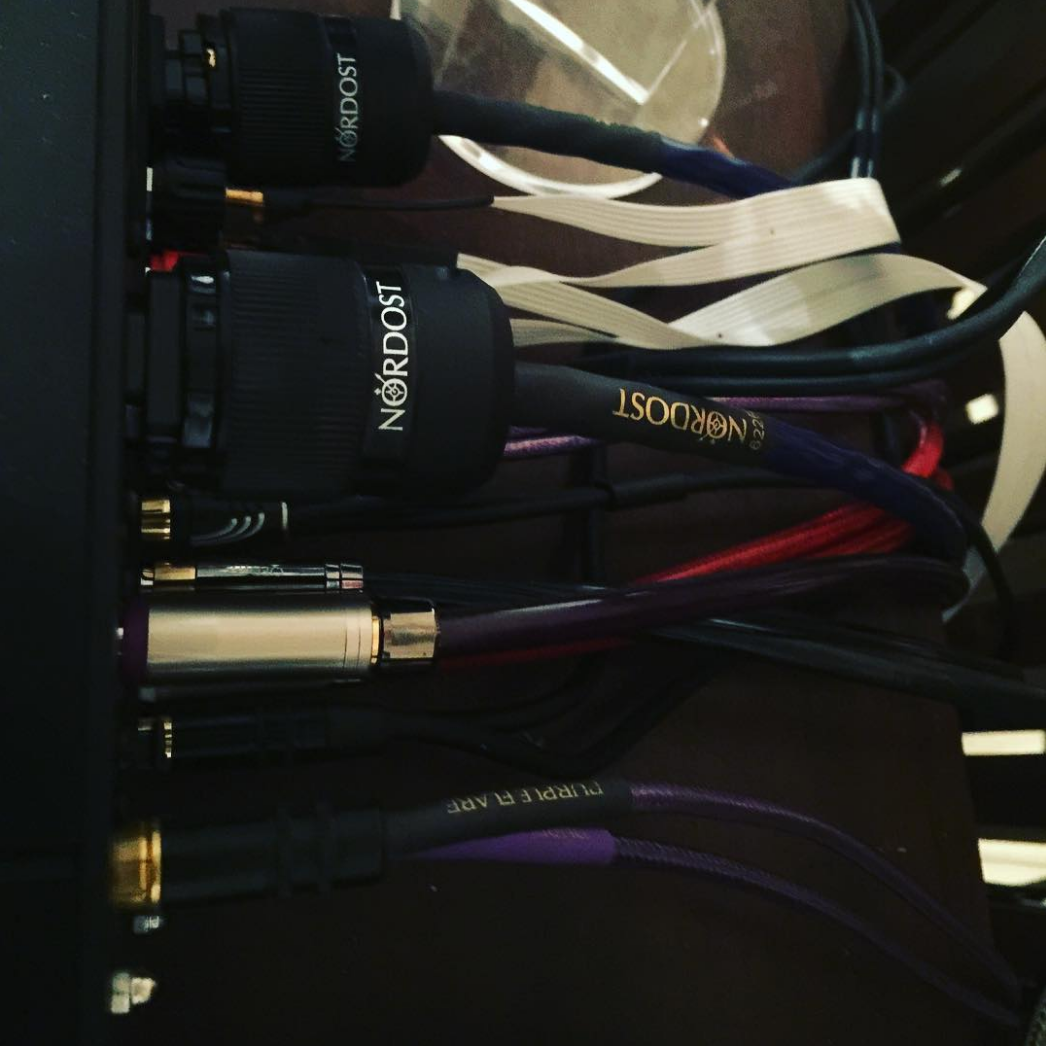
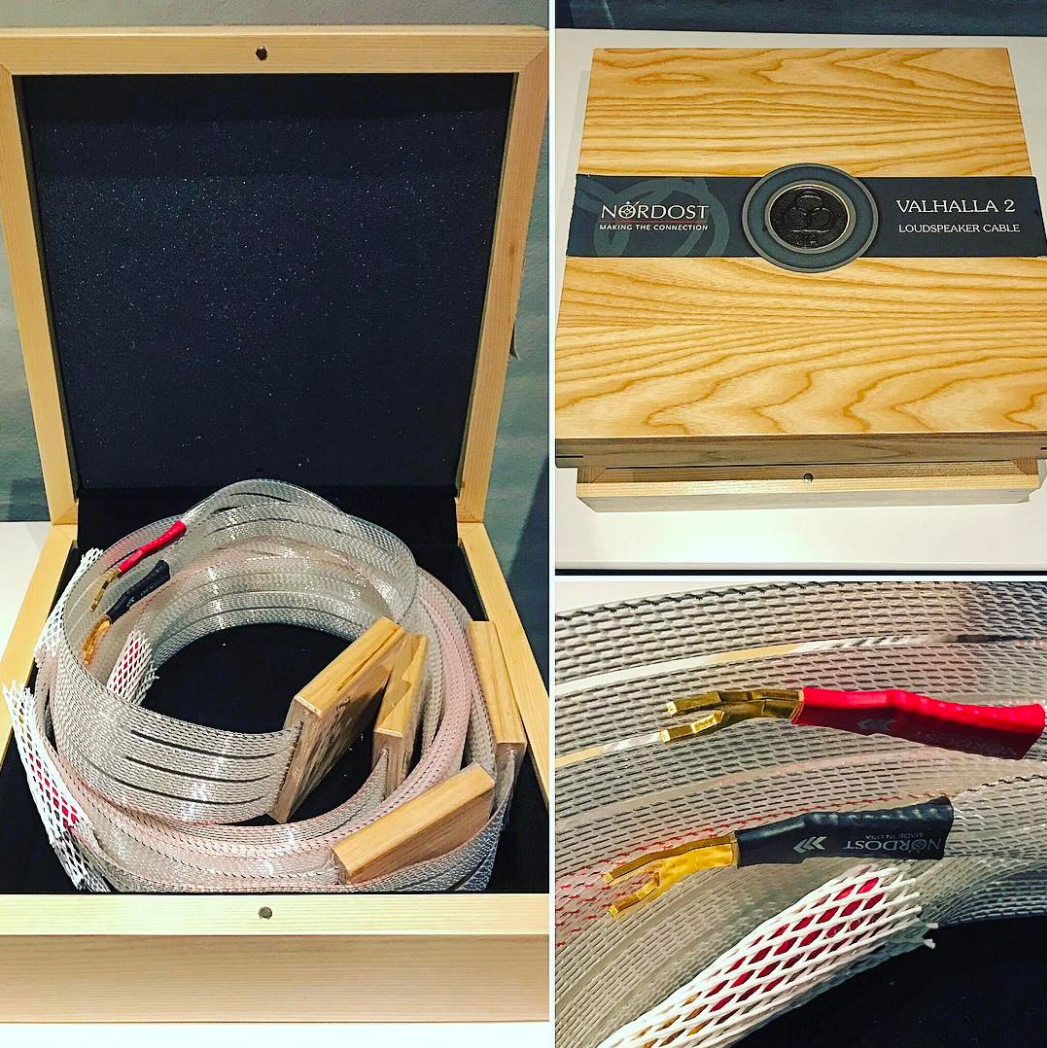
If you have had the opportunity to visit hifi audio shows in the past, hopefully you are familiar with Nordost demonstrations. For over 25 years, Nordost has been exhibiting at shows around the world and performing cable comparisons for the public. We maintain that consumers should audition the components that they are interested in before they make a purchase, and cables are no exception. While hearing cable demonstrations at a hifi show, or in a dealer’s showroom, can be a fun and informative experience, sometimes it is not enough to determine what is right for your home system. By arranging at-home auditions, you are able to hear what benefits, or drawbacks, specific cables bring to your sound system, using your own components, in your own listening room. However, if you are going to compare cables, there are a few guidelines to follow in order to ensure that you perform a successful audition.
1) Identify your area of interest
Although your ultimate goal may be to do a system-wide cabling upgrade, in order to do a fair comparison, you should identify one area to focus on at a time. For example, perhaps the first thing that you want to look at is the interconnect between your CD player and preamplifier. This will help you isolate and identify the resulting audible differences, as you perform your comparisons.
2) Request Demo Cables
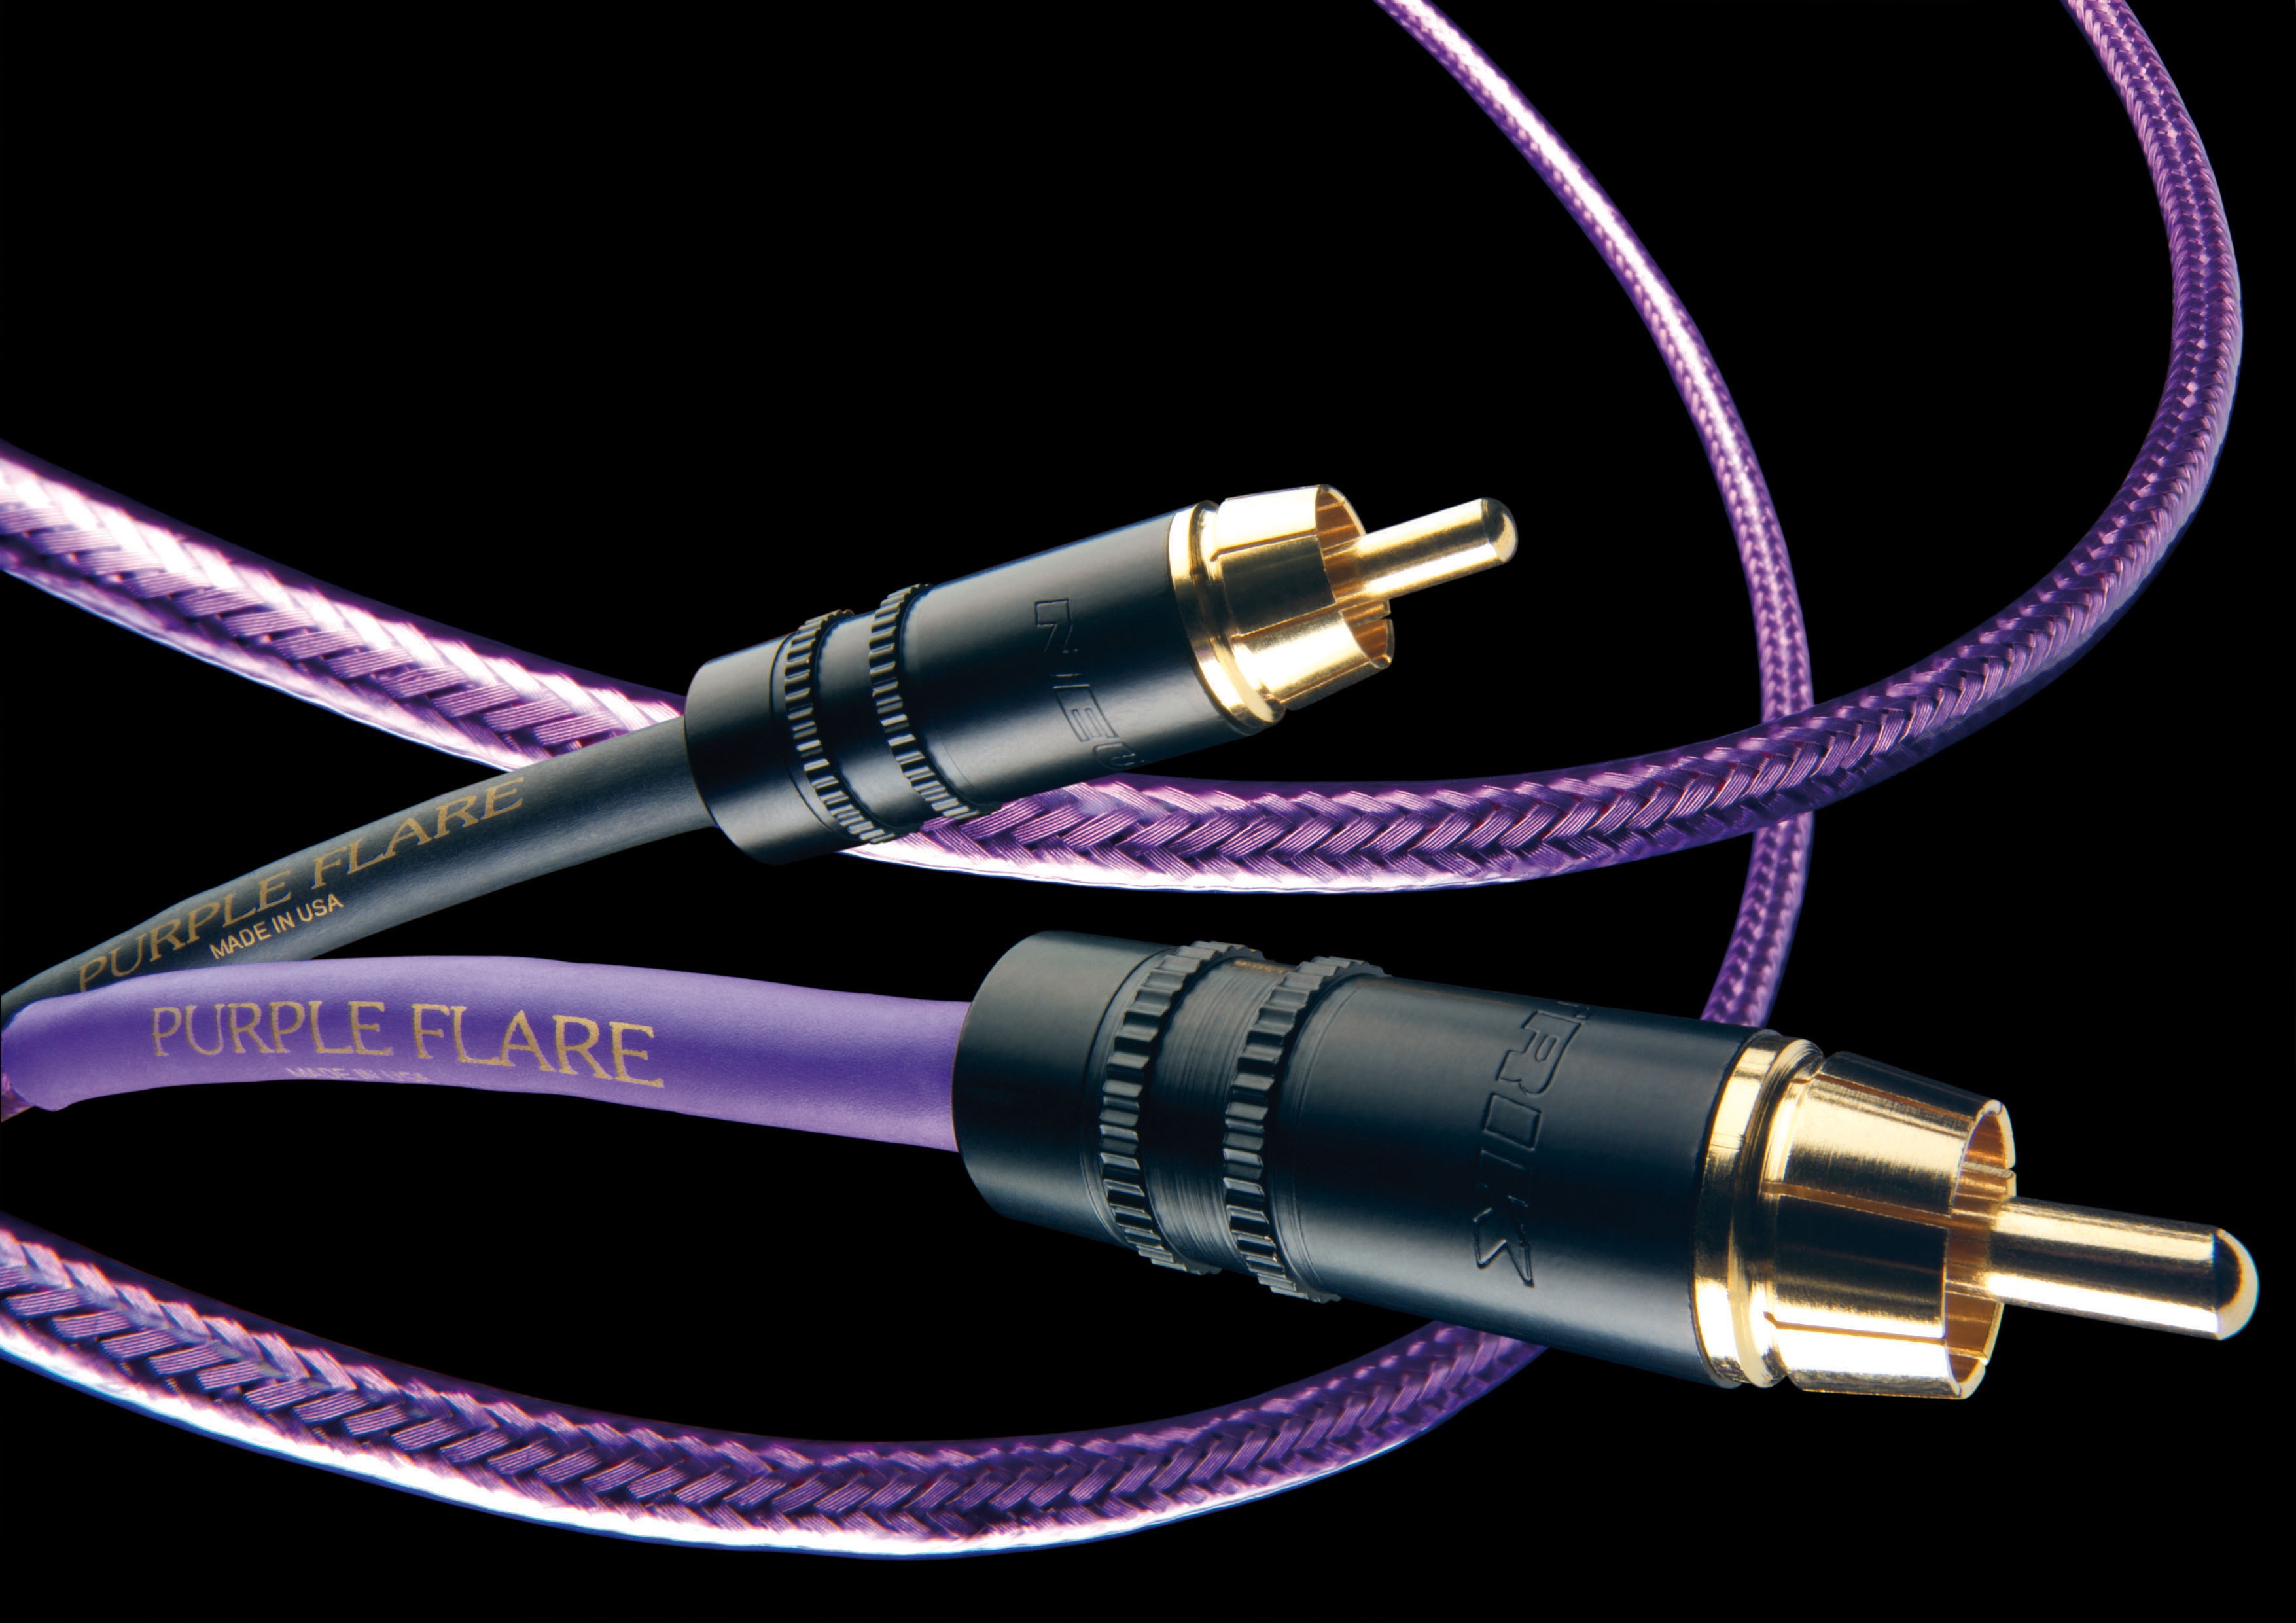
Make sure that when inquiring about taking cables home from your local audio dealer for comparison, they give you cables that have already been used in a system for a considerable amount of time. Before a cable sounds its best, it must be broken in, due to gases that can be trapped in the insulation, and the high electrical charge that is inherent in new cables. These negative characteristics change after the first 100 hours of play time or “burn-in”. Another thing to note when picking up your demo cables from a dealer is to pay attention to cable length. When making comparisons between one brand, make sure that the cables are the same length, as that can greatly affect the sonic properties of the cables. When you are cross-comparing cables from different companies, the design philosophy of a cable will impact which length sounds “best”. Nordost, for example, uses a low-capacitance design that sounds better with longer lengths of cables (up to about a 5 meter length).
3) Re-familiarize yourself with your system
Now that you have identified the cables you will focus on, and you have collected burned-in demo cables of uniform length from your dealer, it is time to change… nothing. Although it might be tempting to get started right away, take some time to first reacquaint yourself to your system as is. Put on some music and listen to your system with a critical ear: point out the characteristics that are unique to your system, identifying aspects you like, aspects that you find lacking etc.
4) Musical selection and listening
The genre of music you select for auditioning cables is entirely up to you. However, it is important to choose tracks that you are familiar with. One of the most enjoyable aspects of comparing and upgrading cables, is discovering nuances you have never heard before in a piece of music that you have listened to countless times! Once you have decided on a number of tracks that you are familiar with (you should choose a few different pieces, especially if you are going to be doing a number of comparisons, so that listening fatigue doesn’t set in), make sure to play each cut of music for only 45 seconds to 1 minute before making a change. If you listen to a song in its entirety, you may forget the details in the beginning of the track. We find that 45 seconds is just enough time to get into a piece, without waiting so long as to take away from the comparison.

5) Switching Cables
Once you listen to your 45 second piece of music, it is important to switch out your cables as quickly as possible, in order to minimize the time between the comparisons. When conducting your switch, make sure that all other variables remain the same. If we stick with the assumption that you are changing the interconnect between your CD player and preamplifier, put your preamplifier on mute (or change the input to effectively mute the preamp) but do NOT change the volume or power down your system. If you are comparing power cords, you will have to power down, but make sure that your volume remains the same throughout all of your comparisons.
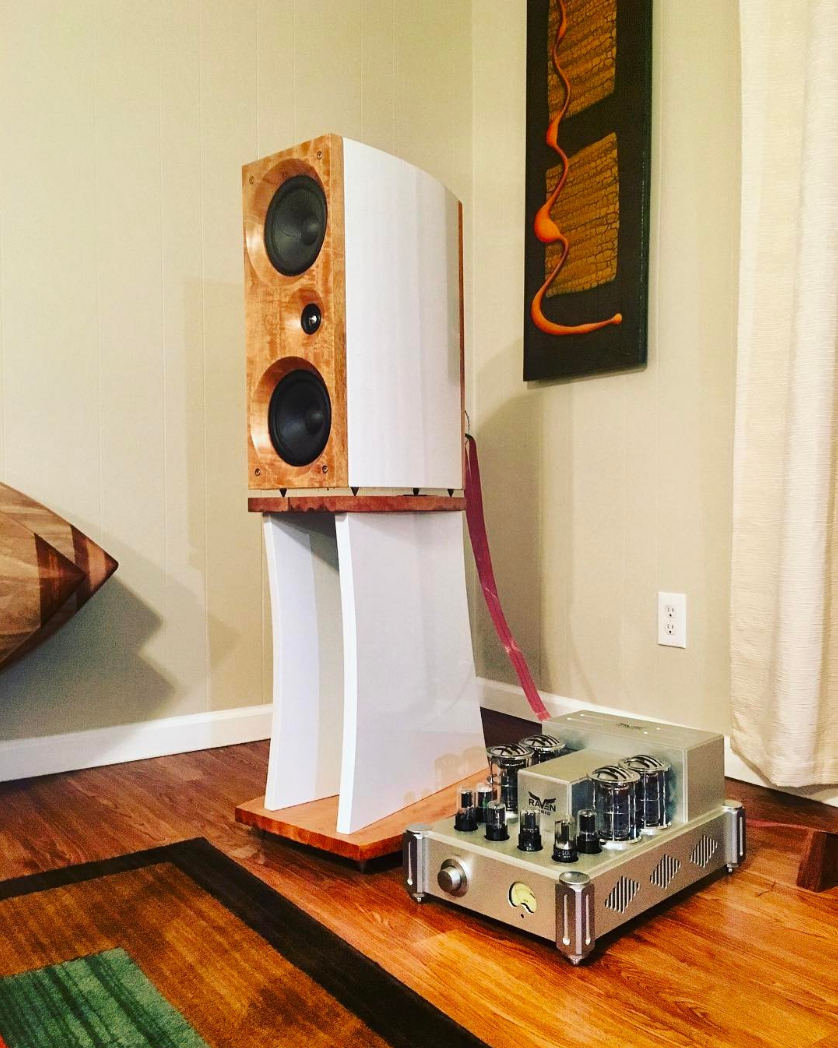
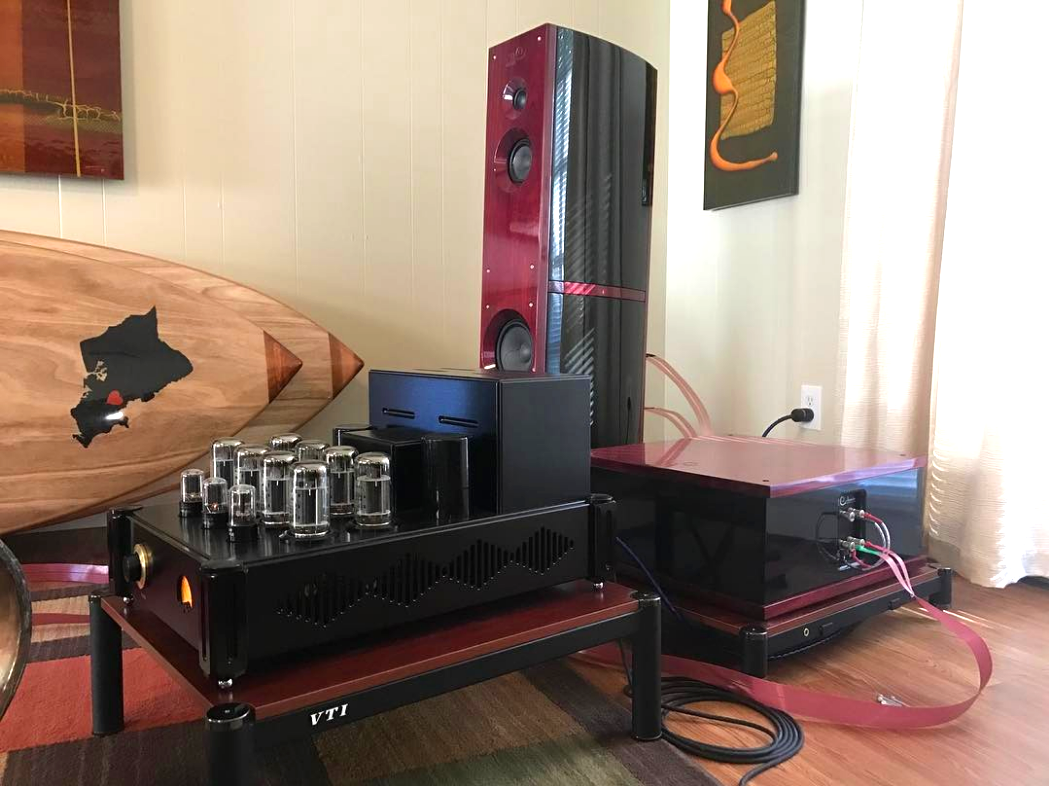
If your system includes tube amplifiers, they take some time to become linear, so unfortunately you will have to wait for them to warm up in order to perform a fair comparison.
6) Switch Back
Once you have repeated this process until you have completed all of your A/B comparisons, switch back to your original cabling to remind yourself how much of an impact one cable can make within your entire system.
Although you have now finished your comparison process, that doesn’t mean your audition is over. It takes time for cables to settle into your system. We encourage our customers to reinstall the cable that you are most happy with from doing the initial comparison, and live with it in your system for a few days to really understand what this addition will bring to the overall performance of your system.


