
What better way to start off the new year than by giving the people what they “liked” most throughout the past year, all in one spot! This 2022 blog round-up includes our posts from last year that received the most engagement, whether that be likes, shares, comments, retweets, Instagram reactions, or however you feel like measuring nowadays. Here are our favorite blogs, back by popular demand!
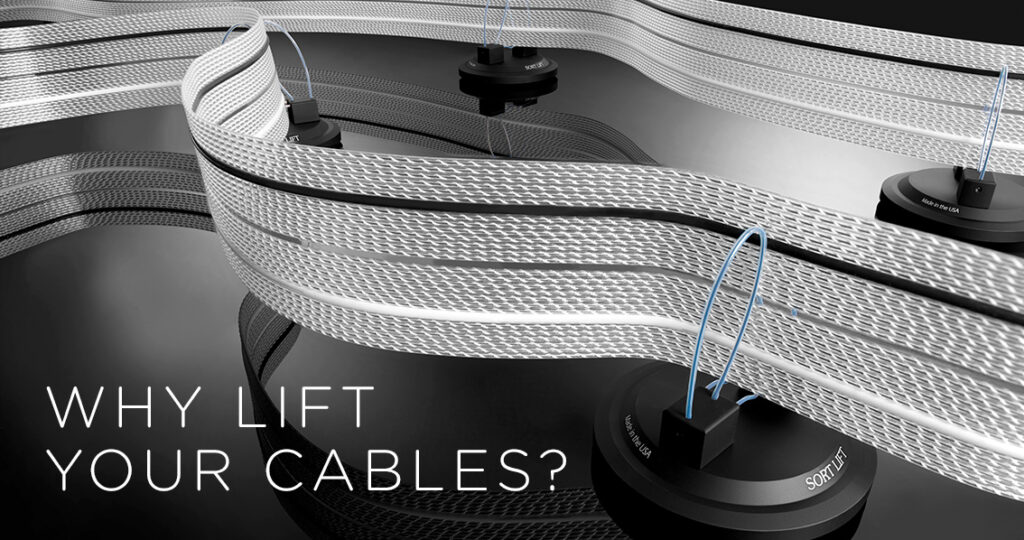
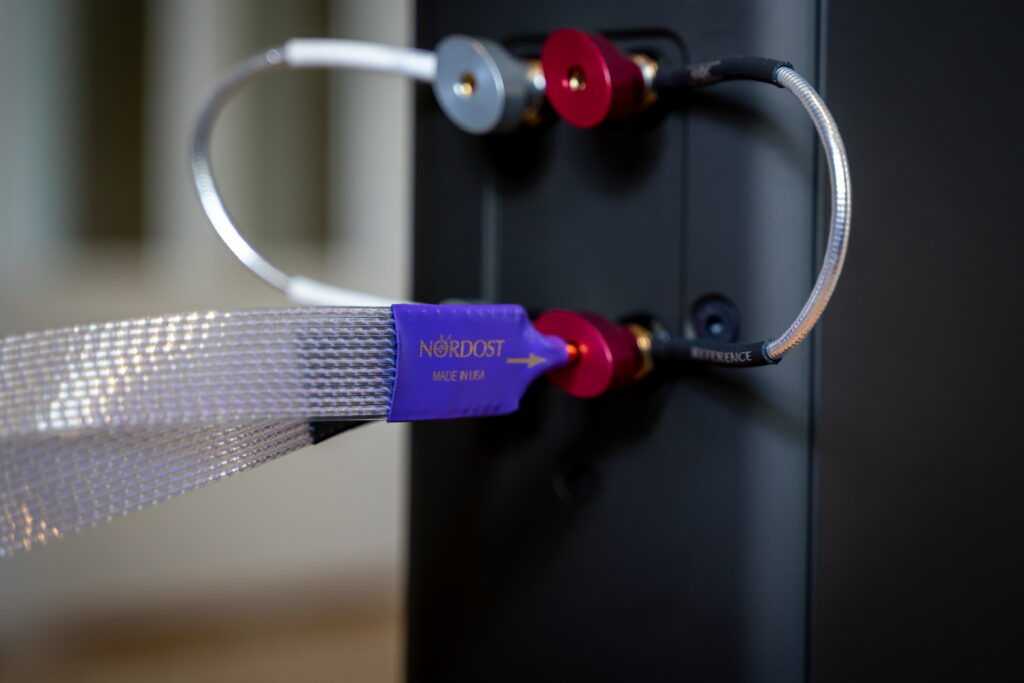
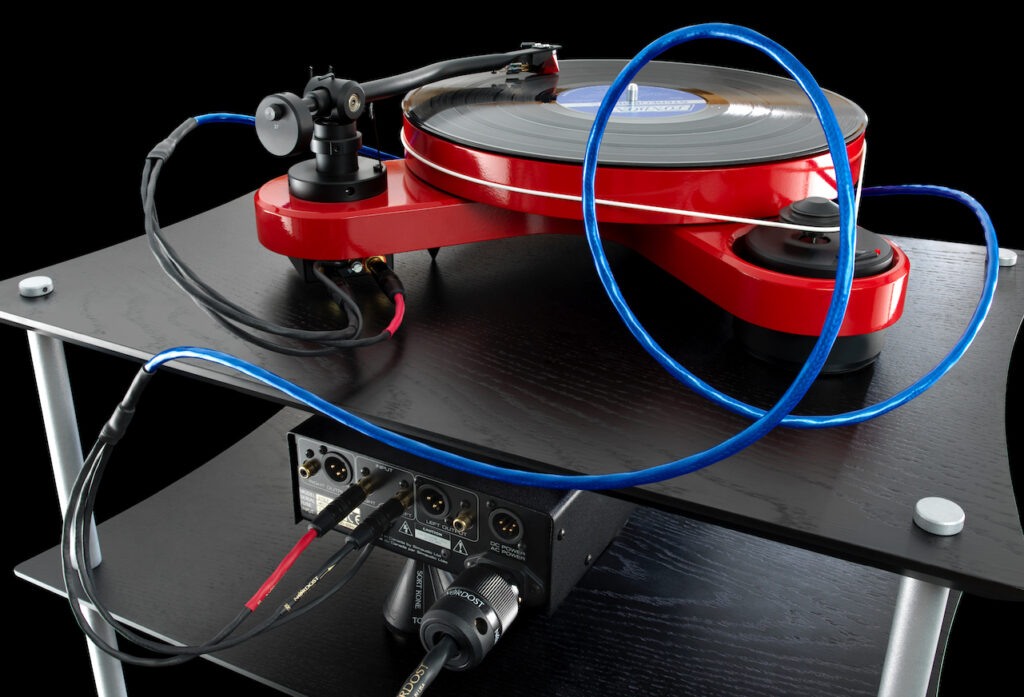
Cable lifters do a lot more than just make your system more aesthetically pleasing and help cable manufacturers highlight their cables at tradeshows. This blog explains the purpose of cable lifters and tells you how they can improve your sound!
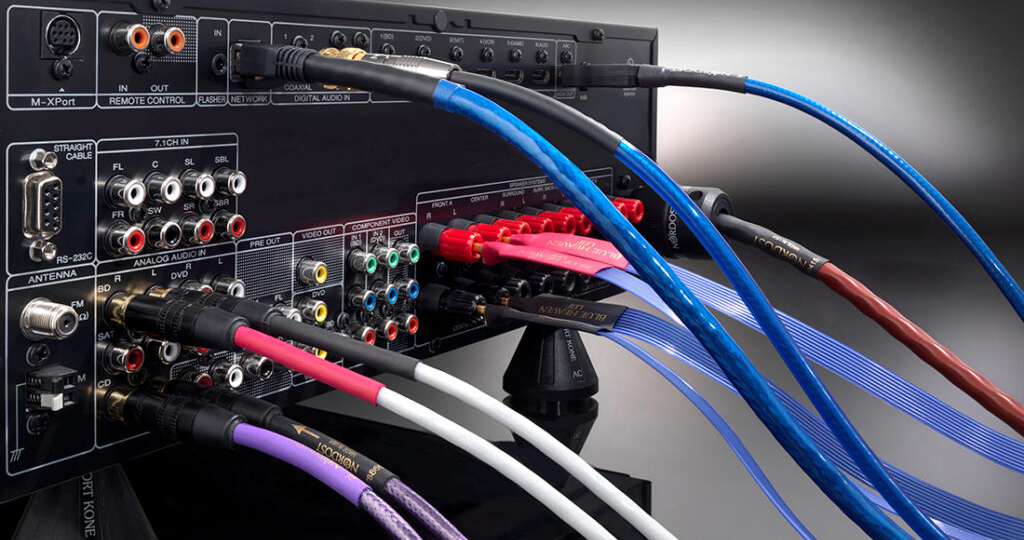
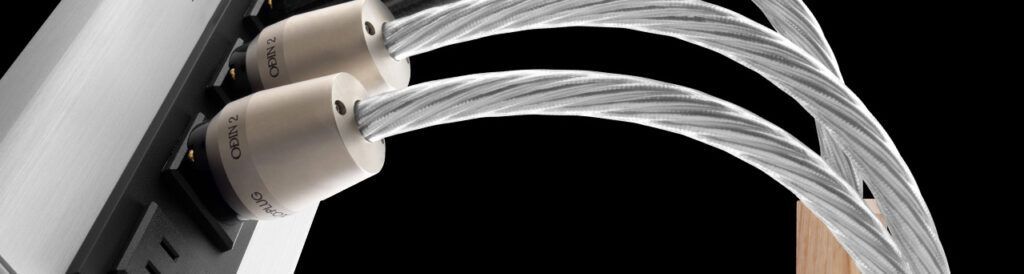
Why Are Audio Cables Important?
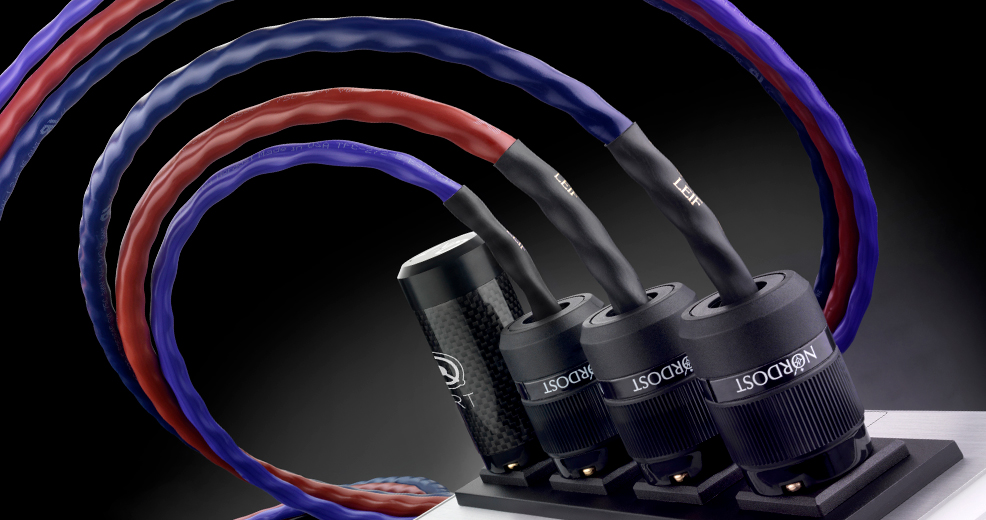
Audio cables can be a controversial subject in the audio community, and people tend to end up in one of two camps: cable believers and cable deniers. So, instead of blindly joining one side or the other, get your questions answered and get informed!

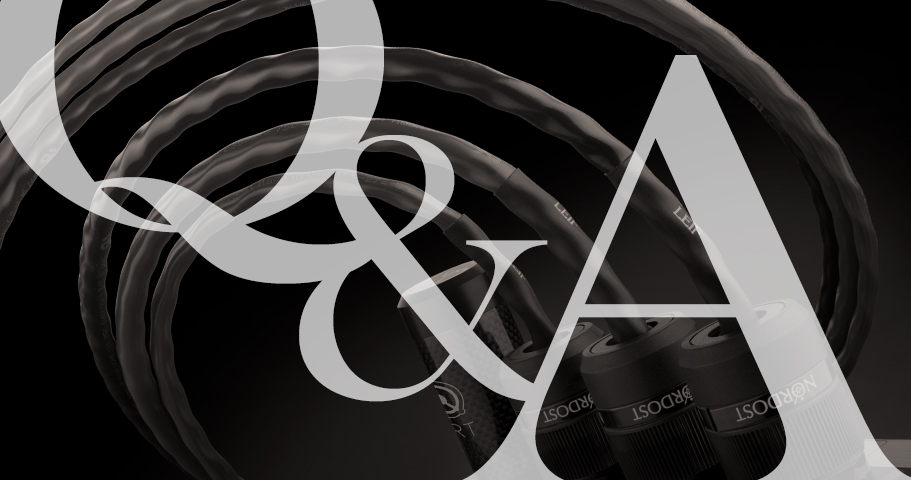
Our product specialists receive questions on a daily basis about Nordost products, their application, and hifi in general. We thought that we would take a minute to share some of those questions here so that everyone can get the answers they are looking for!

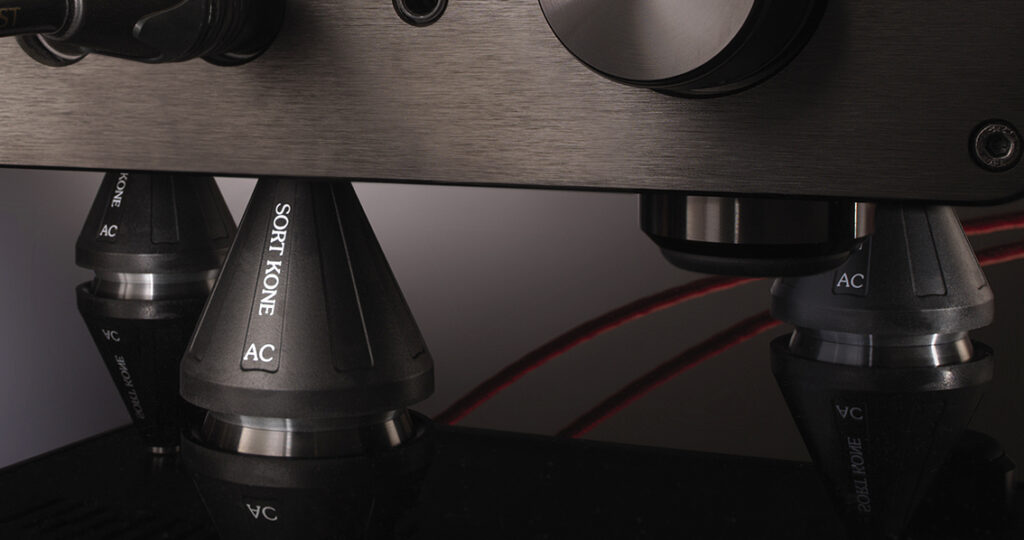
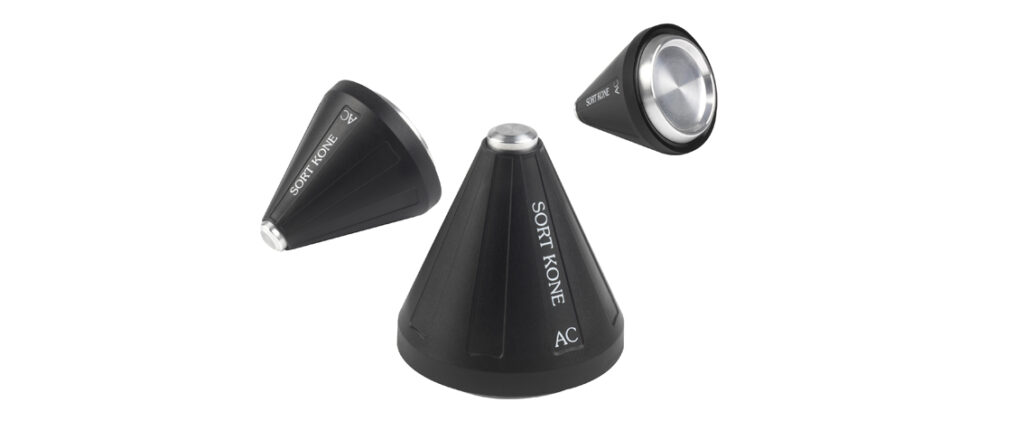
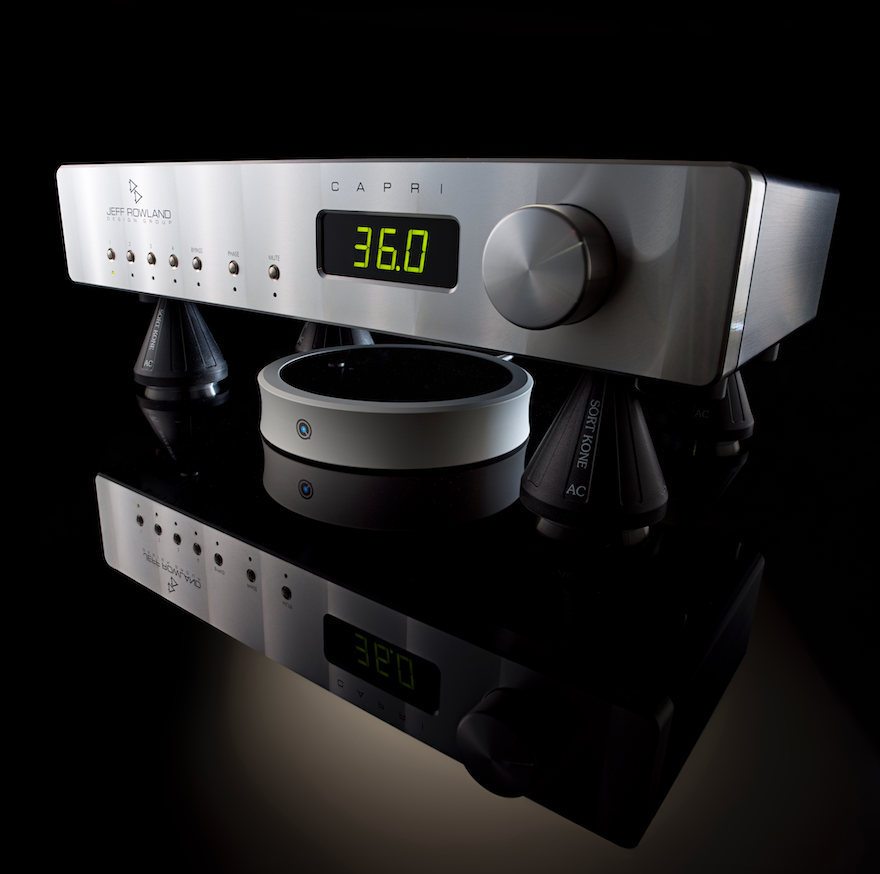
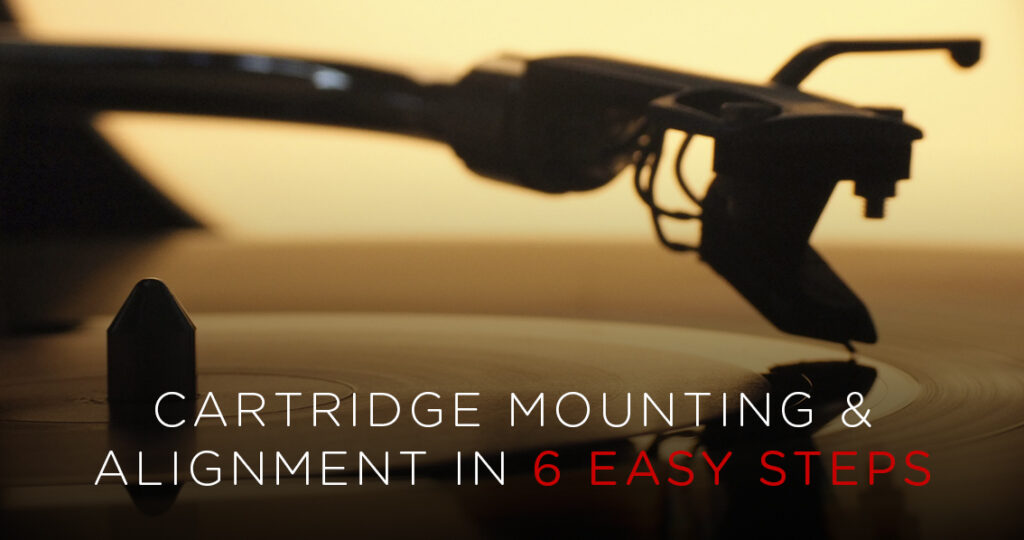
How to Position Your Sort Kones to Get the Best Sound From Your Components
Sort Kones eliminate the harmful vibrations generated within your components that degrade the sound of your system. However, the placement of those Kones make a huge impact on the sonic results. This blog will help you to most effectively place your Sort Kones to achieve the best performance from your devices.

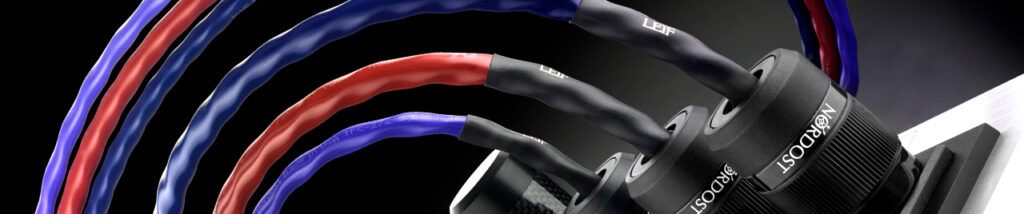
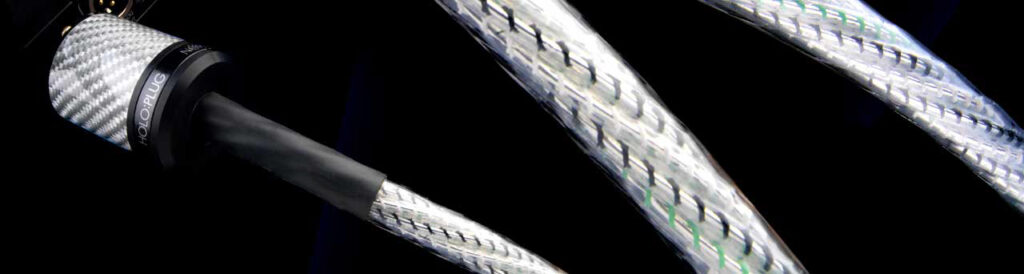
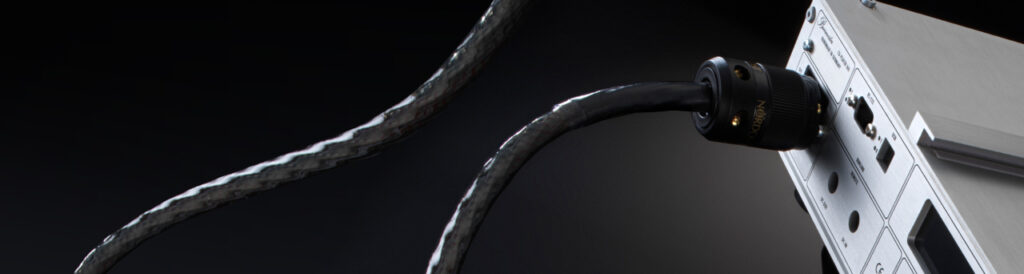
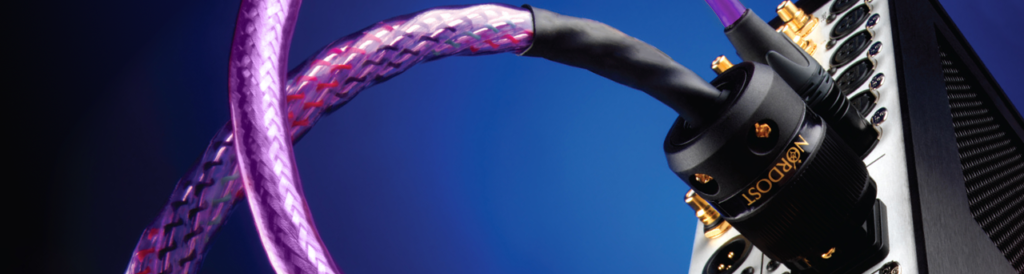
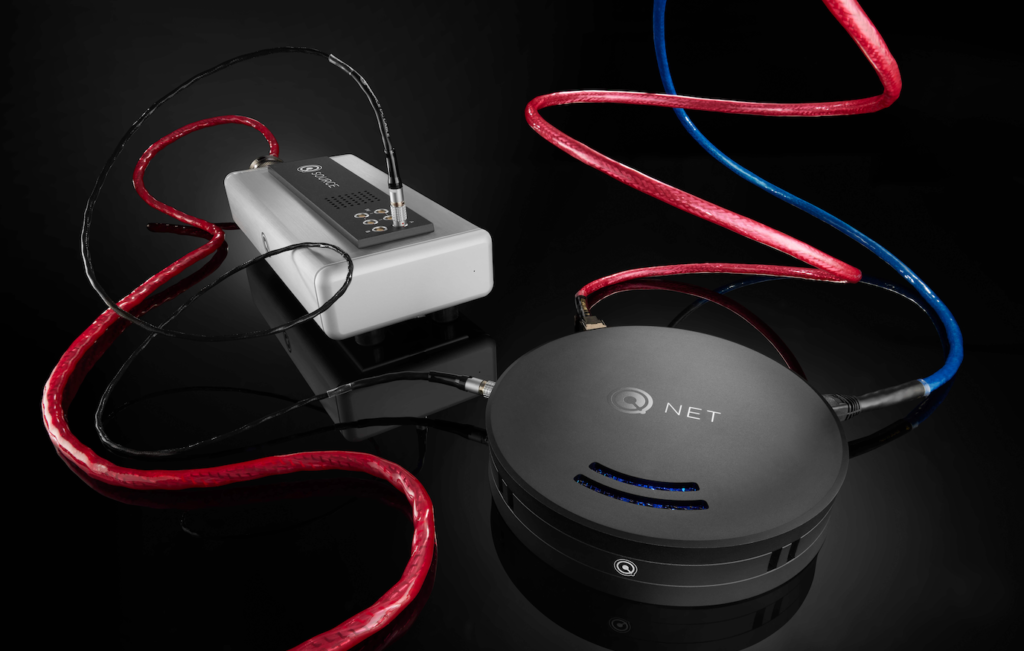
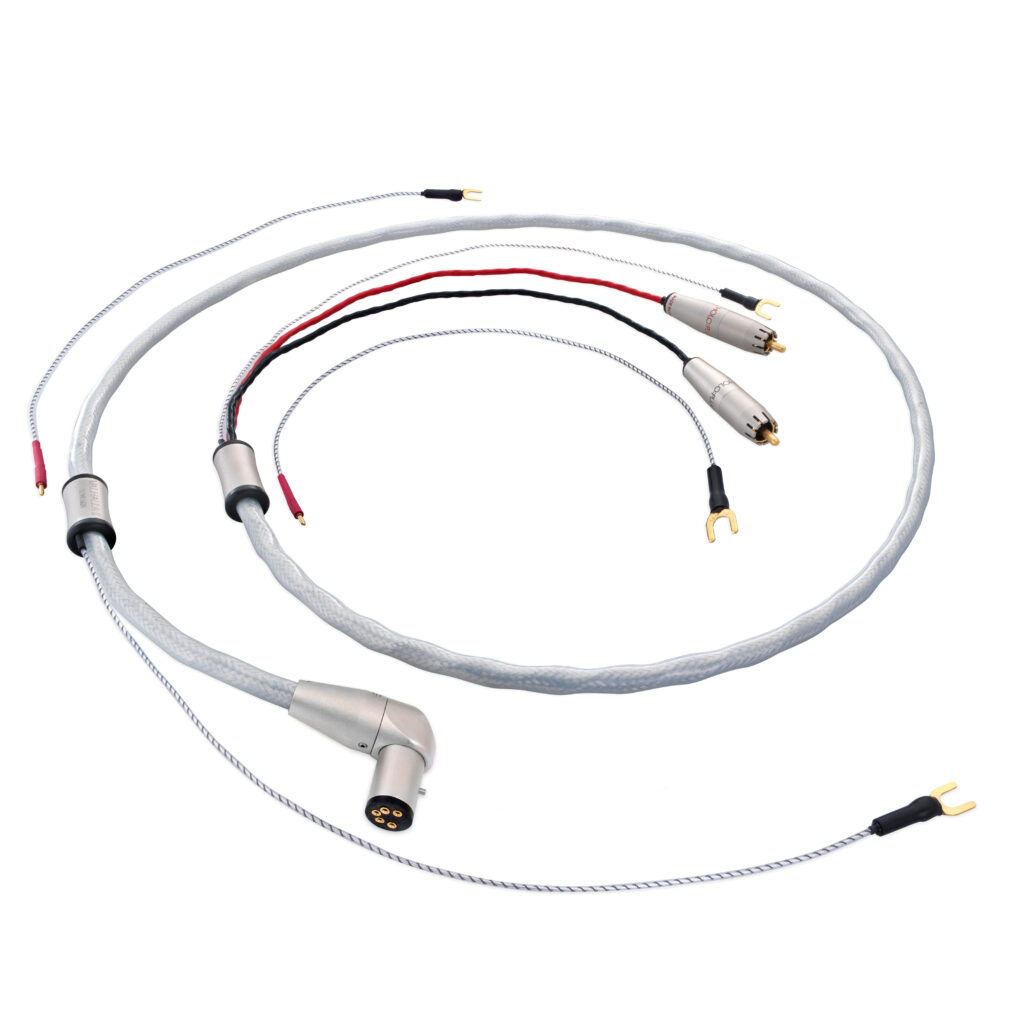
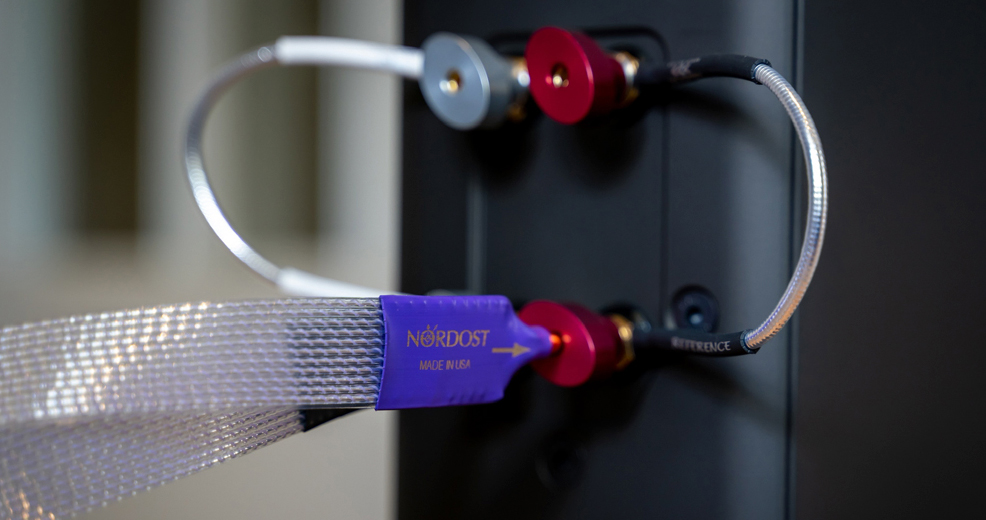
Are Nordost Cables Worth the Upgrade? Hifi Manufacturers Think So!
Some people make the argument that cables don’t matter. They ask the question, “If the component I buy comes with all the cables it needs to run, why wouldn’t I just use those cables that come in the box for free?”. In this blog, we’ll tell you why have the wrong idea.

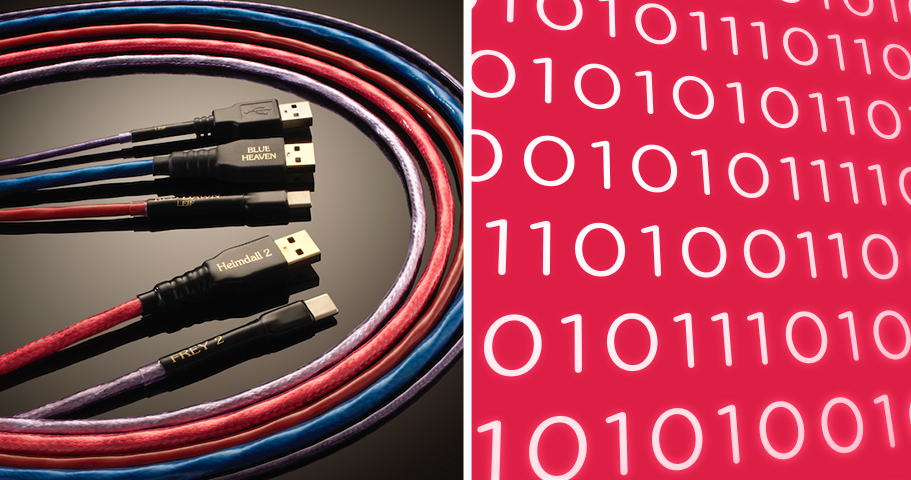
Jitter: A Hifi Villain’s Origin Story
If jitter was an audio villain, its evil powers would be inducing noise to unsuspecting recordings, obliterating the depth of field, and smearing the details out of pure, musical integrity… really dastardly stuff. But what IS jitter, where does it come from, and what can be done about it?

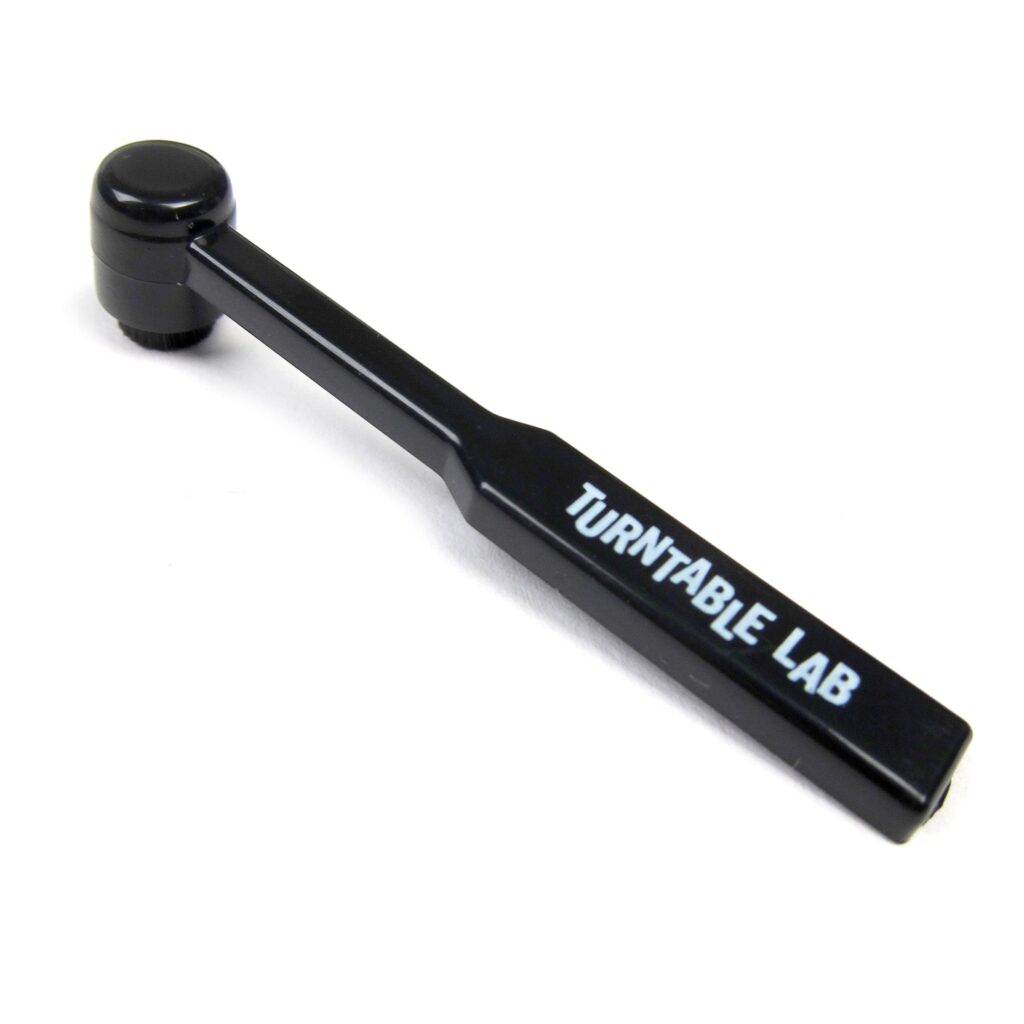
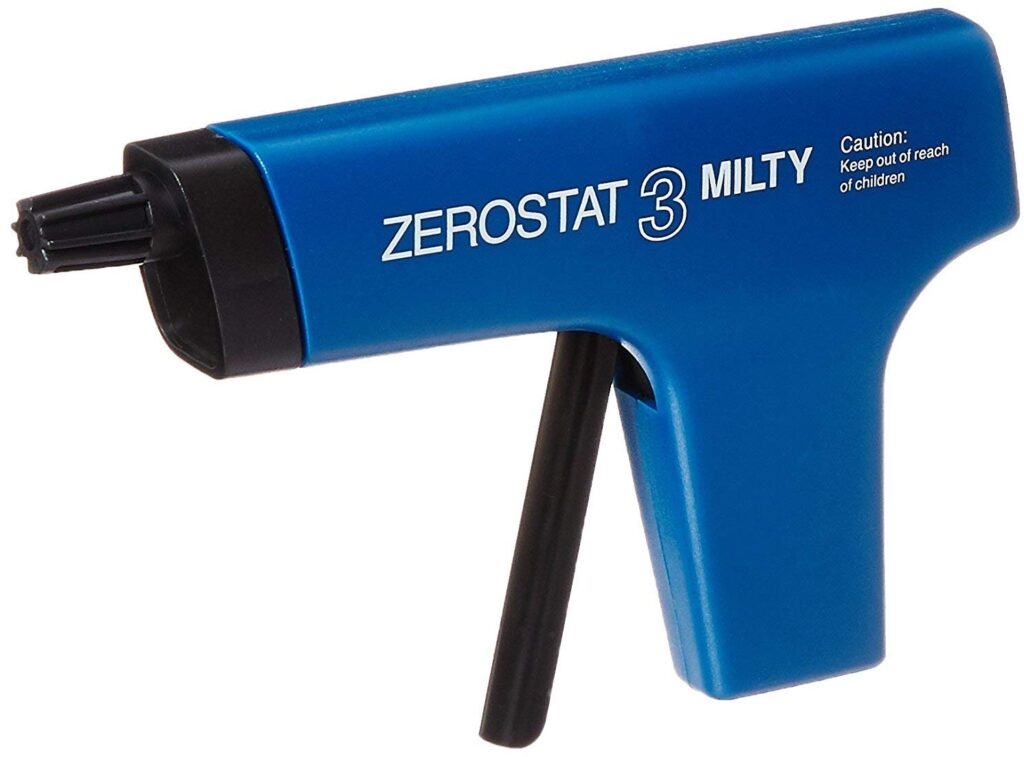
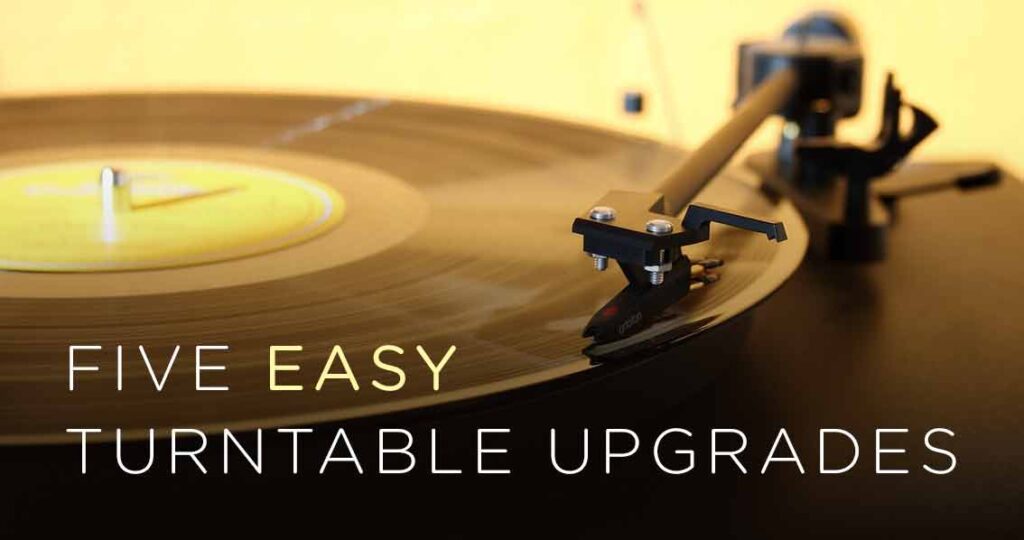
Cheap Cleaning Tips for Vinyl Lovers
As audio hobbyists, we are always looking for ways to improve the music we love, on the systems we love just as much. In this industry, hearing the word “improvement” often quickly leads to a much lighter wallet. However, not all improvements will break the bank…