Optimize Your Subwoofer with These 3 Simple Upgrades

  By Bjorn Bengtsson

Subwoofers usually get overlooked. During the development of our latest Blue Heaven Subwoofer Cable, we realized just how little TLC is typically given to the subwoofers in sound systems. Often the complaint we hear is that subwoofers don’t integrate well enough, when listening to two-channel music. At Nordost we understand the tremendous value of high-quality audio cables, power products and resonance control, and once people hear our demonstrations at industry shows, or in retail showrooms, they understand the importance of these upgrades as well. However, whenever people begin to consider upgrades to help improve their subwoofer, we hear a lot of “buts”:

“…But what’s the point? The amplifier inside my subwoofer isn’t as good as the amplifier in my dedicated main speaker.”

“…But the interconnect would have to be so long—my subwoofer is too far away from my preamp. “

“…But why change the footers? My subwoofer already came with its own set of feet.”

I’m sure that all of these arguments sound familiar. I do have one more “but” for you however:

“…But these arguments are exactly why you need to consider making upgrades to your subwoofer!”

Let me explain:

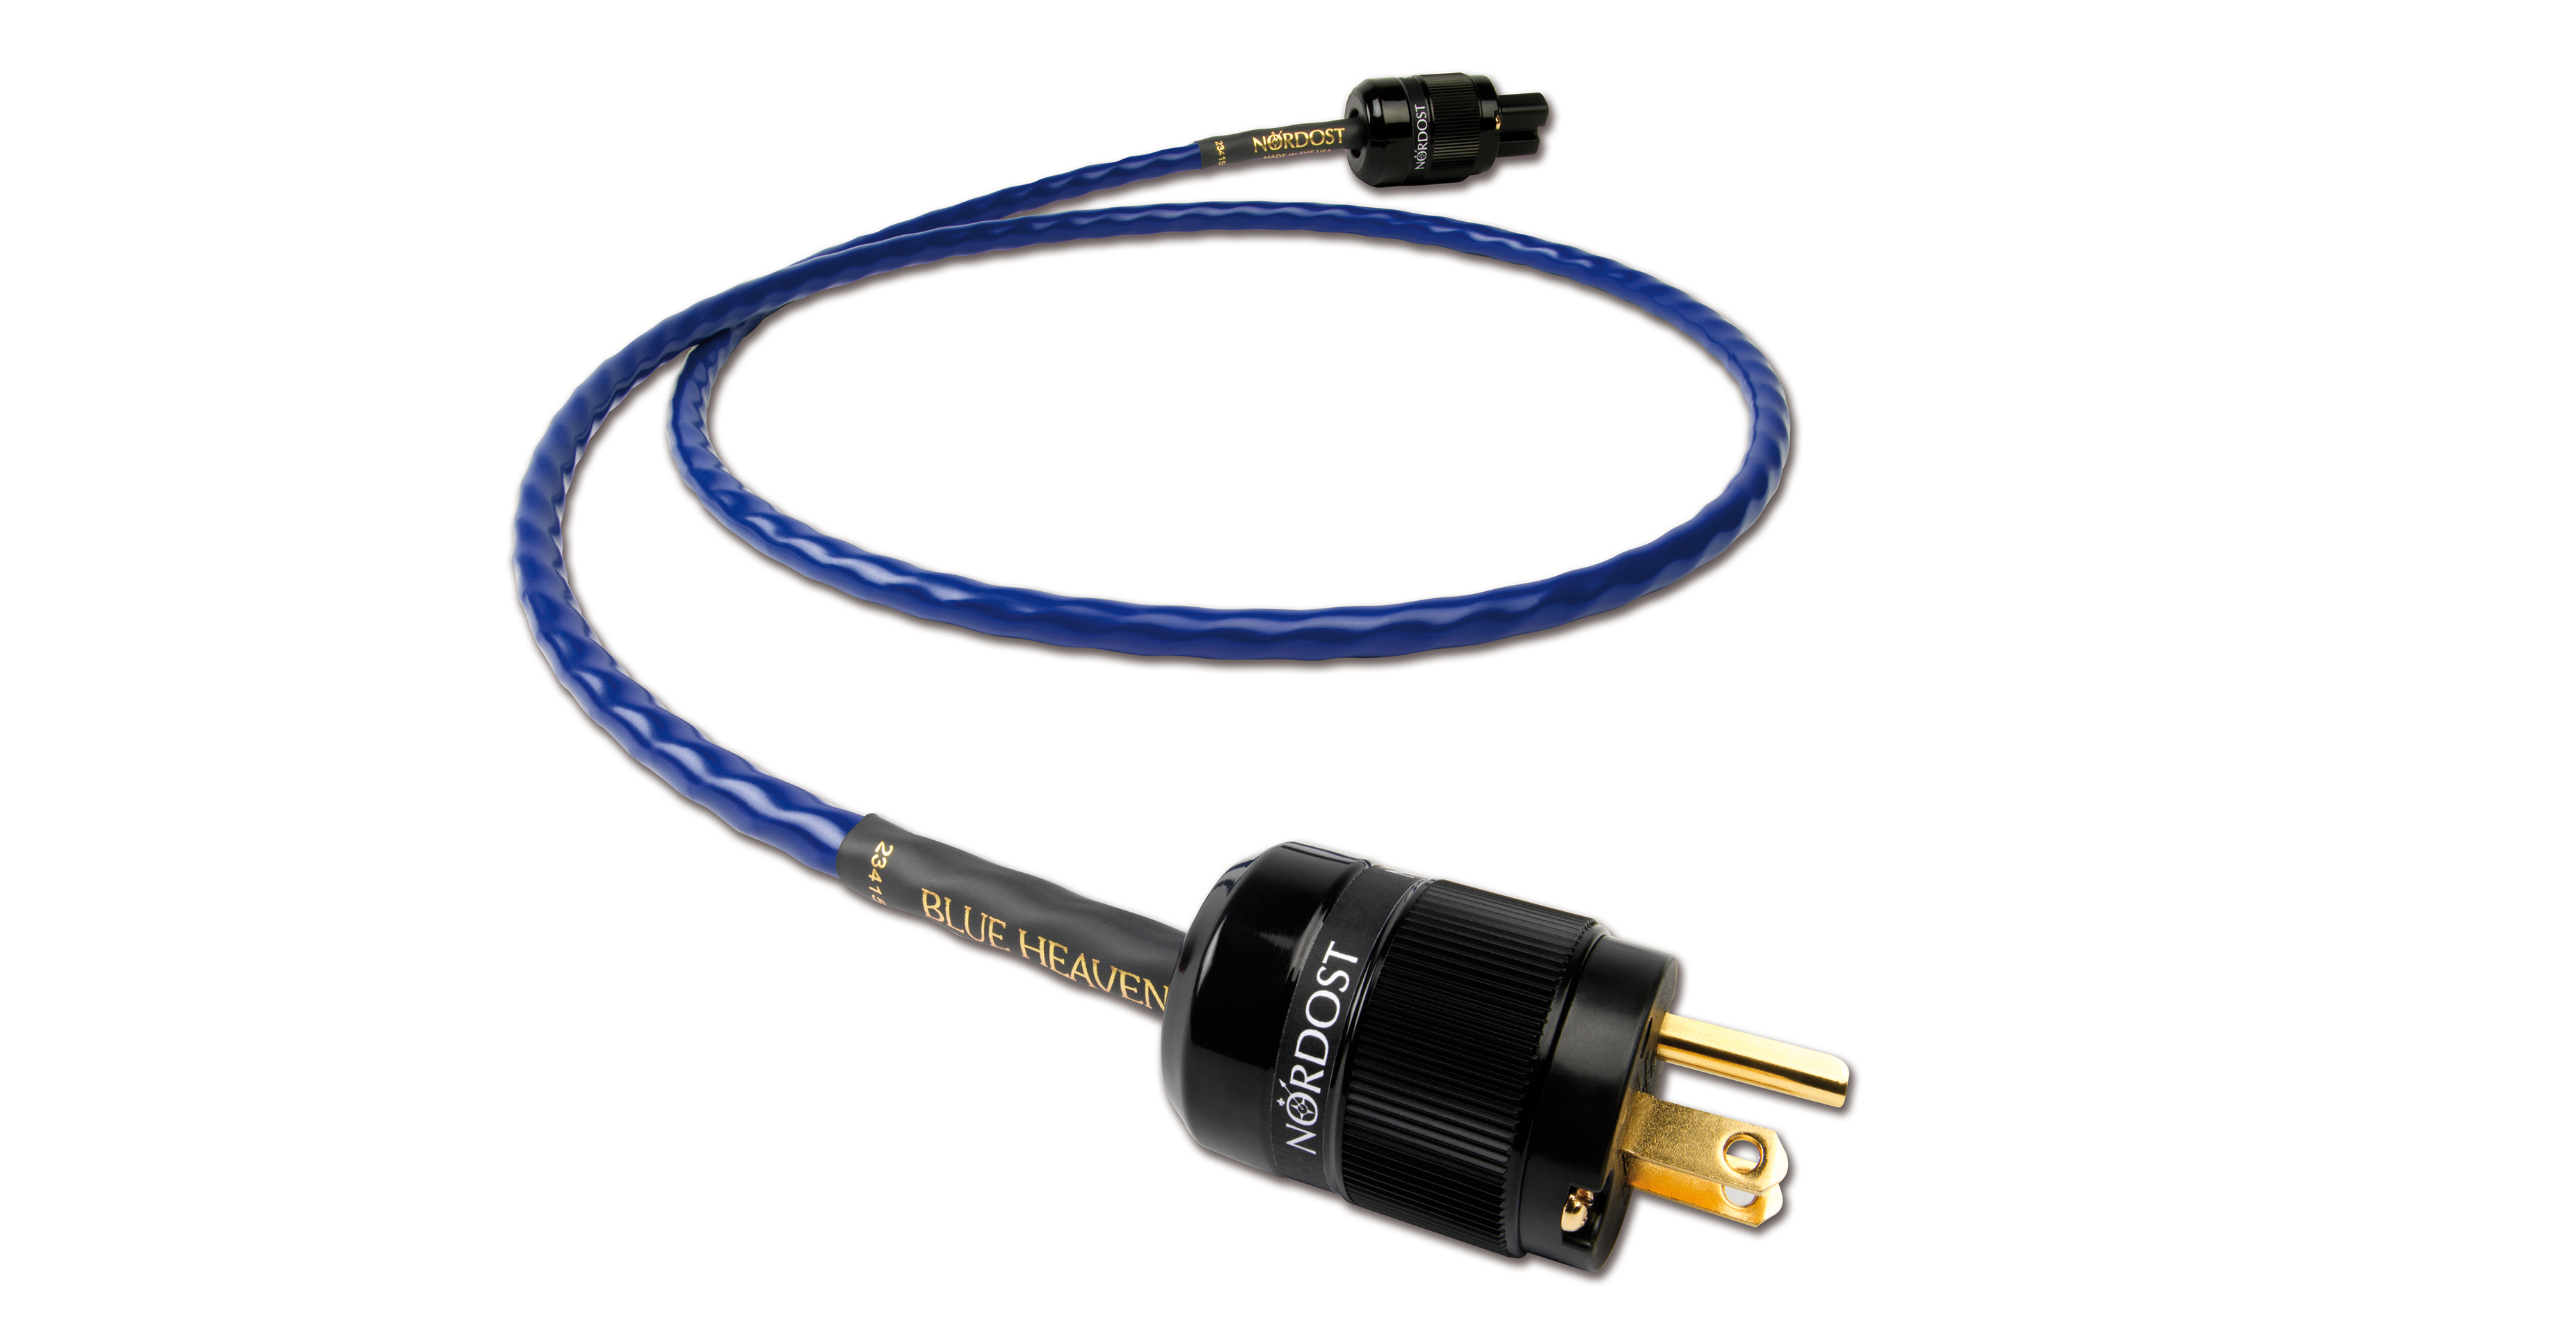
1) Power Cord Upgrade

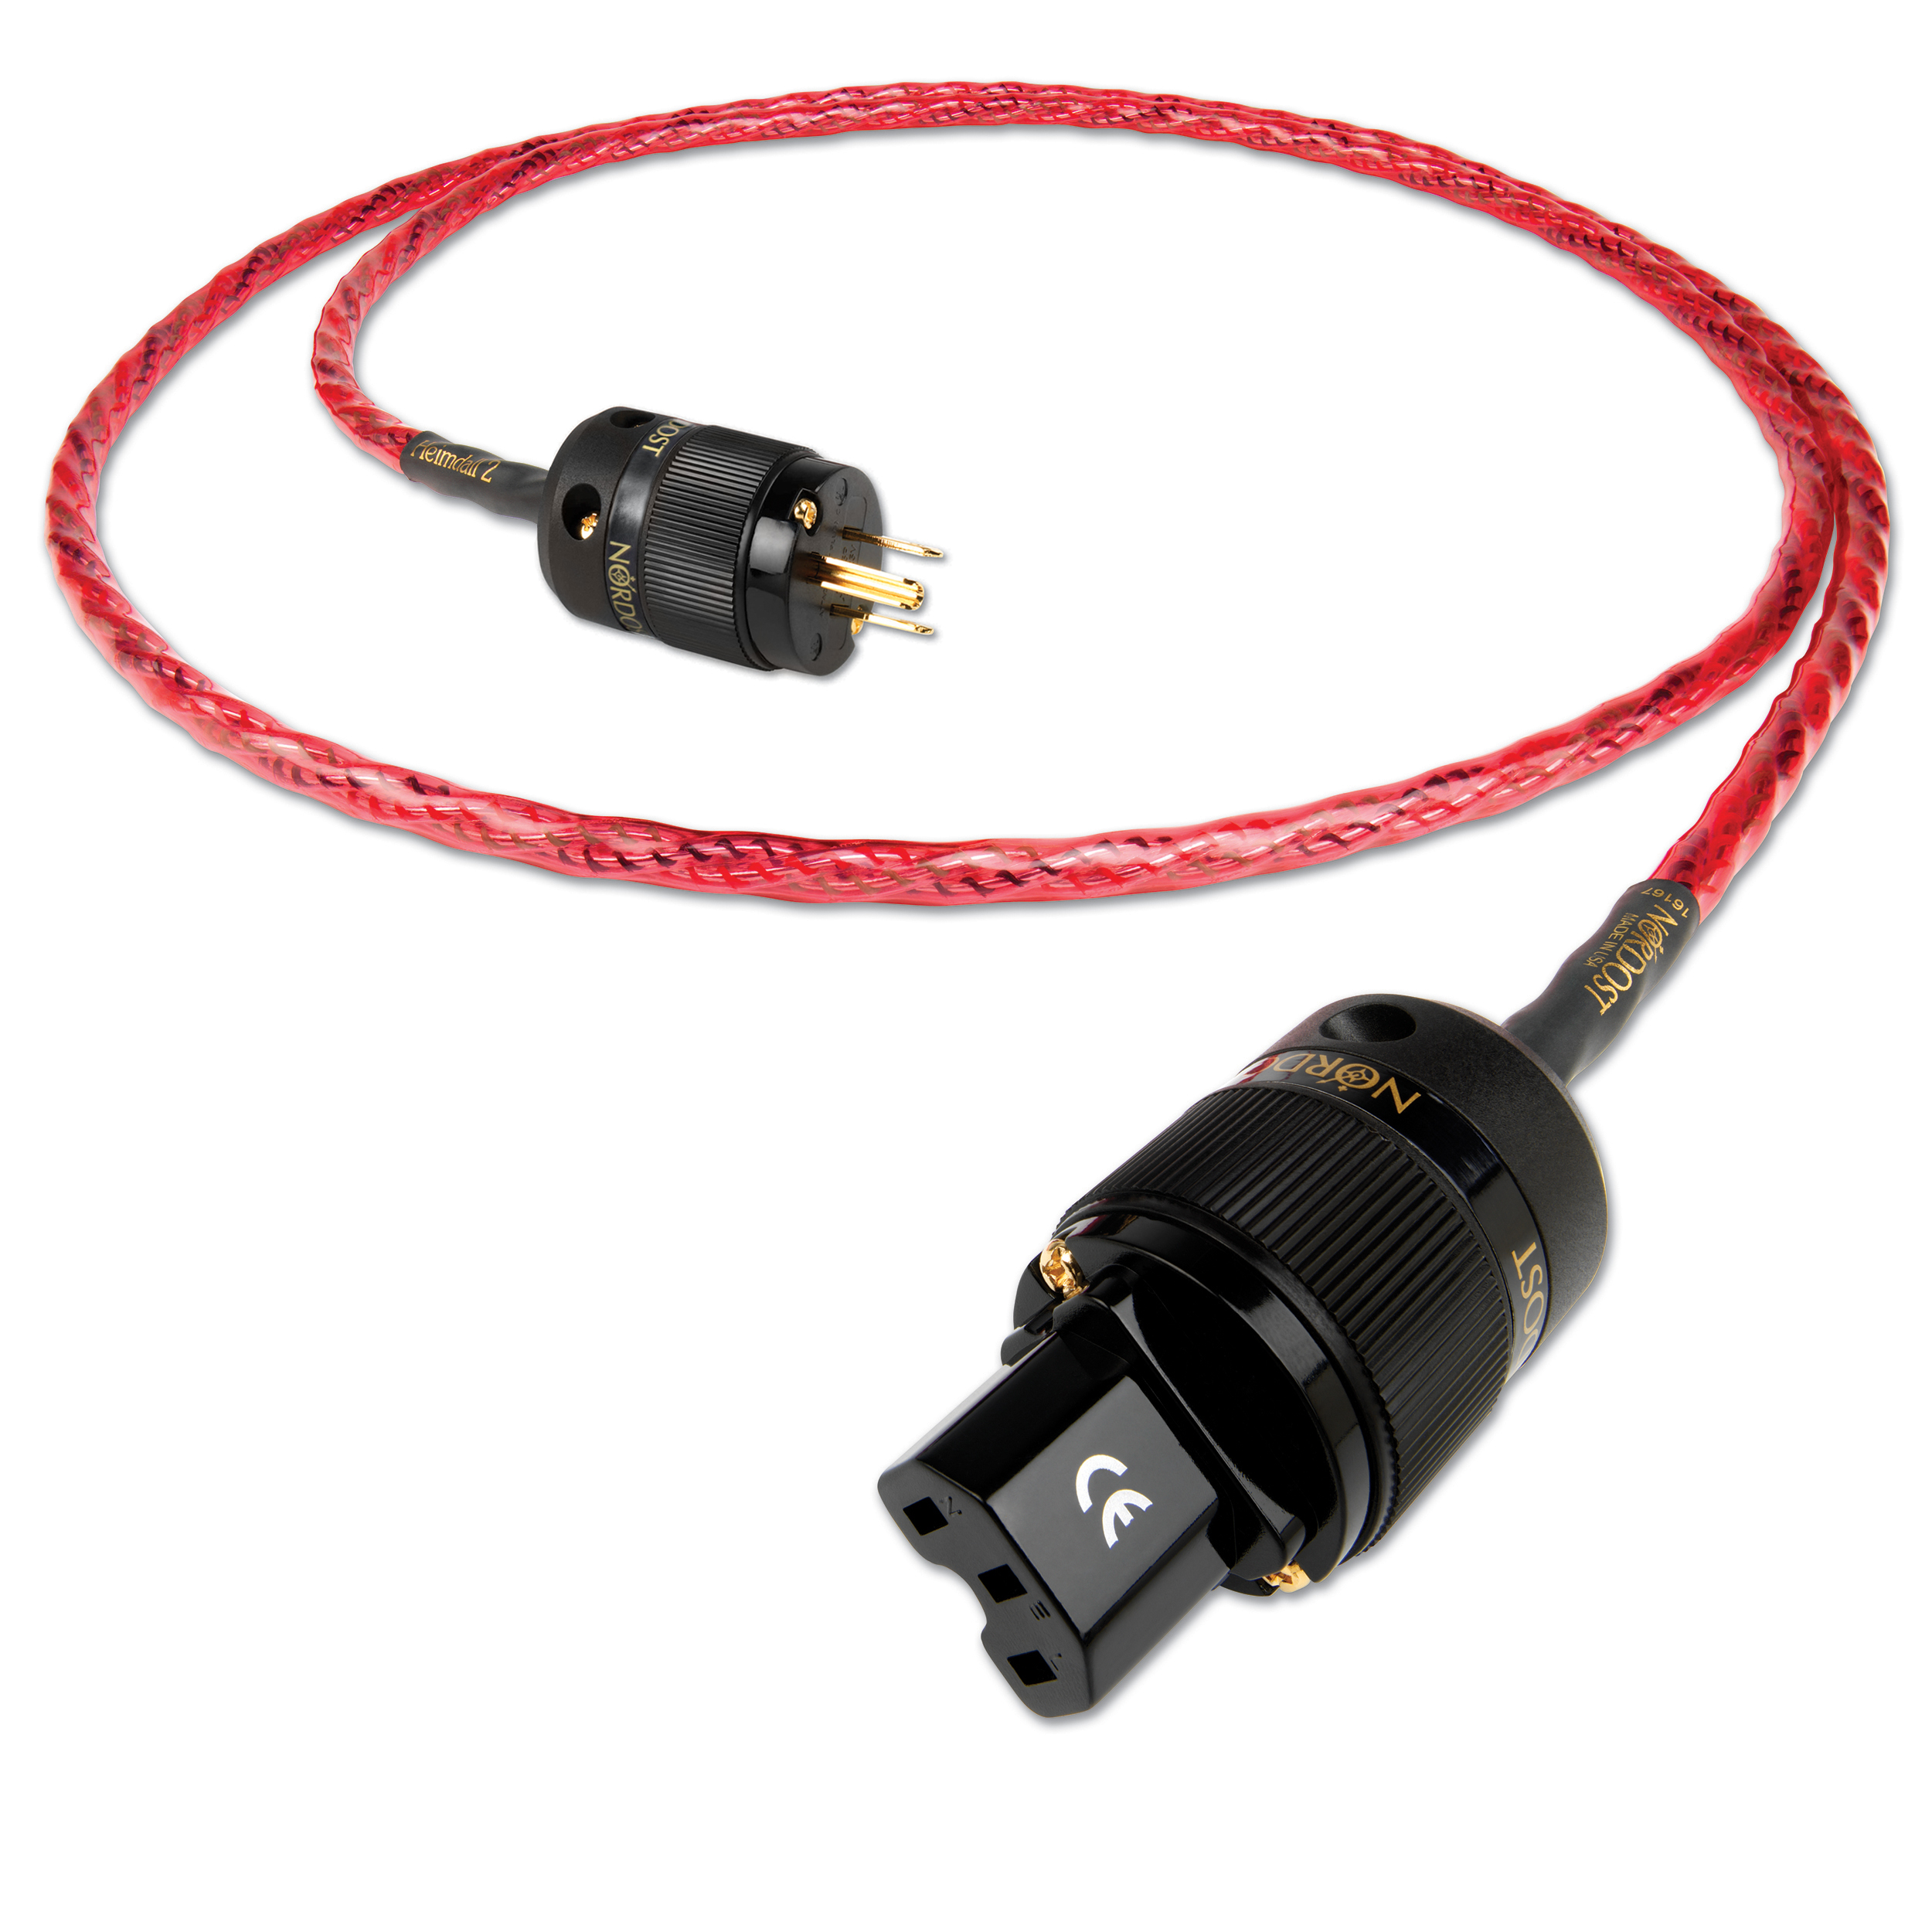
If the amplifier in your subwoofer isn’t as good as the amplifiers in your primary loudspeakers, it’s imperative to optimize its situation, in order to allow your subwoofer to succeed. This can easily be done by upgrading the power cord feeding the subwoofer. A really good power cord is essential to ensure that the built-in amplifier performs at its absolute best. With quality AC feeding your subwoofer, you will finally be able to enjoy those powerful, low frequency notes in your music, and not be stuck experiencing them as just a rumble.
 

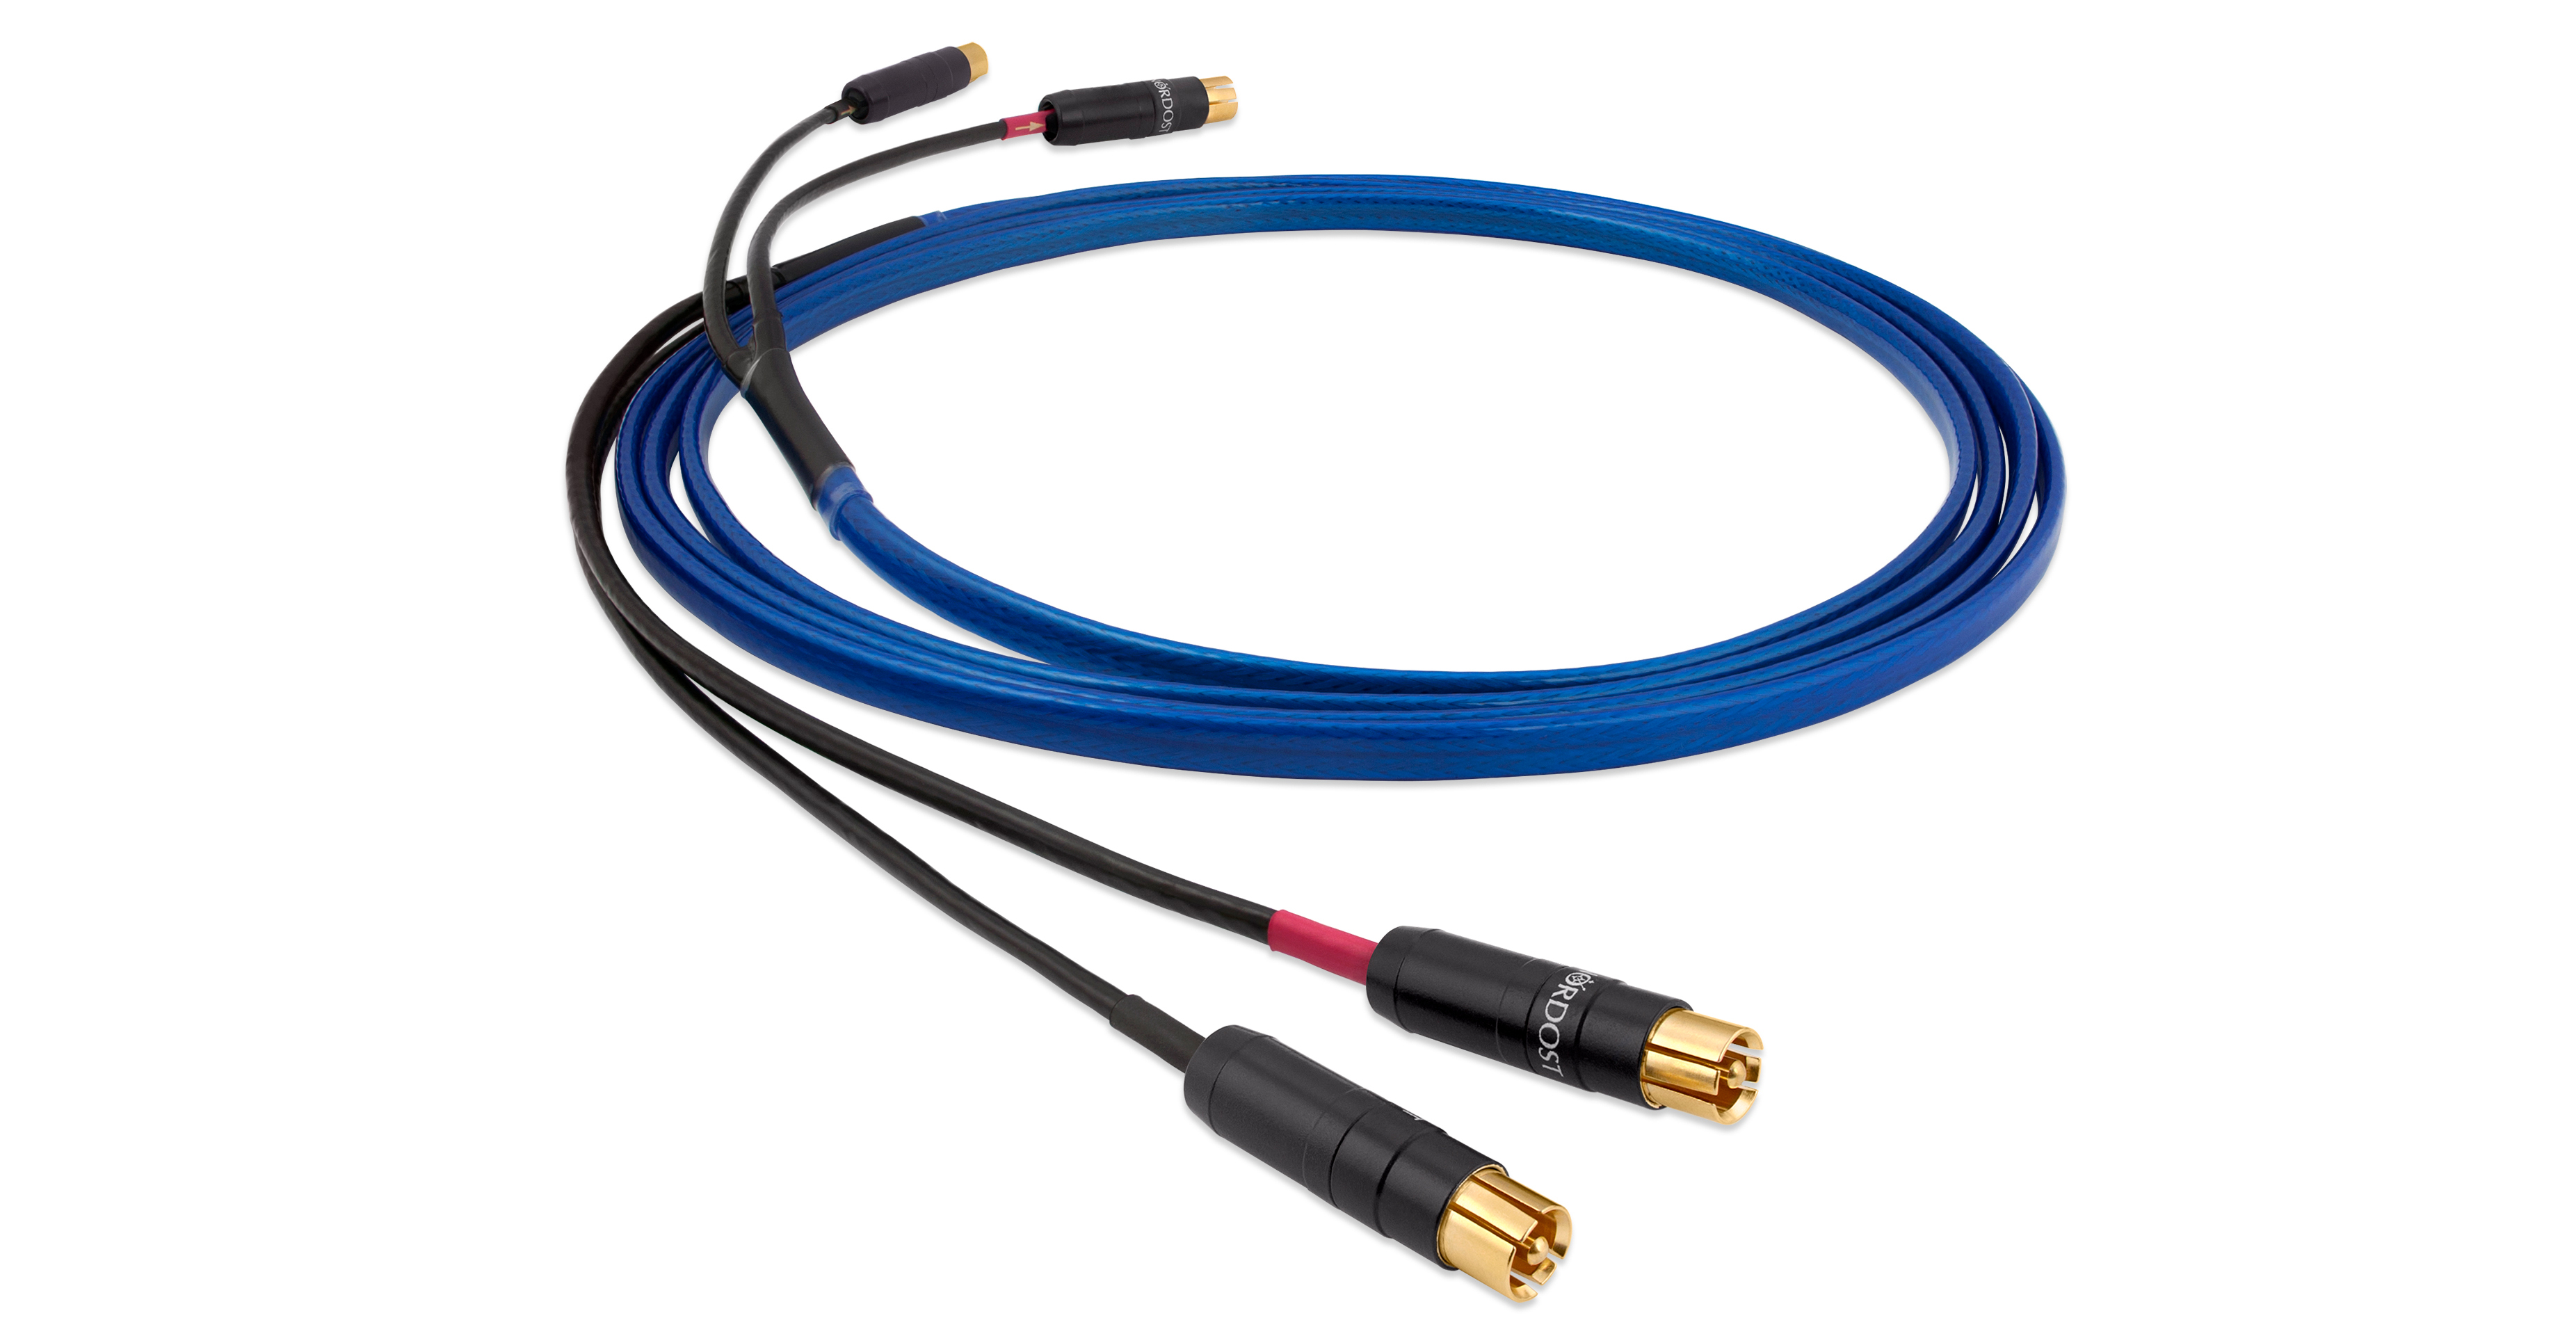
2) Dedicated Subwoofer Interconnect

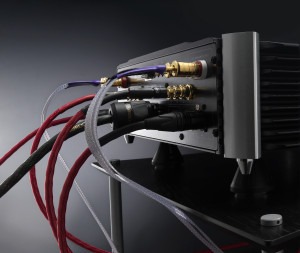
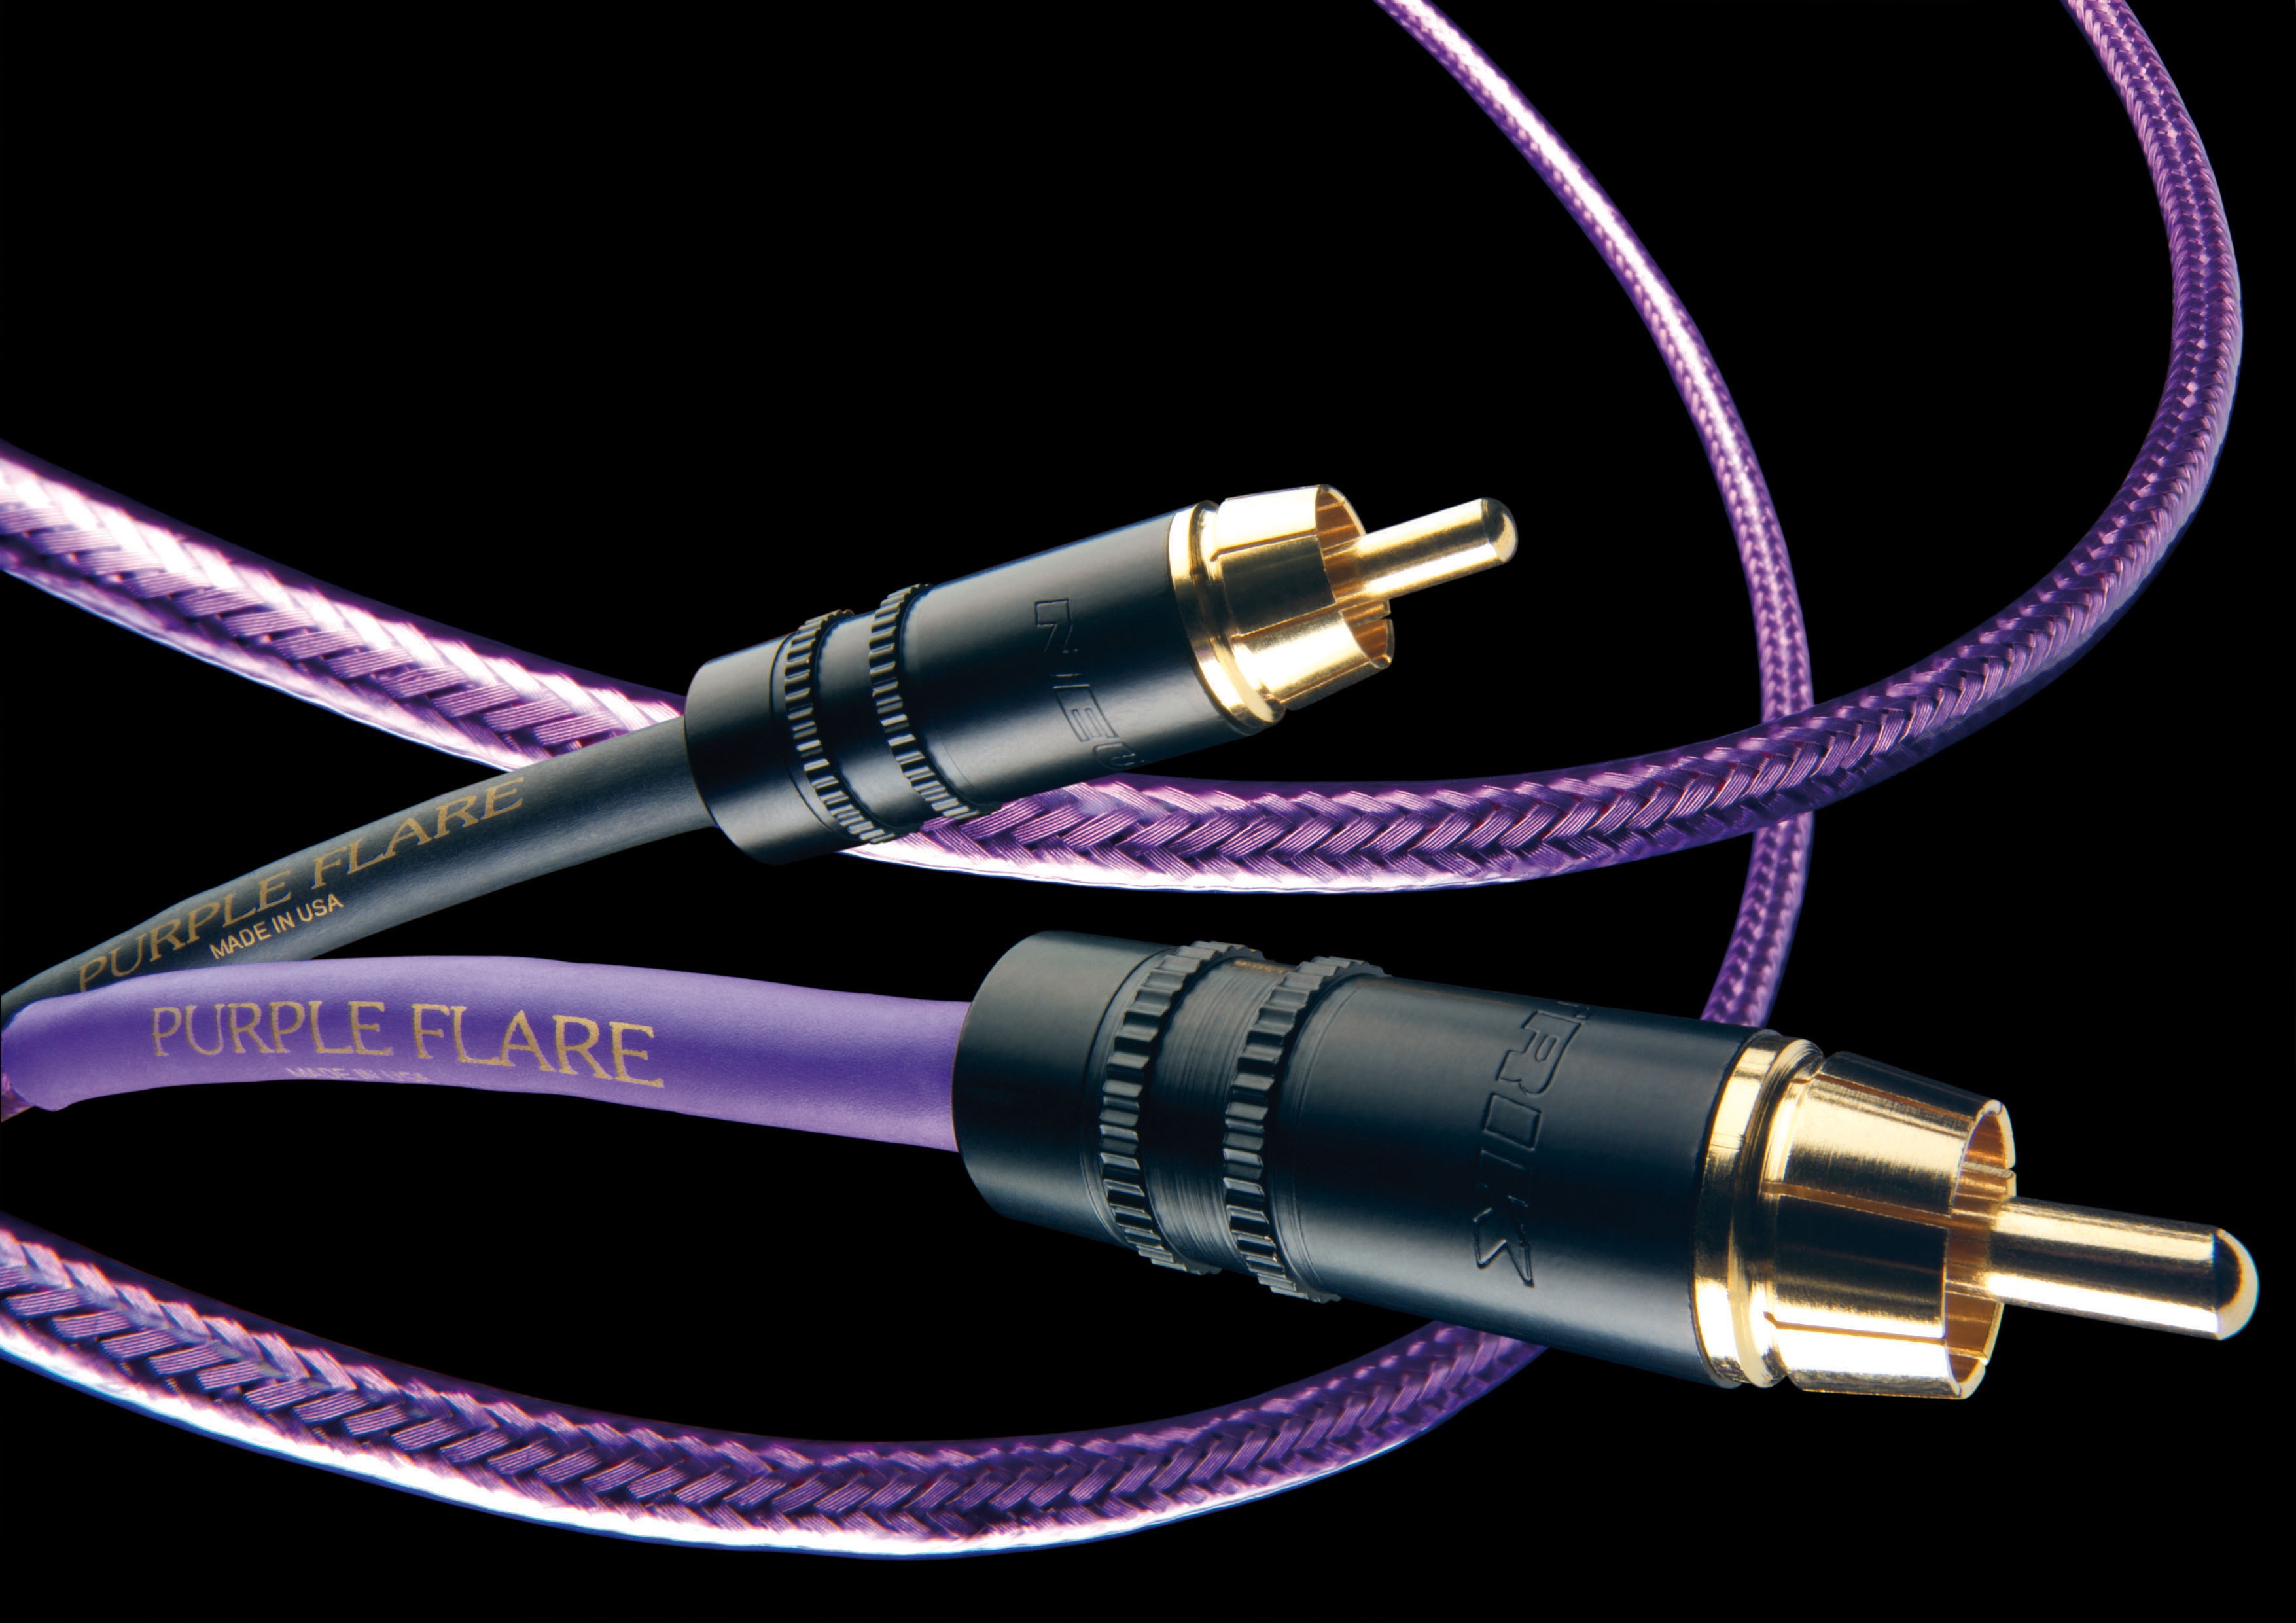
The price of long-length interconnects may be daunting. However, at longer lengths, having a high-quality cable is of the utmost importance. The longer a signal is trapped in its conduit, the more damage and signal-loss will be experienced, especially if that signal is being transported in a substandard cable. When dealing with subwoofers, which are typically placed far away from the rest of the system, you are introduced to a series of real challenges that a good, purpose-built subwoofer cable will have to overcome. If these challenges aren’t addressed properly, the signal will arrive “tired”, very distorted, and riddled with phase problems.
 

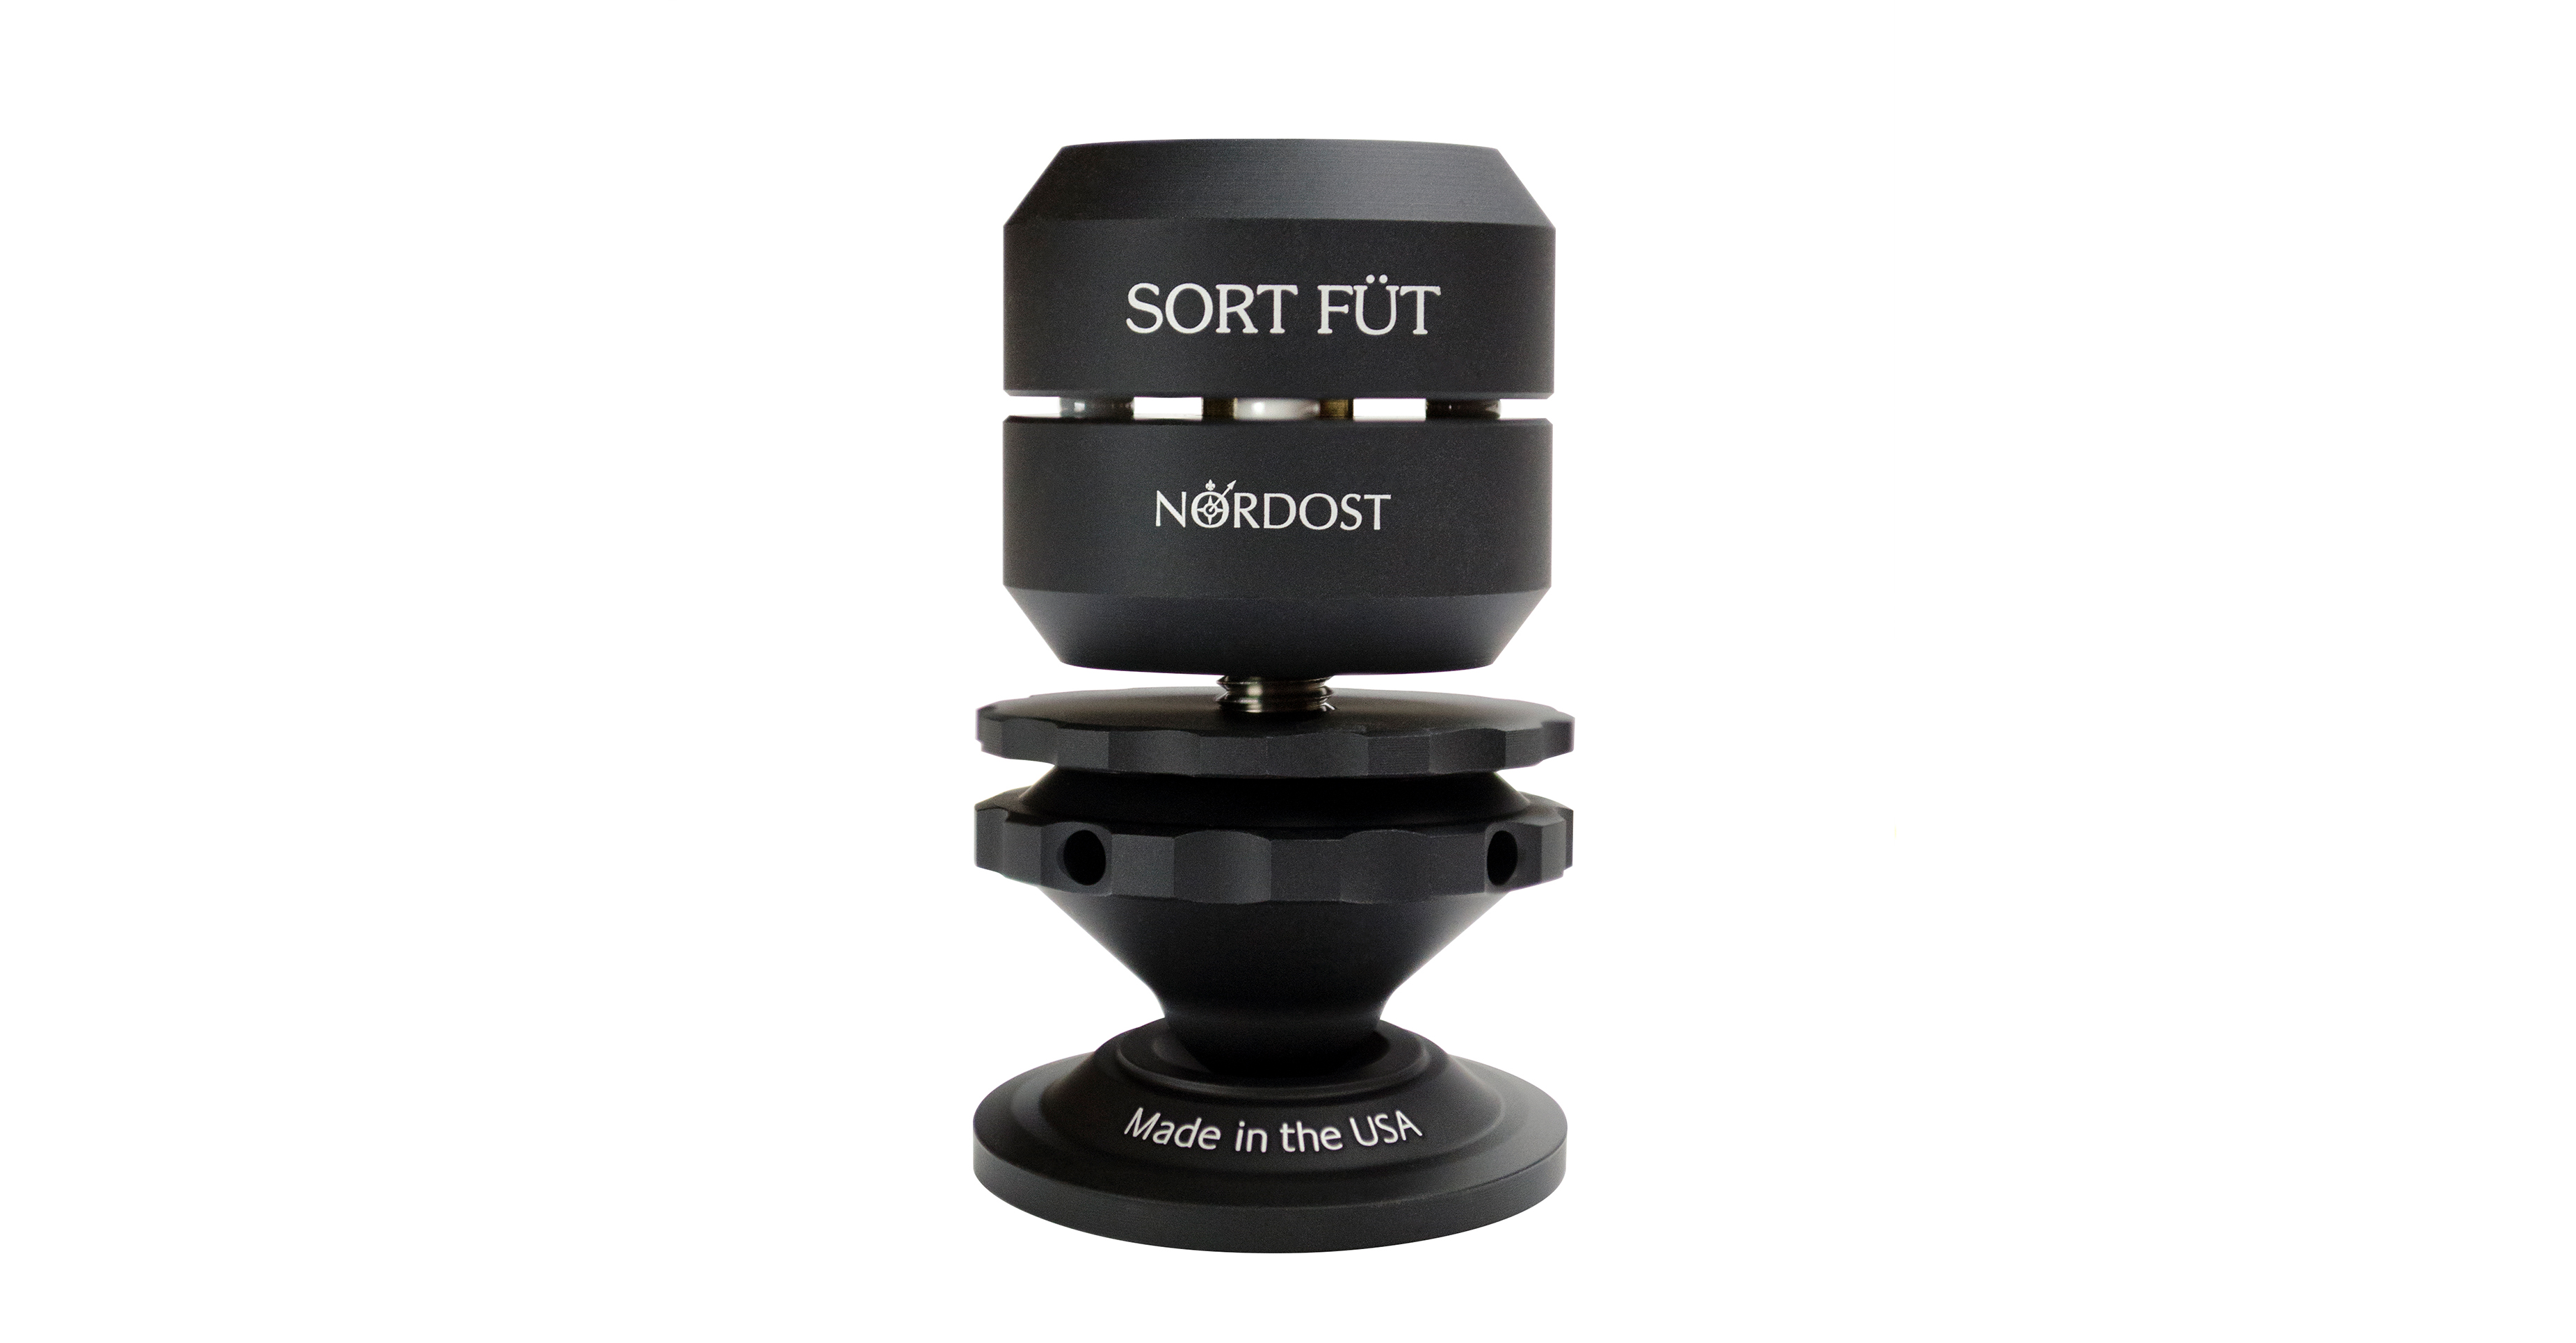
3) Resonance Control

In terms of mechanical optimization, low frequencies create a hostile situation. Unfortunately, the footers and spikes that come with subwoofers were not designed to efficiently drain the cabinet of detrimental vibrations generated by those frequencies. When trapped within the cabinet, these vibrations will negatively affect the driver(s) in your subwoofer, making the sound have an undesirable, muddled and boomy quality. Upgrading your footers and spikes with a product that addresses resonance, like the Nordost Sort Füt, will help minimize these harmful effects and maximize the performance of your subwoofer.
Subwoofers are worth paying attention to, and just like any other component in your system, the attention that you give them will make a huge difference! If you make these changes, you will be able to impress both yourself and your audiophile buddies with seamless low frequency integration, without any rumble. When done right, a properly optimized subwoofer will allow you to enjoy low frequency sound that will make the legs of your trousers flap, your eyes blink involuntary, and your chest cavity resonate with your favorite music…

Top 10 HiFi system tweaks to get your system sounding its best

Screen Shot 2018-04-19 at 11.18.38 AM    By Mike Marko

No matter what kind of an audio system you have, be it state-of-the-art two channel or entry level, there are some basic system set-up and maintenance techniques that can significantly enhance your listening pleasure. Some of these common sense improvements are easier to implement than others, but by not paying attention to these basic system tweaks, you’ll never coax the best performance out of the components you already own. In no particular order, here are 10 of the most useful tweaks you can make to get your system sounding its best:


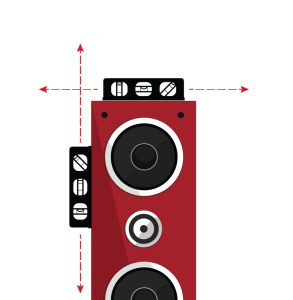
1) Level All Components

Make sure your loudspeakers and electrical components are as level as possible.  Be precise.  Stability is critical to performance too— it makes a big difference!   It is vital to make sure your speakers are stable and not rocking on their stands or feet.

5-steps-to-speaker-setup-blog-images-03


2) Proper Listening Position

Where you sit in the room is very important in relation to your speakers and room boundaries. Stereo imaging and frequency response can be greatly affected if this detail is not considered. Normally, it is best to position your listening chair away from room boundaries. Too close to the back wall can result in boomy bass, but be careful, placing your chair two-thirds back from the front wall can make the system thin and unnatural.  Make sure to try a few locations to determine what’s best for your unique space.

armchair-2683081_960_720


3) Reduce Electrical Static Charges

Depending on the season and your location, static charge build-up on components, cables, carpets, and speakers can be a real problem. Both static charges from components, using digital circuitry that scrambles their microprocessors, and cables, attracting dust and dirt that affects their signal transfer, need to be eliminated for good performance. Nordost’s Eco 3X is an effective tool to remove static build up.

Lg-Eco3x-Accessory_550


4) Speaker Selection and Placement

If you’re playing dubstep at club levels in a large room but are using small, stand-mount speakers, you’re going to be an unhappy camper. Conversely, large floor standers in a tiny room will be just as problematic. Properly positioning your speakers, relative to walls, your listening chair, and other objects in your room, will be critical to your listening experience. Professional help from a trusted dealer can help you optimize your set-up with these variables in mind. For more information, take a look at at our “Speaker Placement in 5 Easy Steps” blog.

sound-room


5) Electrical and Mechanical Grounding

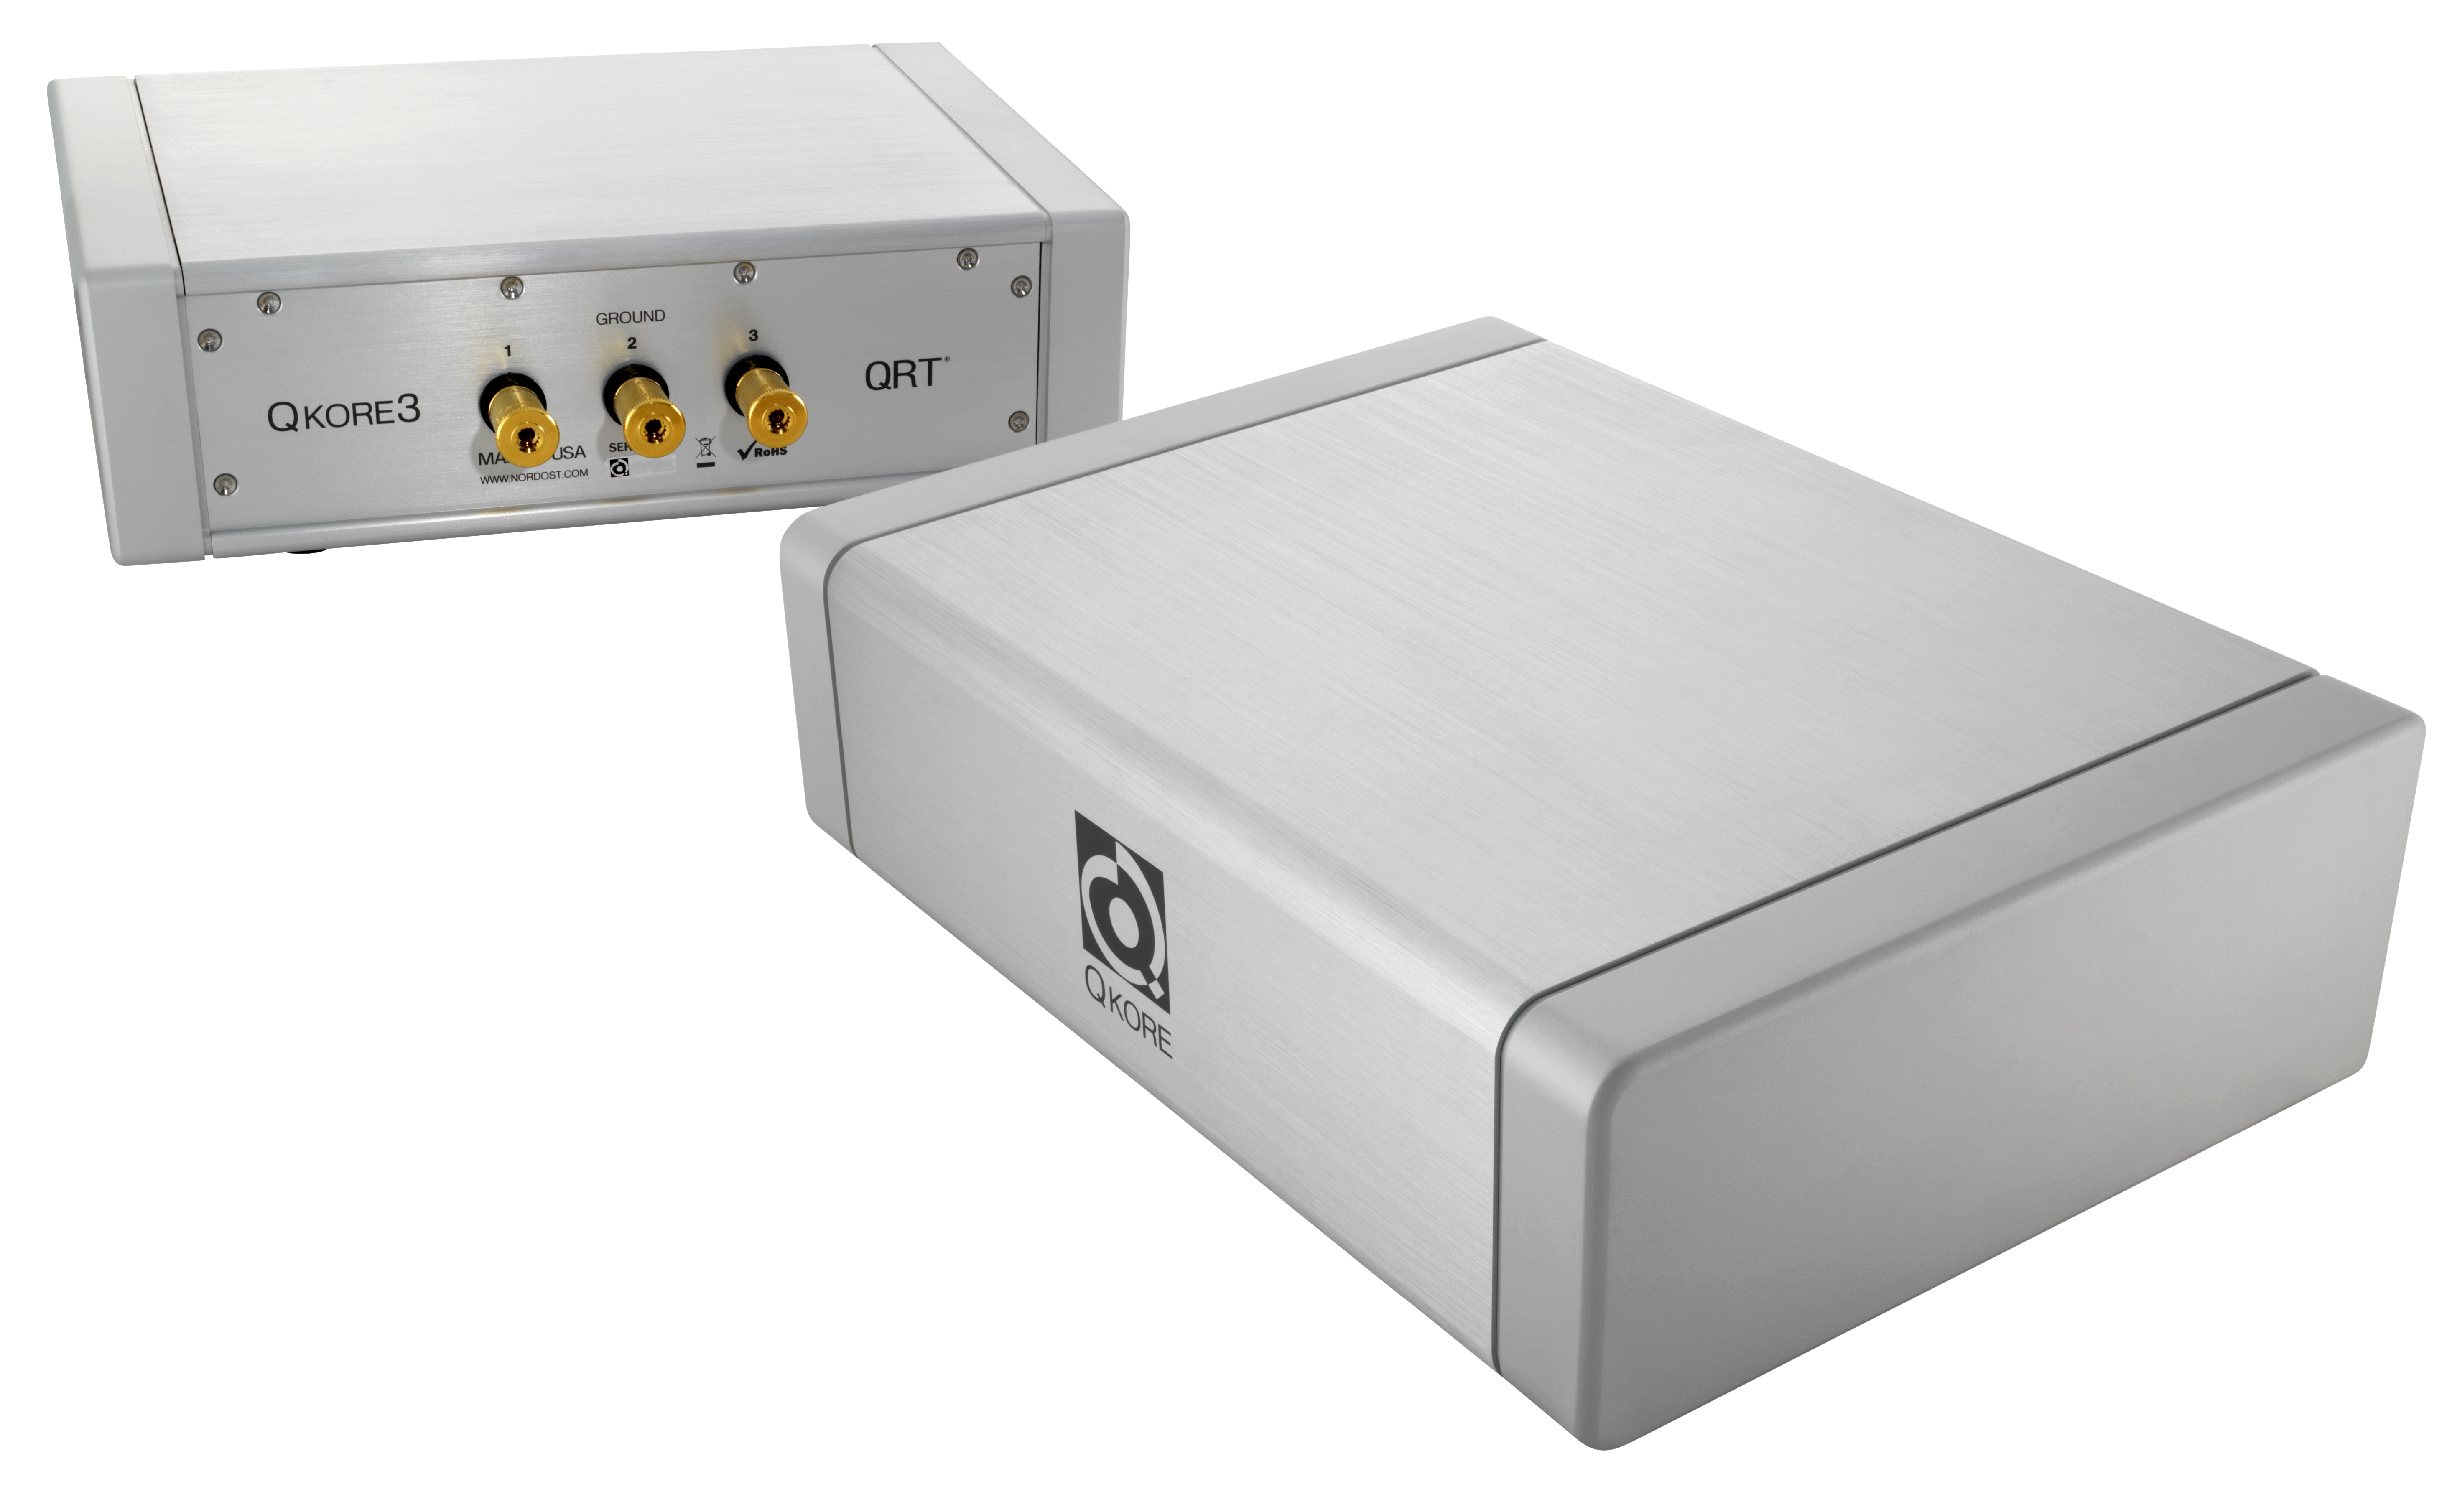
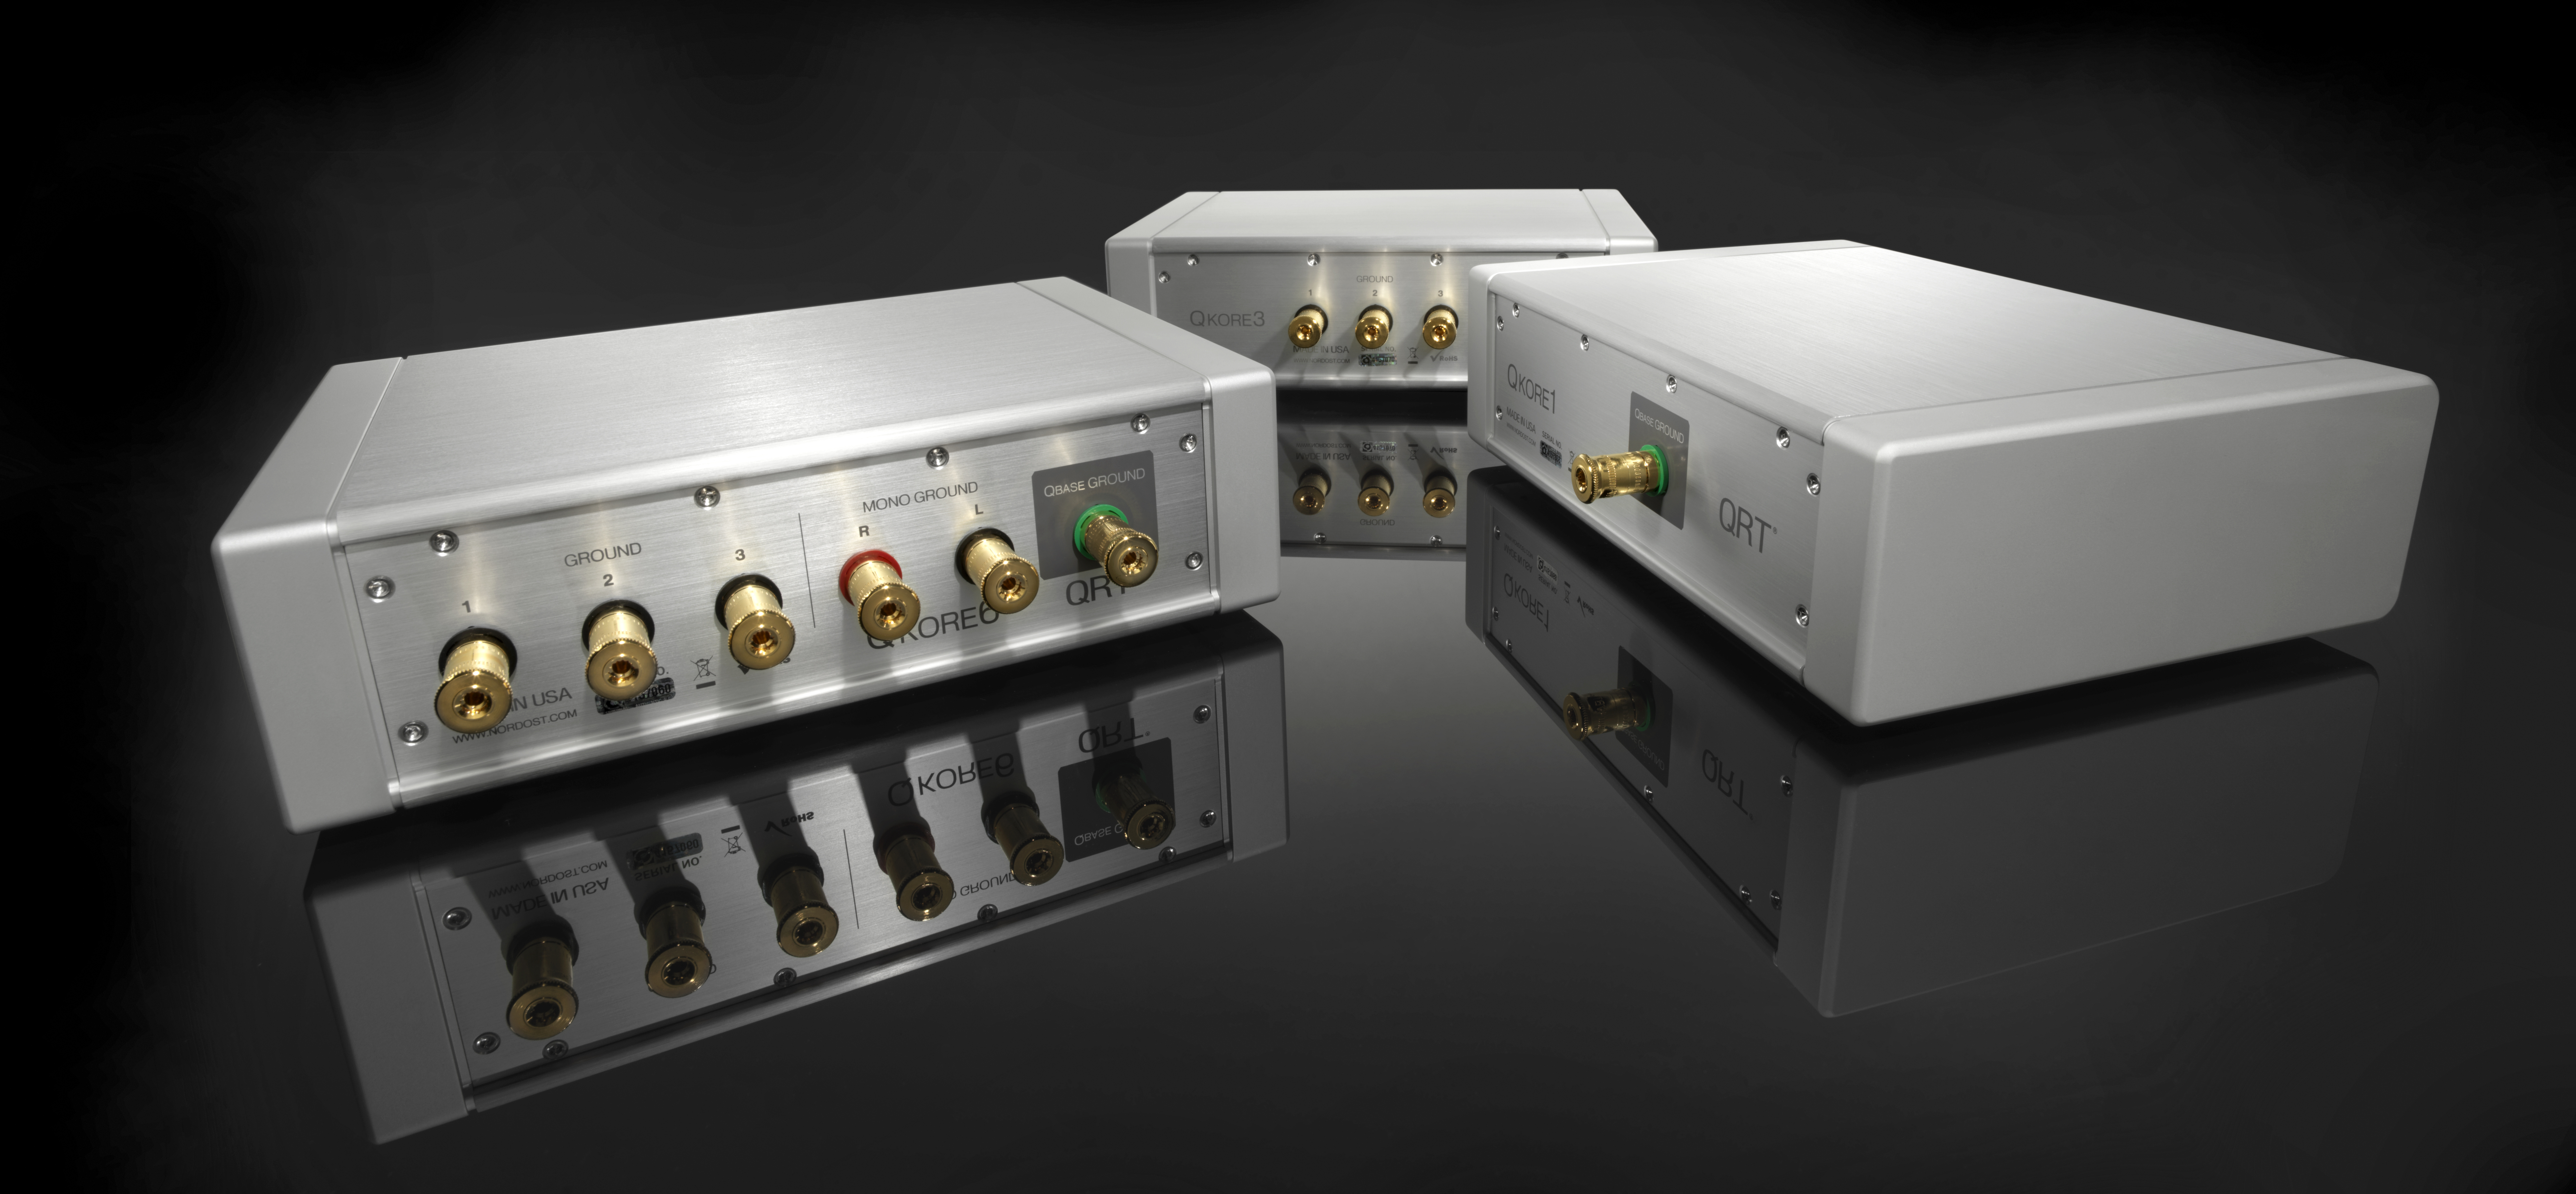
One can hardly over emphasize the importance of system grounding. The advantages of a dramatically lowered noise floor have to be heard to be fully understood. Greater dynamic range, and the ability to hear nuances that are often buried in electrical noise, are some of the greatest benefits of proper grounding. If you can’t practically install a local grounding rod into the earth, there are solutions available that can provide an artificial earth ground for your system. Nordost QKORE Ground Units allow you to enjoy proper grounding, hassle free.


QKORE front and back_style


6) Keep All Electrical Contact Points Clean

All electrical contacts can be subject to corrosion over time. Keeping these contacts clean and free of oxidation is very important to good signal and power transfer. Periodically cleaning and tightening all the connections in your system, from the AC connection of the wall plug, to the pins on a moving-coil phono cartridge, will improve its performance. CAIG Laboratories’ selection of deoxidizing and cleaning products work very well on these issues.

DEOXIT-GOLD-GX-GRP_h200


7) Good Cables

Much has been said about cabling in systems. Some have said that, past the most basic level, improving cables will not make any noticeable difference in your system.  You might as well just go wireless, right?  Others know that you’ll never get the most from the components you already own without optimizing their connections. Wired systems always outperform their wireless counterparts. Find a good dealer that will lend you some cables to take home and try in your own system, in your own home. Only then will you hear for yourself how important these critical links in your system are.

Norse 2 Group Image


8) Listening Room Acoustic Treatment

Imagine setting up any audio system in a stark room with no furniture or window coverings. There will be echo and excessive reverb, as well as uneven frequency response and poor stereo imaging, no matter how good the system is. Now imagine a nicely furnished normal room with couches and chairs, framed art on the walls, lamps and drapes, crown moulding, and nice carpeting. The difference in sound will be startling, whether listening to music or simply carrying on a normal conversation. For more problematic rooms, you may need to take the extra step of adding acoustic panels, either diffusive, absorbent, or a combination of the two. Again, your local shop can provide analysis and recommendations for best performance.

music-1290093_960_720


9) Resonance Control

In order for your equipment to perform its best, it is important to keep micro-vibrations (or resonance) away from the electrical components on any circuit boards. Certain components, like capacitors, are physical devices whose measured tolerance can vary significantly when subject to vibration.  Internally generated vibrations, like those from power transformers or disc drives, and externally generated vibrations, like those from speakers and subwoofers, can both pose problems. Thankfully there are many solutions in the marketplace to address these issues. A good choice is Nordost’s range of Sort products.

Picture 198


10) Clean AC Power

Every bit of power needed to drive your sound system, from the source, to the amplifiers, to the speakers, originates from the AC signal coming from the wall. The quality of that power can quite dramatically affect the ultimate performance of your components. Proper power delivery must reduce the RFI and electromagnetic interference that contaminates the AC signal, without limiting the peak current that components require. Nordost QRT products can be very effective at establishing this balance.

Picture 1478


Whenever you see one of us Nordost folks giving demonstrations at HiFi shows all around the world, know that we take all of these points and more into consideration when setting up our systems. Stop by the Nordost demo room next time we’re in town, and let us show you what we mean!

–  Mike Marko


For more information about tweaks you can make to improve your system, check out our “Tiny Tweaks, Big Pay-Offs — Simple Adjustments That Make a Difference” download HERE.


Questions and Answers (February 2018)

Our product specialists receive questions on a daily basis about Nordost products, their application, and hifi in general.  We thought that we would take a minute to share some of our most recent and frequently asked questions here so that everyone can get the answers they are looking for!


Screen Shot 2018-02-23 at 1.03.42 PM

Q: I recently bought a pair of Nordost interconnects, and I noticed arrows on the heat-shrink. Is there are reason that these cables are directional? If so, which way should I install them?

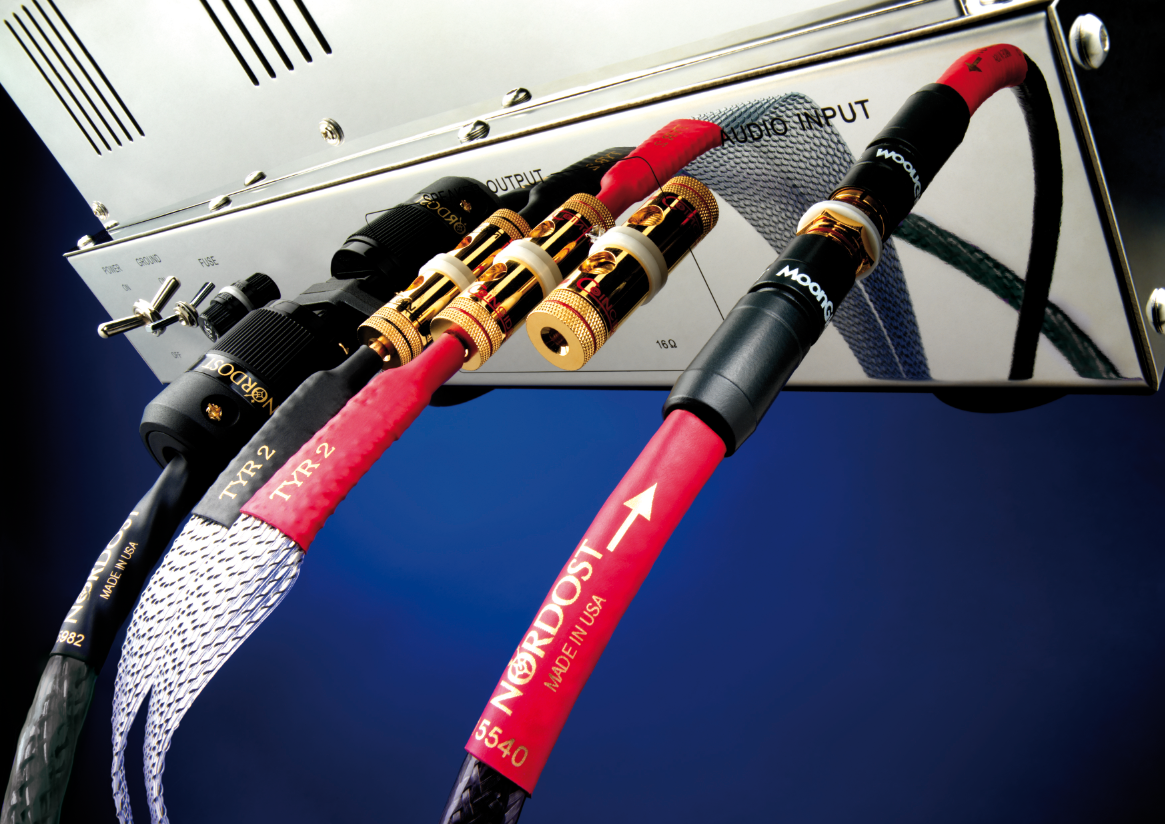
A: Typically, when cables are manufactured they do not have any directionality—they acquire directionality as they break in. However, Nordost single ended (RCA) interconnects are built as directional cables, since the shield is only connected at the source, or output, end. When installing the cables into your system, the arrows should always point away from the source. For example, from a CD player to an amplifier, the arrows should point towards the preamplifier or power amplifier.


Picture 722

Q: My new Apple laptop only has USB C inputs.  Do you make a USB C to USB B, to connect to my DAC?

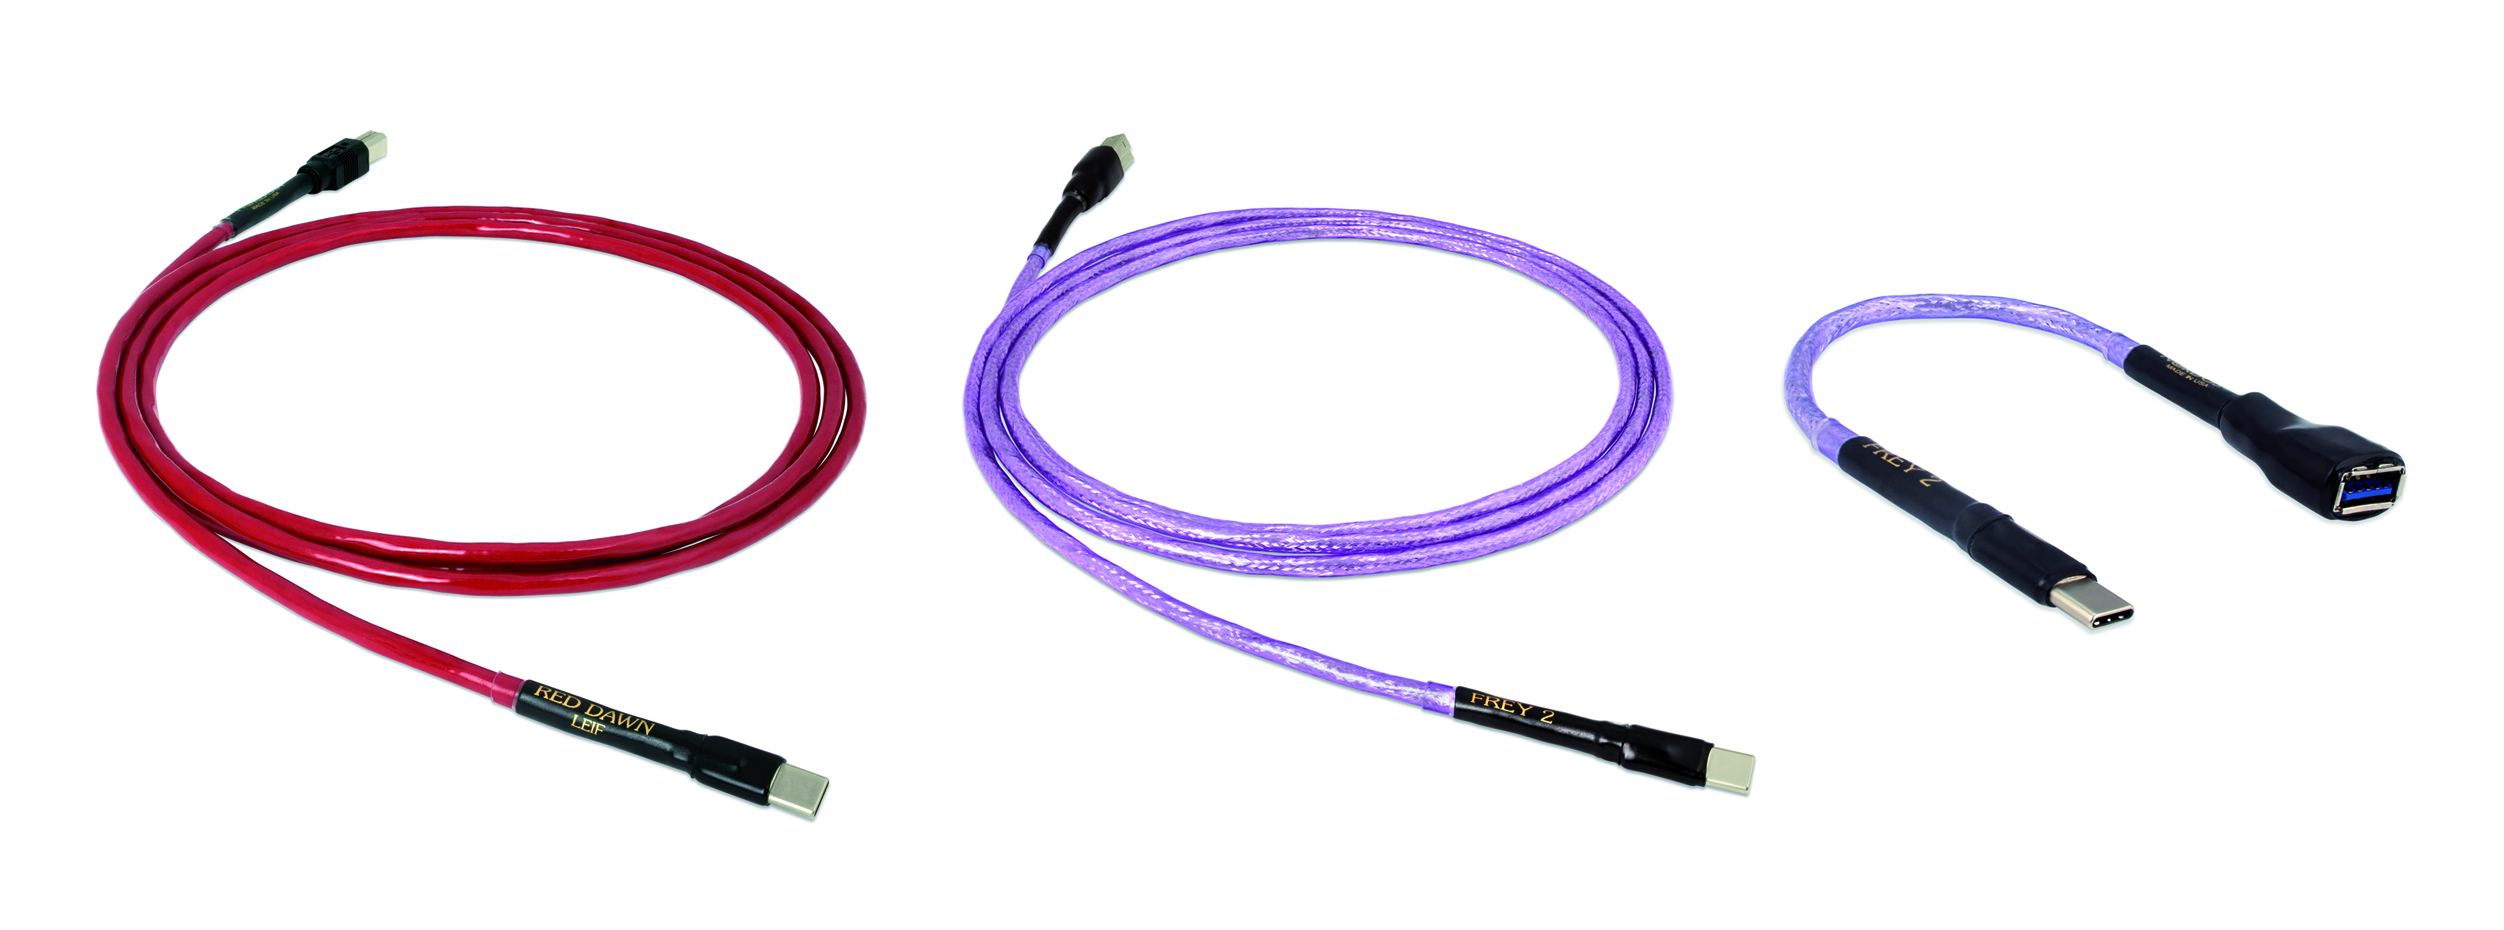
A: Nordost has just released two new USB cables with C connectors for this very reason: the Red Dawn USB Cable and the Frey 2 USB Cable (the Frey 2 cable can even come terminated with USB 3.0 connectors).  If you already have a hifi audio USB cable with a type-A USB connector and aren’t ready to upgrade to a new cable , we now offer the Frey 2 USB C adapter.


Screen-Shot-2017-07-25-at-1.15.19-PMQ: Are Nordost speaker cables available in a bi-wire configuration (ie. 2 banana connectors at the source end and 4 at the speaker end)?

A: No, they are not.  When the Norse 2 series was developed, we decided to do away with bi-wired cabling. When you bi-wire a pair of speakers, you cause a frequency phase shift (especially in the mid and upper frequencies).  The better way to go about it is to use bi-wire jumpers, or to opt for a bi-amp set-up.


Sort Systems

Q: After buying and liking the result of the Sort Füt for my speakers, I was thinking about buying another set for my audio rack, but I’m worried that with the weight of the rack, plus the weight of the components, it will be too heavy for the Sort Füt to hold. How much weight can a set of Sort Füt support?

A: One Sort Füt will support 200 lbs or 90.9 kilos per piece. This means that the four Sort Füt units you would use for your audio rack could handle a total weight of 800 lbs or 363 kilos.


Questions From The Show Floor


By Michael Taylor

Going to trade shows and dealer events are great chances for me to get out there and meet both current and future Nordost customers. You might have seen me during one of these shows, either performing cable demonstrations or manning the sales booth in the market place. One thing I always encourage is for attendees to take the opportunity to ask questions during these events. Now I would like to share two of our most-asked questions with you!


Unknown-10-1024x680

Question 1: It’s easy to position round speaker cables in a system, but what do you do when they’re flat?  What is the best way to position Nordost speaker cables

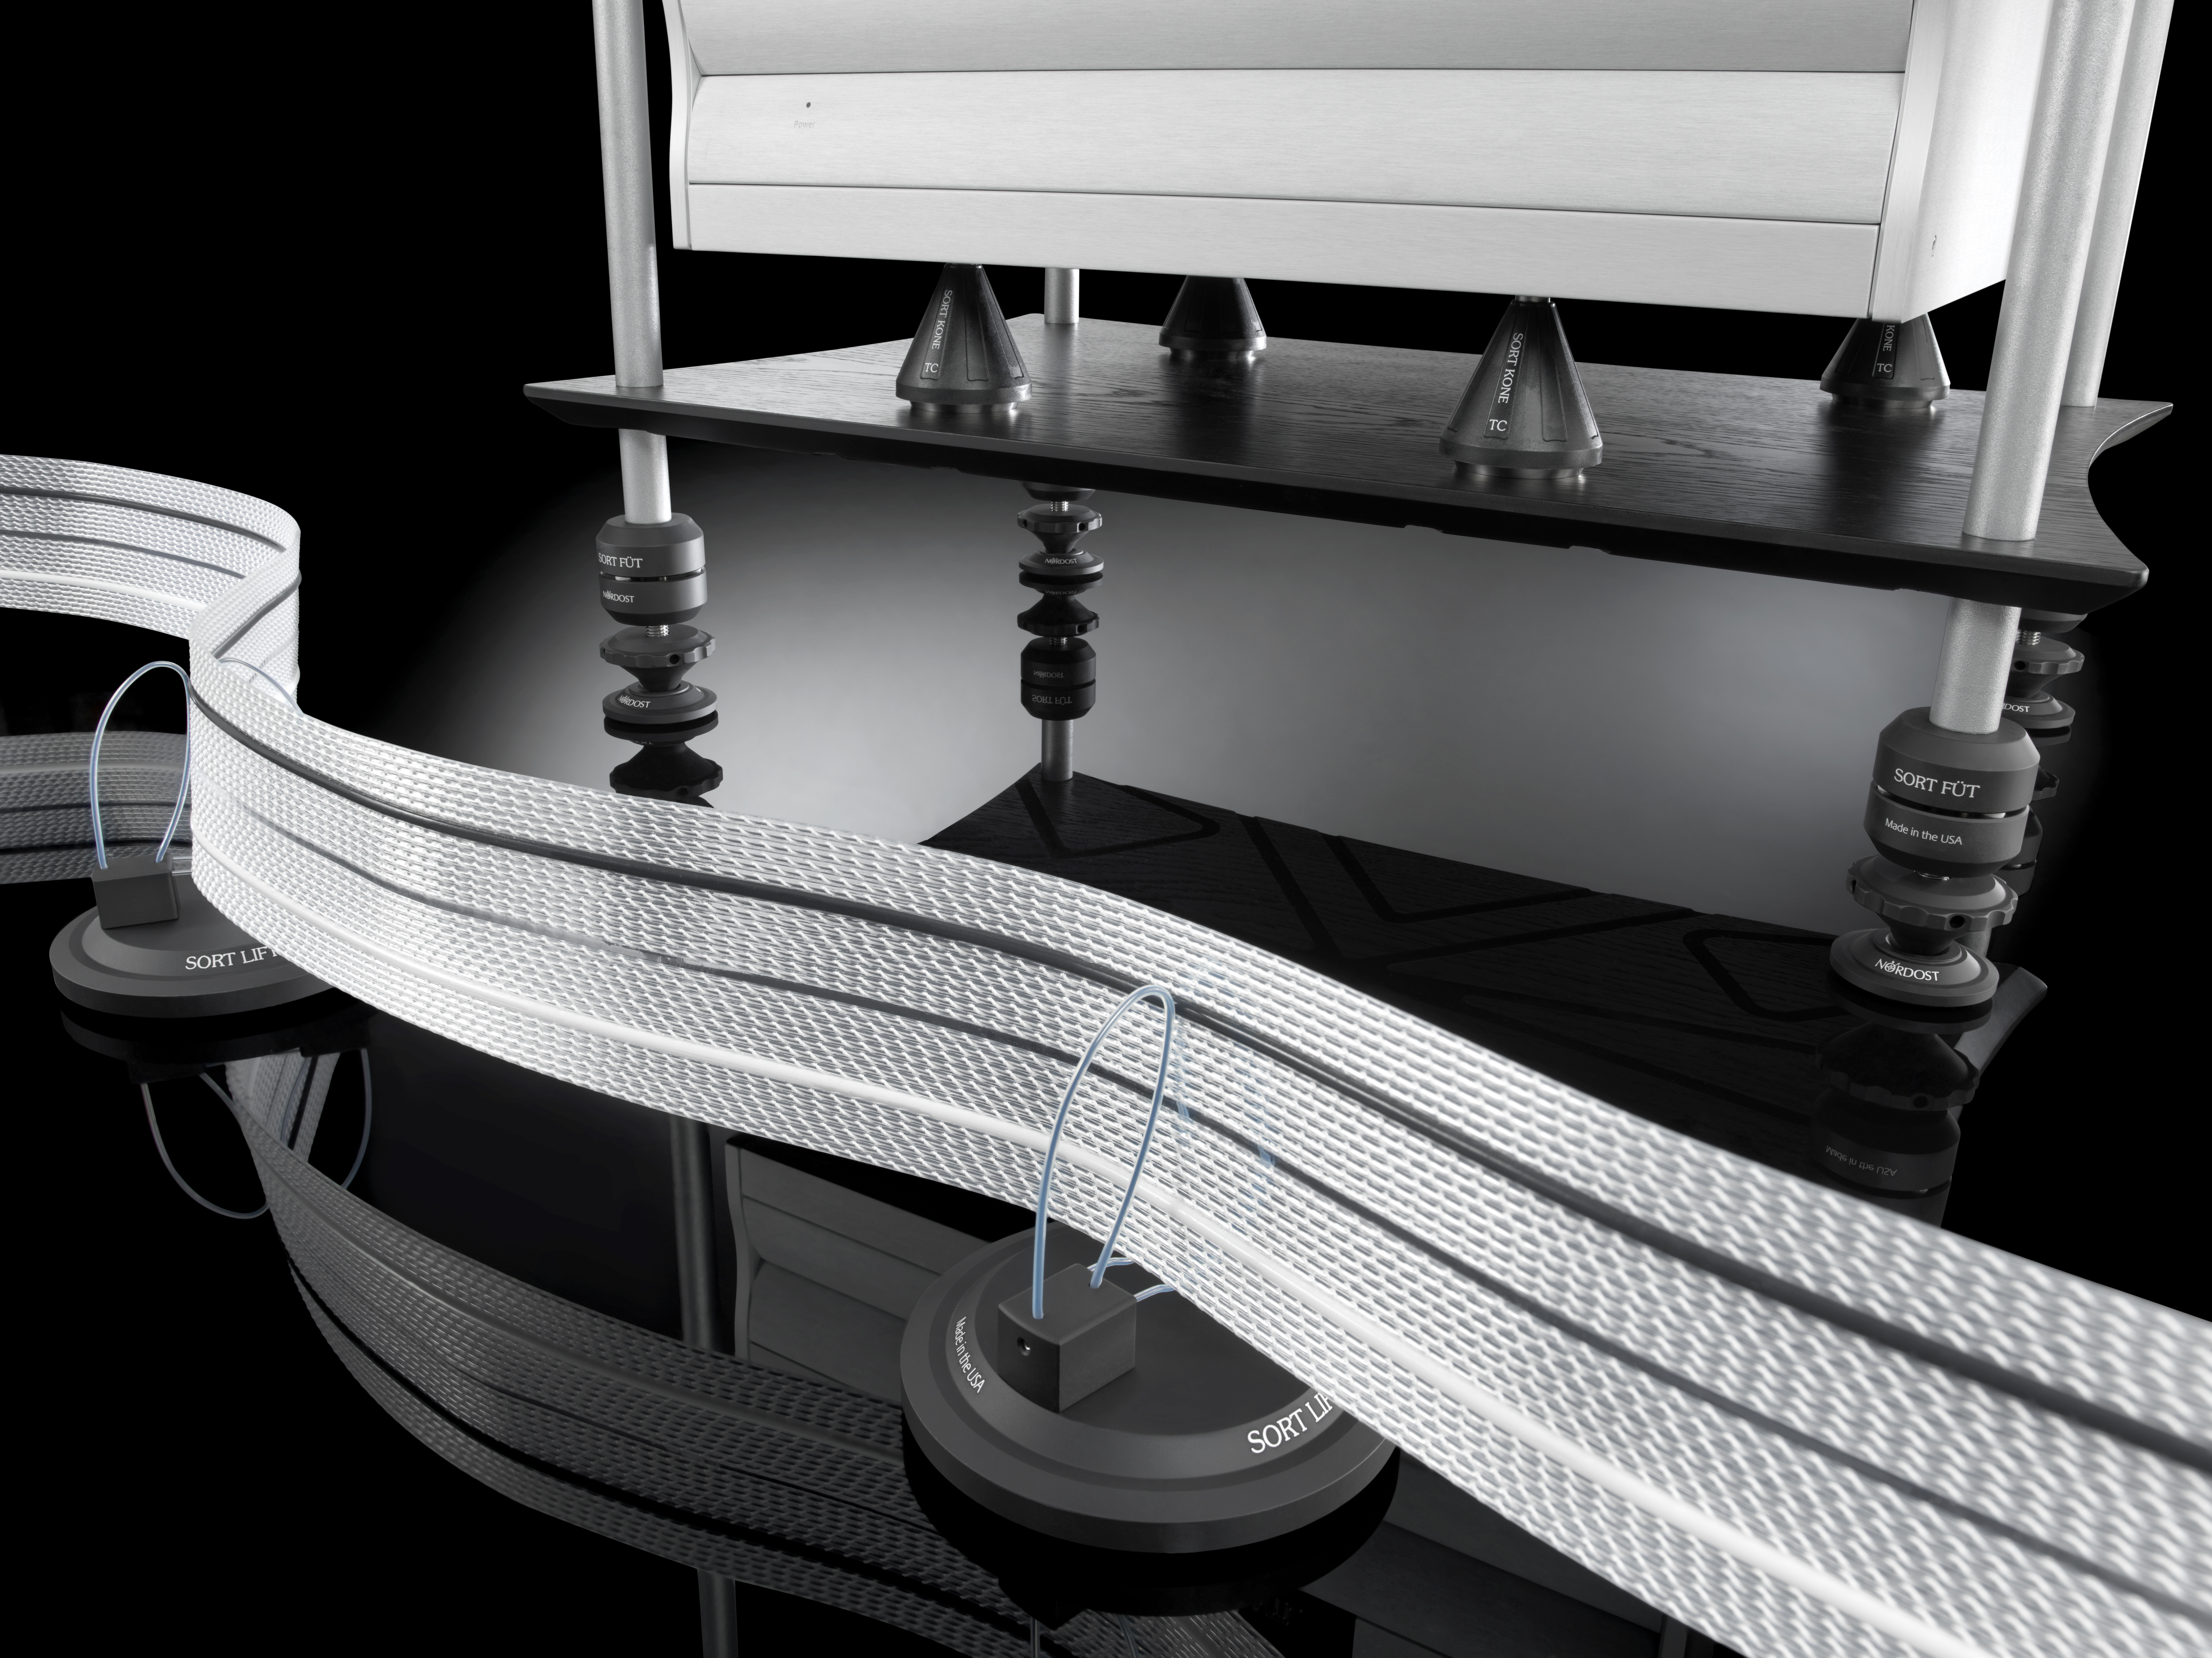
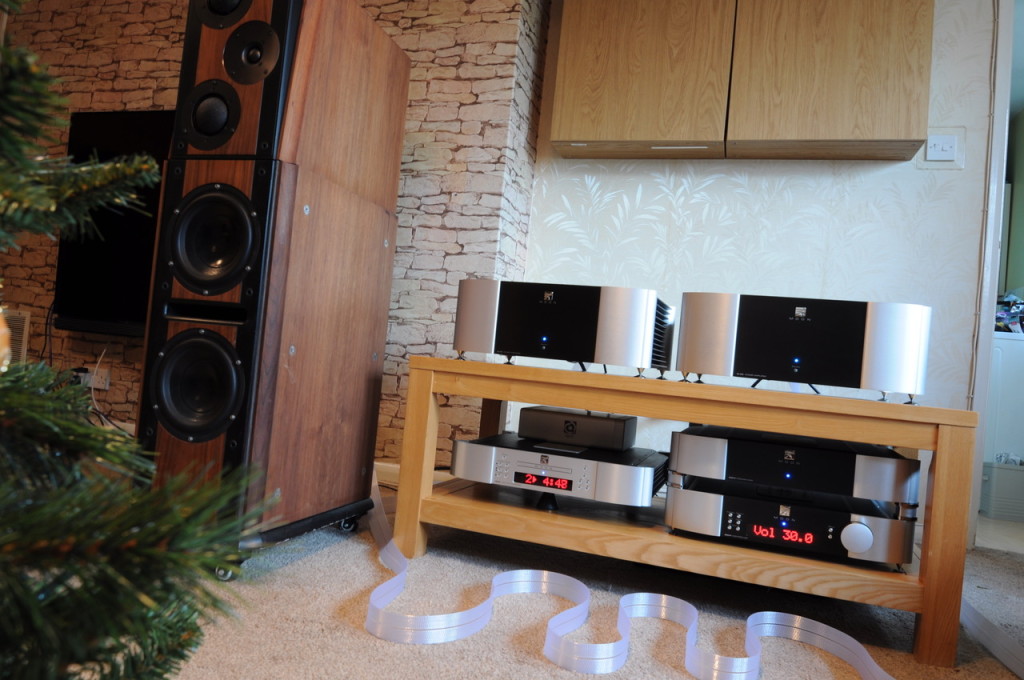
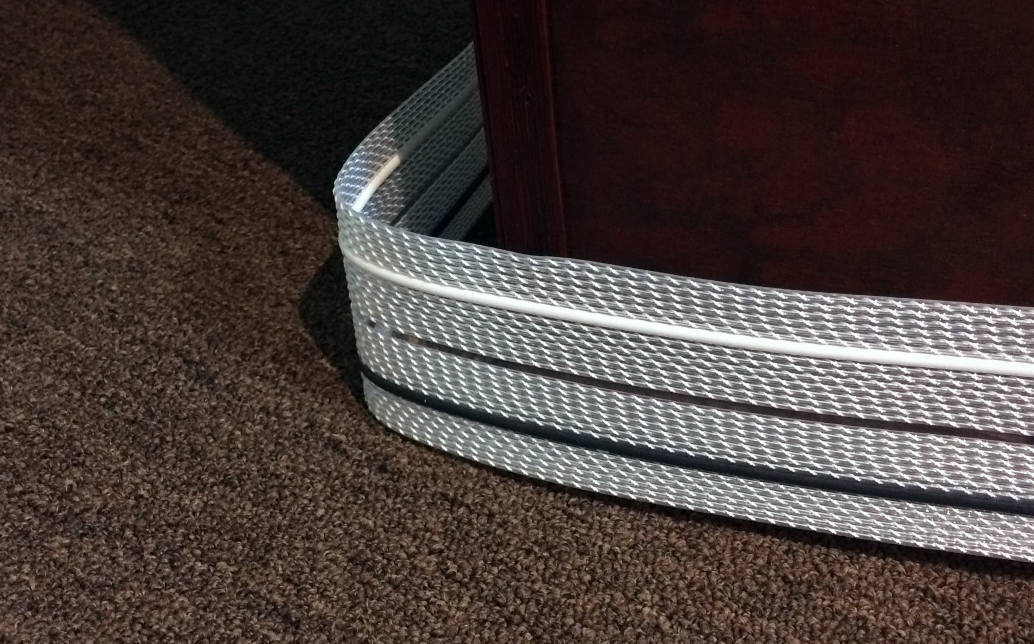
Well, I can tell you what not to do: lay them flat on the floor! (Unless, of course, they are rear channel speaker cables that need to be hidden under the rug.) Let me explain… our speaker cables have a flat construction in order to keep conductors apart—allowing for both low capacitance and inductance. The secondary benefit of this construction method is that the separation of conductors makes it possible for them to resonate naturally, enhancing the performance of the cables. Since we mechanically tune most of our premium cables, we can get even more performance benefits from these resonances. Laying cables flat on the floor will dampen them, not to mention that the more surface area is in contact with the floor, the faster buildup of static charges occur. All cable dielectrics hold electrical charges, which can impede or alter the signal passing underneath them. We suggest laying the cables in a vertical position, where only one conductor touches the floor (or using Sort Lifts where nothing touches!).  Additionally, if you have any excess cables, don’t coil them. Simply run them in a serpentine pattern.


Picture 395

Question 2: Why aren’t Nordost 75 Ohm Digital Interconnects terminated with RCA connectors?

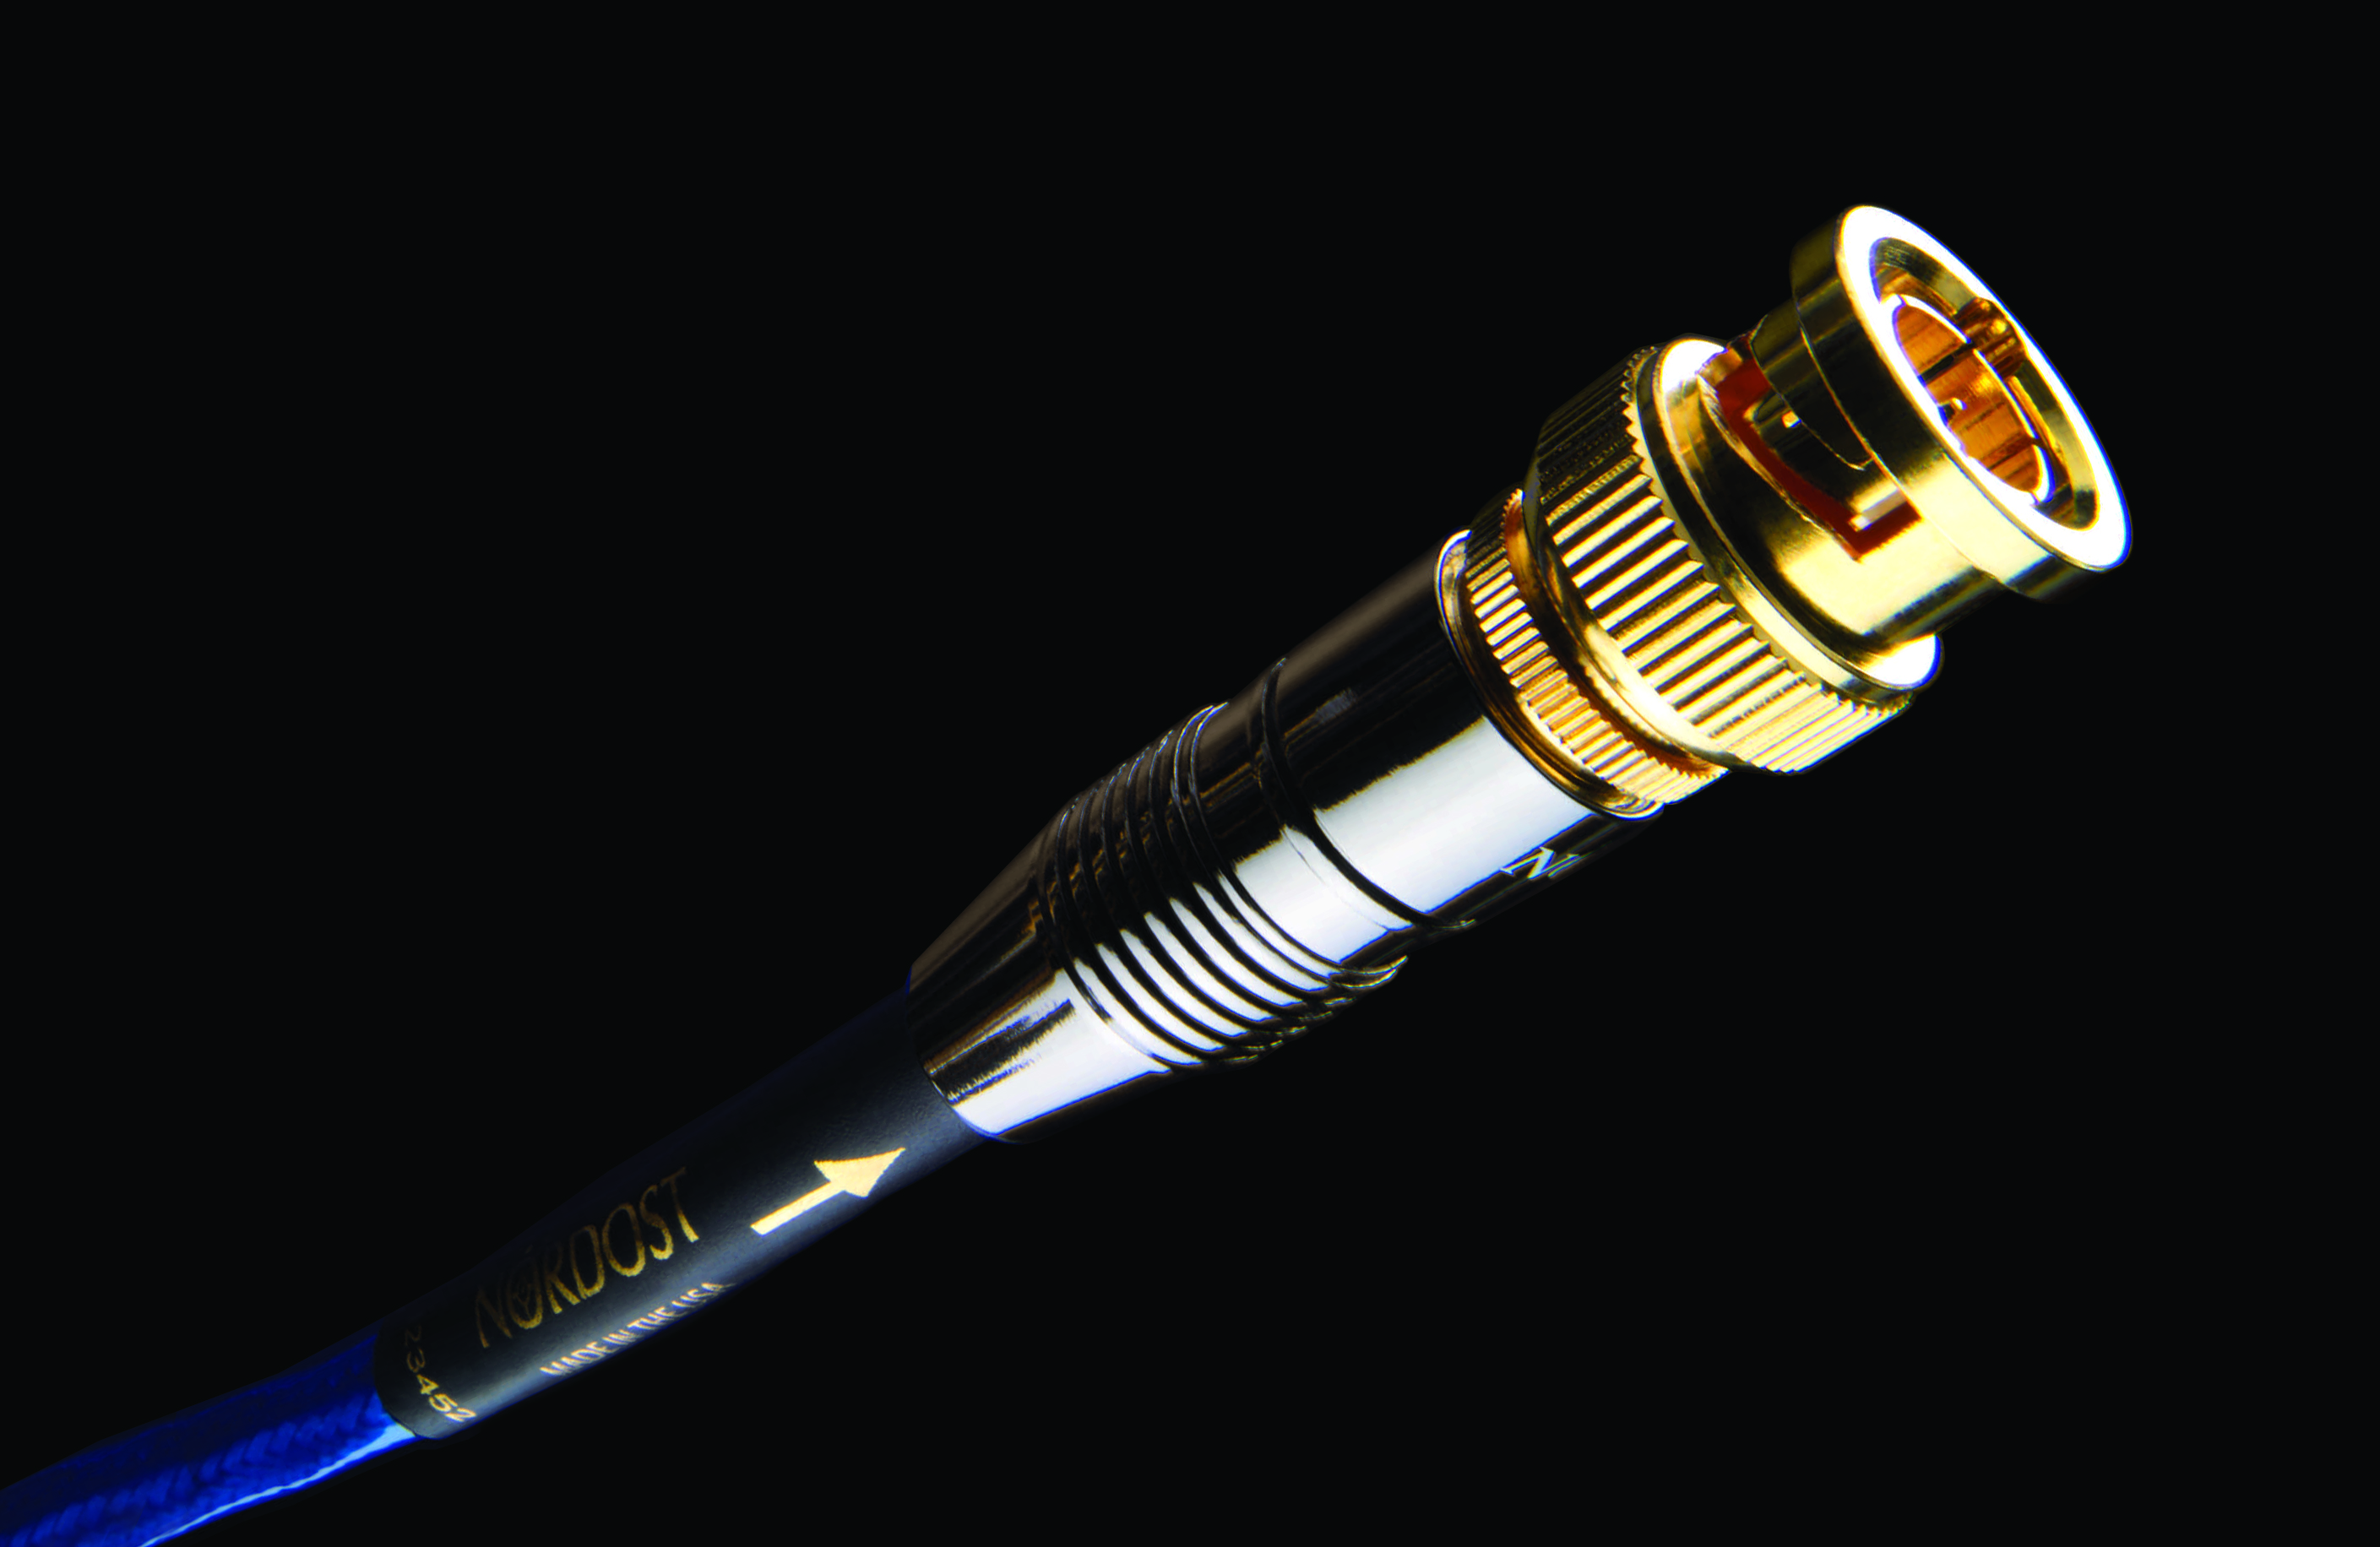
The answer is simple: they simply aren’t good enough.  RCA connectors are, and should be used for, analog interconnects. But when it comes to digital signals, performance is dependent on keeping impedance exactly where it needs to be. The more you deviate from 75 ohms, the worse the performance—and we won’t accept that.  RCA connectors allow too much variance, which is why we won’t use them.  For 75 Ohm matching to occur, you have to use a connector which is specifically designed for that purpose: a BNC connector.  We terminate all S/PDIF cables with BNC connectors, and include a BNC to RCA adapter in the package in case your gear requires an RCA termination.  Even though an adapter may be used, it is still far better than terminating the cable with an RCA and having the impedance swing in all directions.

Questions and Answers (November 2017)

Our product specialists receive questions on a daily basis about Nordost products, their application, and hifi in general.  We thought that we would take a minute to share some of our most recent and frequently asked questions here so that everyone can get the answers they are looking for!


Screen Shot 2017-11-10 at 2.14.38 PMQ: I am in the process of upgrading my audio cables, but the way that my system is set up, I need to make sure that whatever I get is flexible. Can your speaker wire be bent to form around corners?
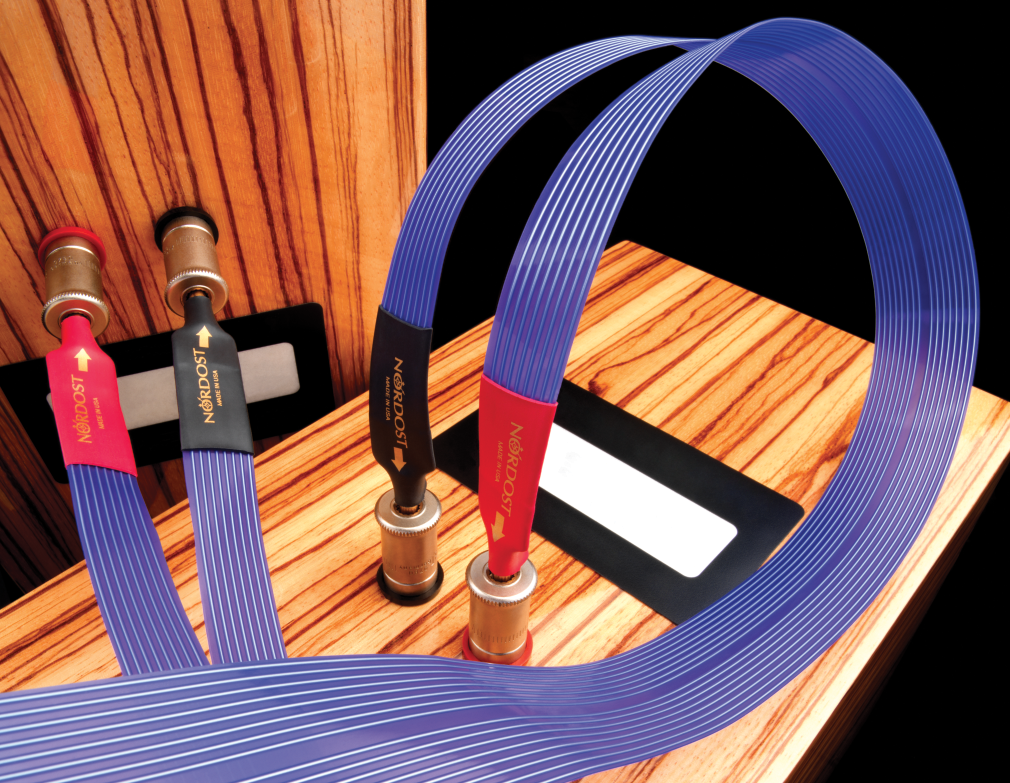
A: Yes, because Nordost cables are made with extruded FEP, they can be bent and folded without delaminating or damaging the insulation. Our Lief cables have virtually zero restrictions in flexibility. However, due to the solid core, high gauge conductors used in some of our Reference ranges, they do become a little less flexible, but can still be bent to at least a 90° angle.


Screen Shot 2017-11-10 at 2.13.56 PM

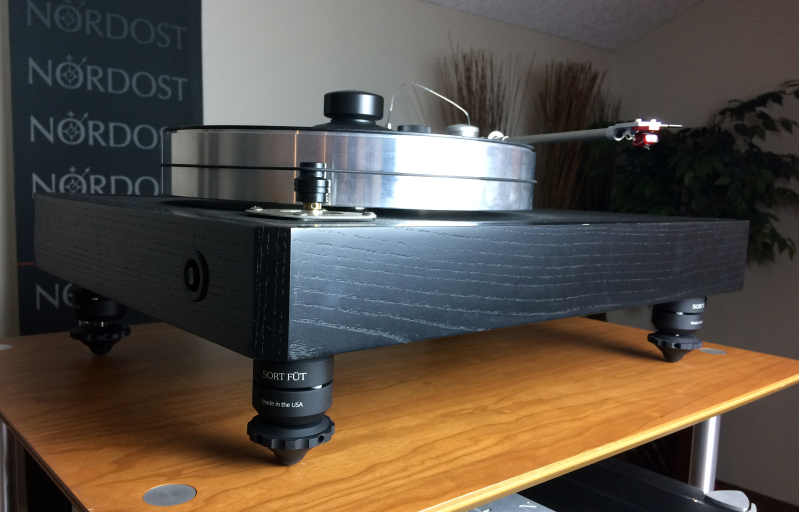
Q: Can I use Sort Füt under turntables? Are you aware of others doing this with turntables and/or do you advise against it for any reason?

A: You can use the Sort Füt with any component that allows for threaded inserts. We have had a lot of positive feedback from people who have installed our Sort Füt under their turntables. Not only does it help in terms of draining unwanted vibrations, but it is a great way to level your turntable as well. In fact, we use the Sort Füt under our VPI Classic Turntable in our own sound room.


Screen Shot 2017-11-10 at 12.28.14 PM

Q: I have Nordost speaker cables, and I see that there are arrows on them. What do the arrows signify? Do they make an impact on how I install them into my system?

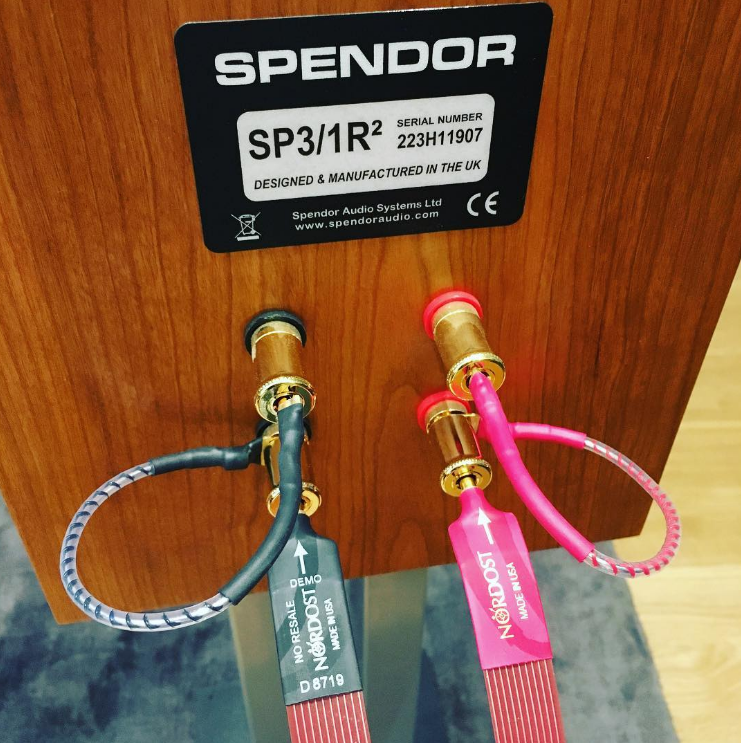
A: The arrows that you see on your speaker cables indicate the direction of signal flow once it is set up in the system.  Since the signal goes from the amp to the speaker, you want to make sure that the arrow is pointing to the speaker.


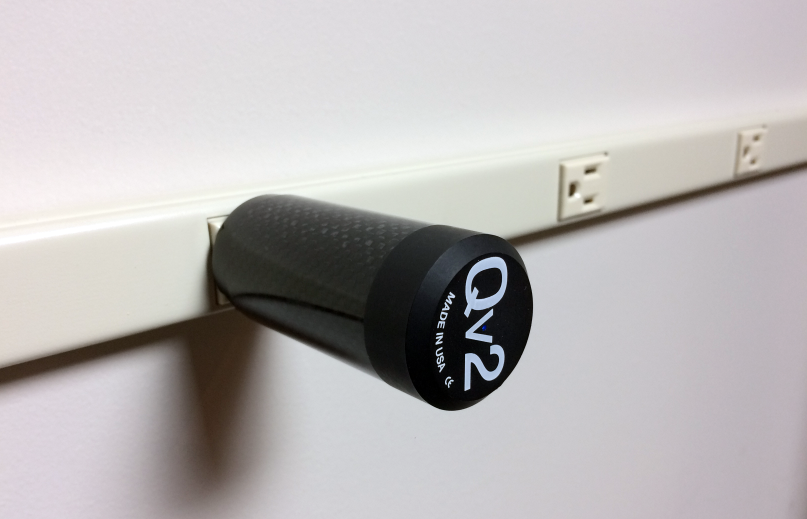
Q: I just ordered 2 pcs of your QV2 AC line harmonizers. Can I leave these devices plugged into the wall AC outlet all the time, or do I need to unplug them when my audio system is not in use? Will leaving them hooked up to a wall outlet decrease their lifespan? 

A: Unless you experience power surges or things of that nature, you can leave them plugged in at all times.  Having them on all the time won’t hurt the lifespan, unless they are subject to surges or electrical spikes.

Questions and Answers (August 2017)

Our product specialists receive questions on a daily basis about Nordost products, their application, and hifi in general.  We thought that we would take a minute to share some of our most recent and frequently asked questions here so that everyone can get the answers they are looking for!


Q: I live in a small apartment, so managing my audio cables is always an issue. I have read that Nordost warns against coiling speaker cables and power cords, as well as avoiding contact both from other cables and walls. That can be difficult when you’re working with my space constraints! Can you offer any advice for me to keep my cabling tidy while avoiding interference and sound degradation?

A: If your speaker cables are longer than what you need, we suggest running them in a serpentine pattern so that they rest on their edge (minimizing surface contact). Placing them like this will ensure that you don’t coil them, and that they resonate freely.  If you use our Sort Lifts, this will improve their resonating properties, and decrease their contact with the floor even more. Power cables are a bit trickier, but you should still avoid coiling them.  Also, make sure that if they are near the speaker cables they cross the speaker cable at a 90 degree angle, so that they don’t run parallel to each other.

IMG_1672

 Q: How much time is required to break in a power cord?

A: Power cords have the fastest burn in time of any cable, thanks to the amount of current flowing through them. Typically, they are good to go within 48-72 hours of continual use. When breaking in any other Nordost cable, we recommend 168 hours for our Leif and Norse 2 ranges, and 336 hours for our Reference cables. Although, it’s best to go to your local authorized Nordost dealer and ask about the ability to burn them in on our VIDAR machine (however, this service is not available for power cords).
vidar1-255x300


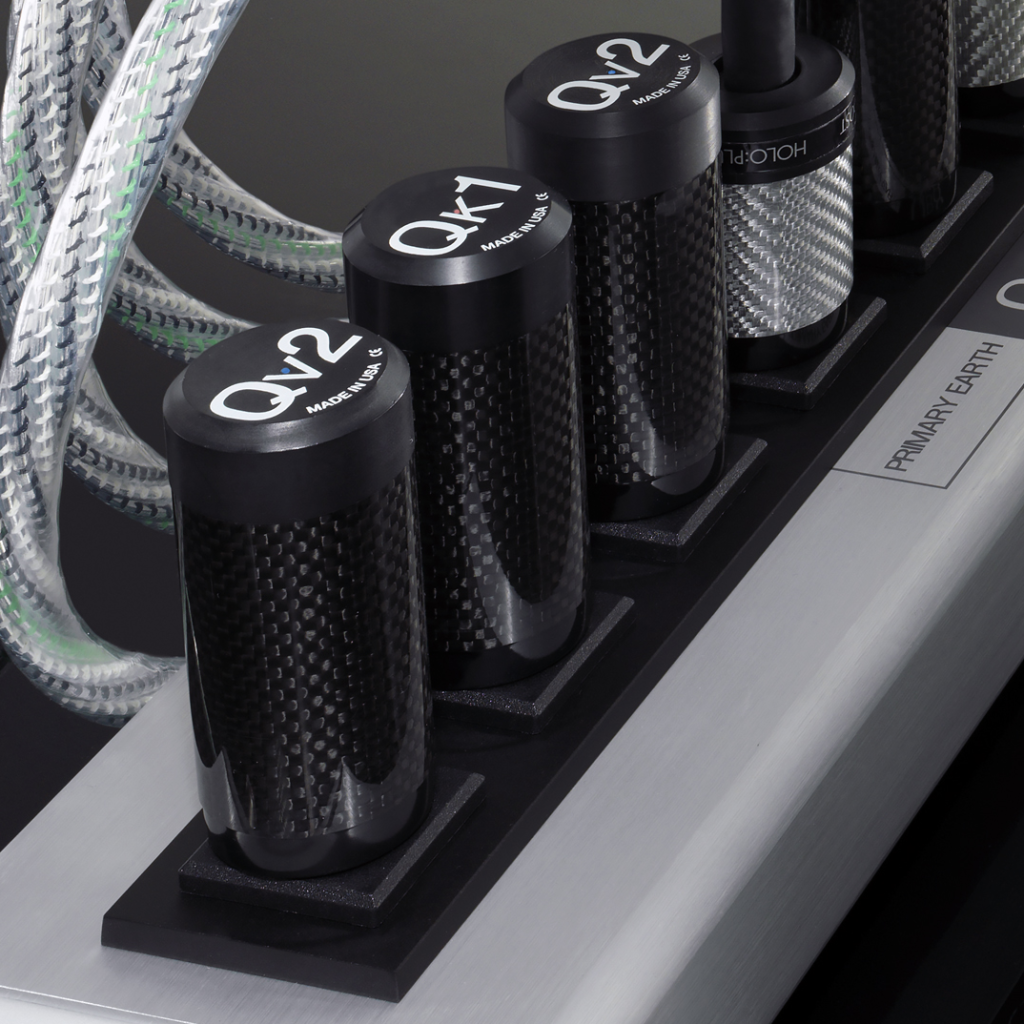
Q: What is the difference between the QV2 and QK1?

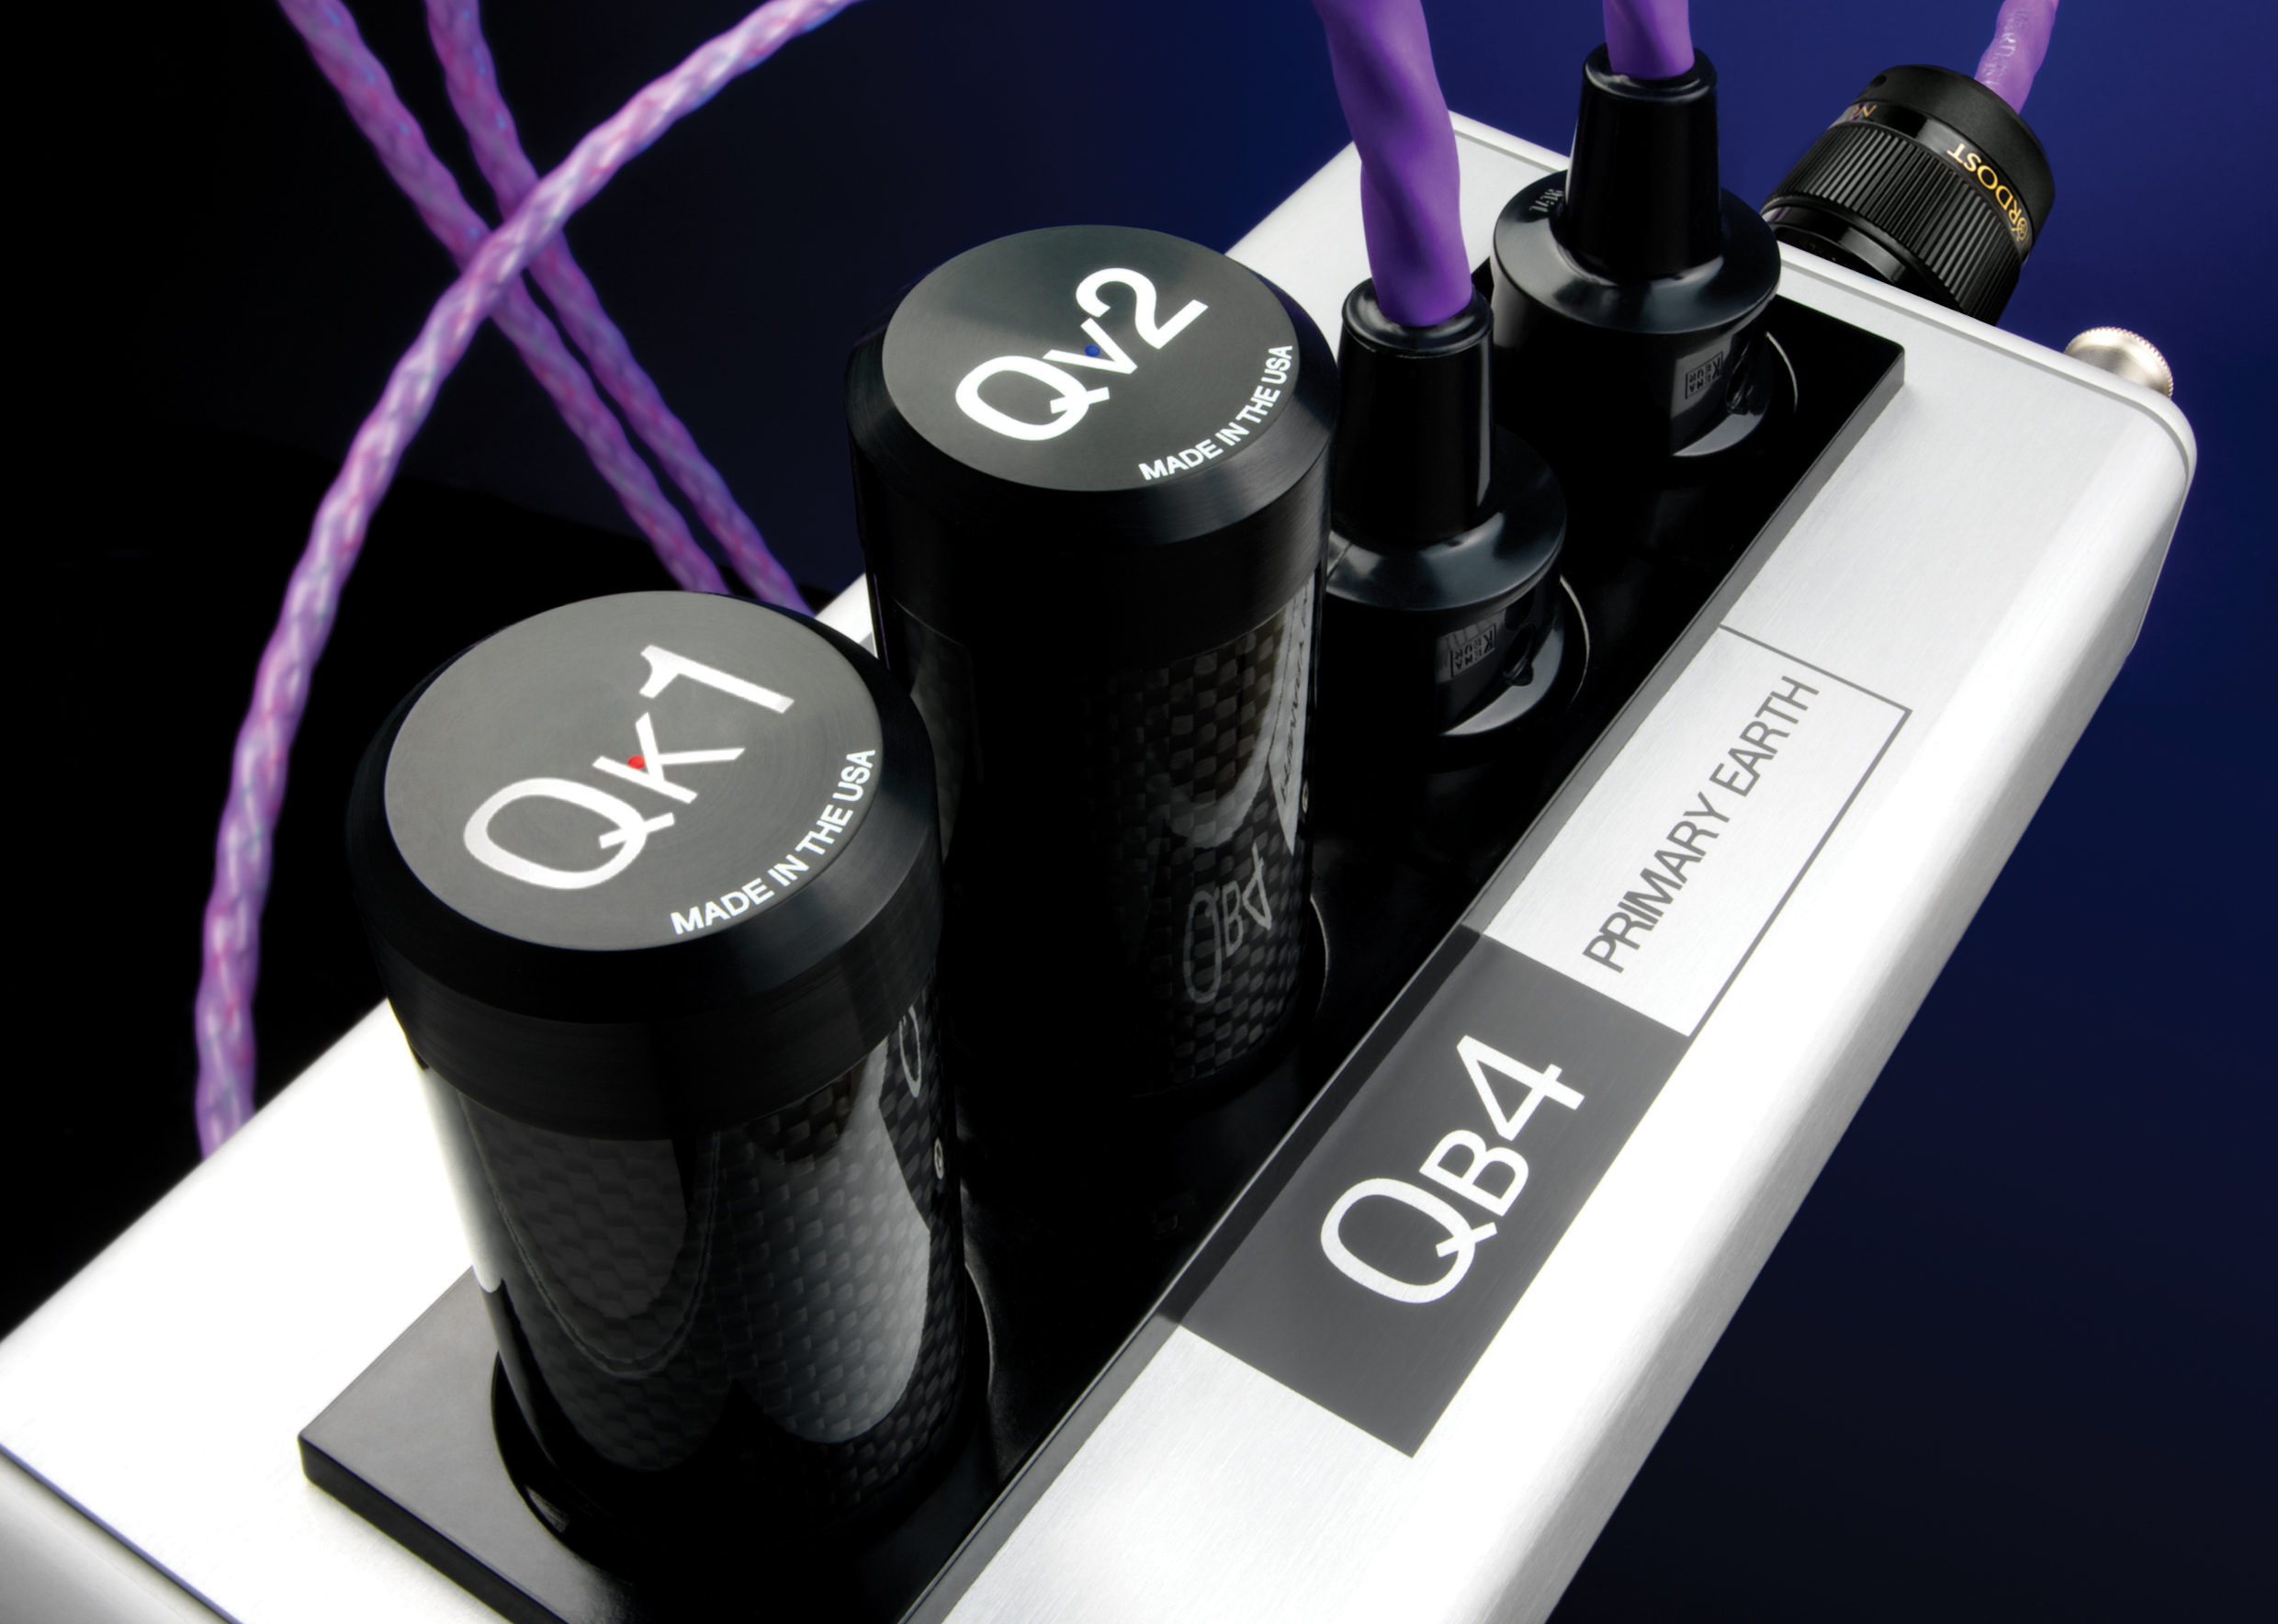
A: These two product address different frequencies.  The QK1 adds harmonics at high frequencies, and is a mechanical device. The QV2 adds harmonics at midrange and upper bass frequencies, and is an electronic device. For more information about these products please visit the QRT section of our website.

Picture 588


Q: I am looking to buy a power cord, but I don’t know what length to get: 1 or 2 meters. Do cables at different lengths sound different?

A: The jump from a 1 meter to a 2 meter cable is the most noticeable jump when comparing any length.  While a 1 meter power cord won’t sound bad by any stretch of the imagination, the 2 meter cable will sound smoother, since the resonance is being spread out over a longer length.

Picture 759

Questions and Answers (QKORE)

Our product specialists receive questions on a daily basis about Nordost products, their application, and hifi in general.  With the introduction of our new QKORE Ground Units last month, we received an influx of great questions from customers.  We thought that we would take a minute to answer some of our QKORE related question here so that everyone can get the answers they are looking for!


Q: Hello, I have recently purchased one of your new QKORE Units (1 outlet to QB). I was wondering whether there is any suggestion about placement on/around the stereo rack. More specifically, does it have to be in the middle of the rack, like QX4, or can it be placed outside the rack on the floor? Since I also own a QX4, can the QKORE and the QX Unit be placed side by side?

A: QKORE units can be placed pretty much anywhere within your system; they don’t have the same placement needs as the QX Units. However, they do benefit from being on a proper shelf in your audio rack, or on Sort Kones, instead of sitting directly on the floor. To address your second question: Yes, your QKORE Unit can be placed side by side with QX4 or QX2 Units.

QKore_Front and Back

Q: I am trying to determine which QKORE would work best for my system. Would I be able to connect my QBASE Unit to my QKORE Unit if I purchase the QKORE3?

A: Our QKORE6 Unit is designed with two Low Voltage Attractor Plates, so that it can address both primary (AC) and secondary (DC) ground. The QKORE3 Unit is only intended to address one aspect of ground at a time. Therefore, if you connect your QBASE Unit to your QKORE3 simultaneously with your electronics, you will not achieve the desired effects. The benefits to your system will be much greater if you use both a QKORE1 and QKORE3, or if you purchase the QKORE6.

02-QKORE 3 backs

Q: I have an external ground rod, can I still benefit from the QKORE?

A: While the QKORE1 is especially ideal for someone looking to ground their QBASE but who does not have the opportunity to install an external ground rod, you can absolutely gain additional benefits from using QKORE Units. It’s similar to the improvements that you will see when going from a designated ground for your system to an external ground rod. Adding a QKORE to this setup will be another step-up in performance. When adding the QKORE3 or QKORE6 to your system, you will see benefits that are not addressed by an external ground, since these products also improve the secondary ground, where the audio circuit is.

lg-QRT-QKore1_with wire

Q: I read that the QKORE either comes with one or two QKORE Wires in the packaging. Why would you not provide us with all of the cables we need to set up the QKORE in our system?

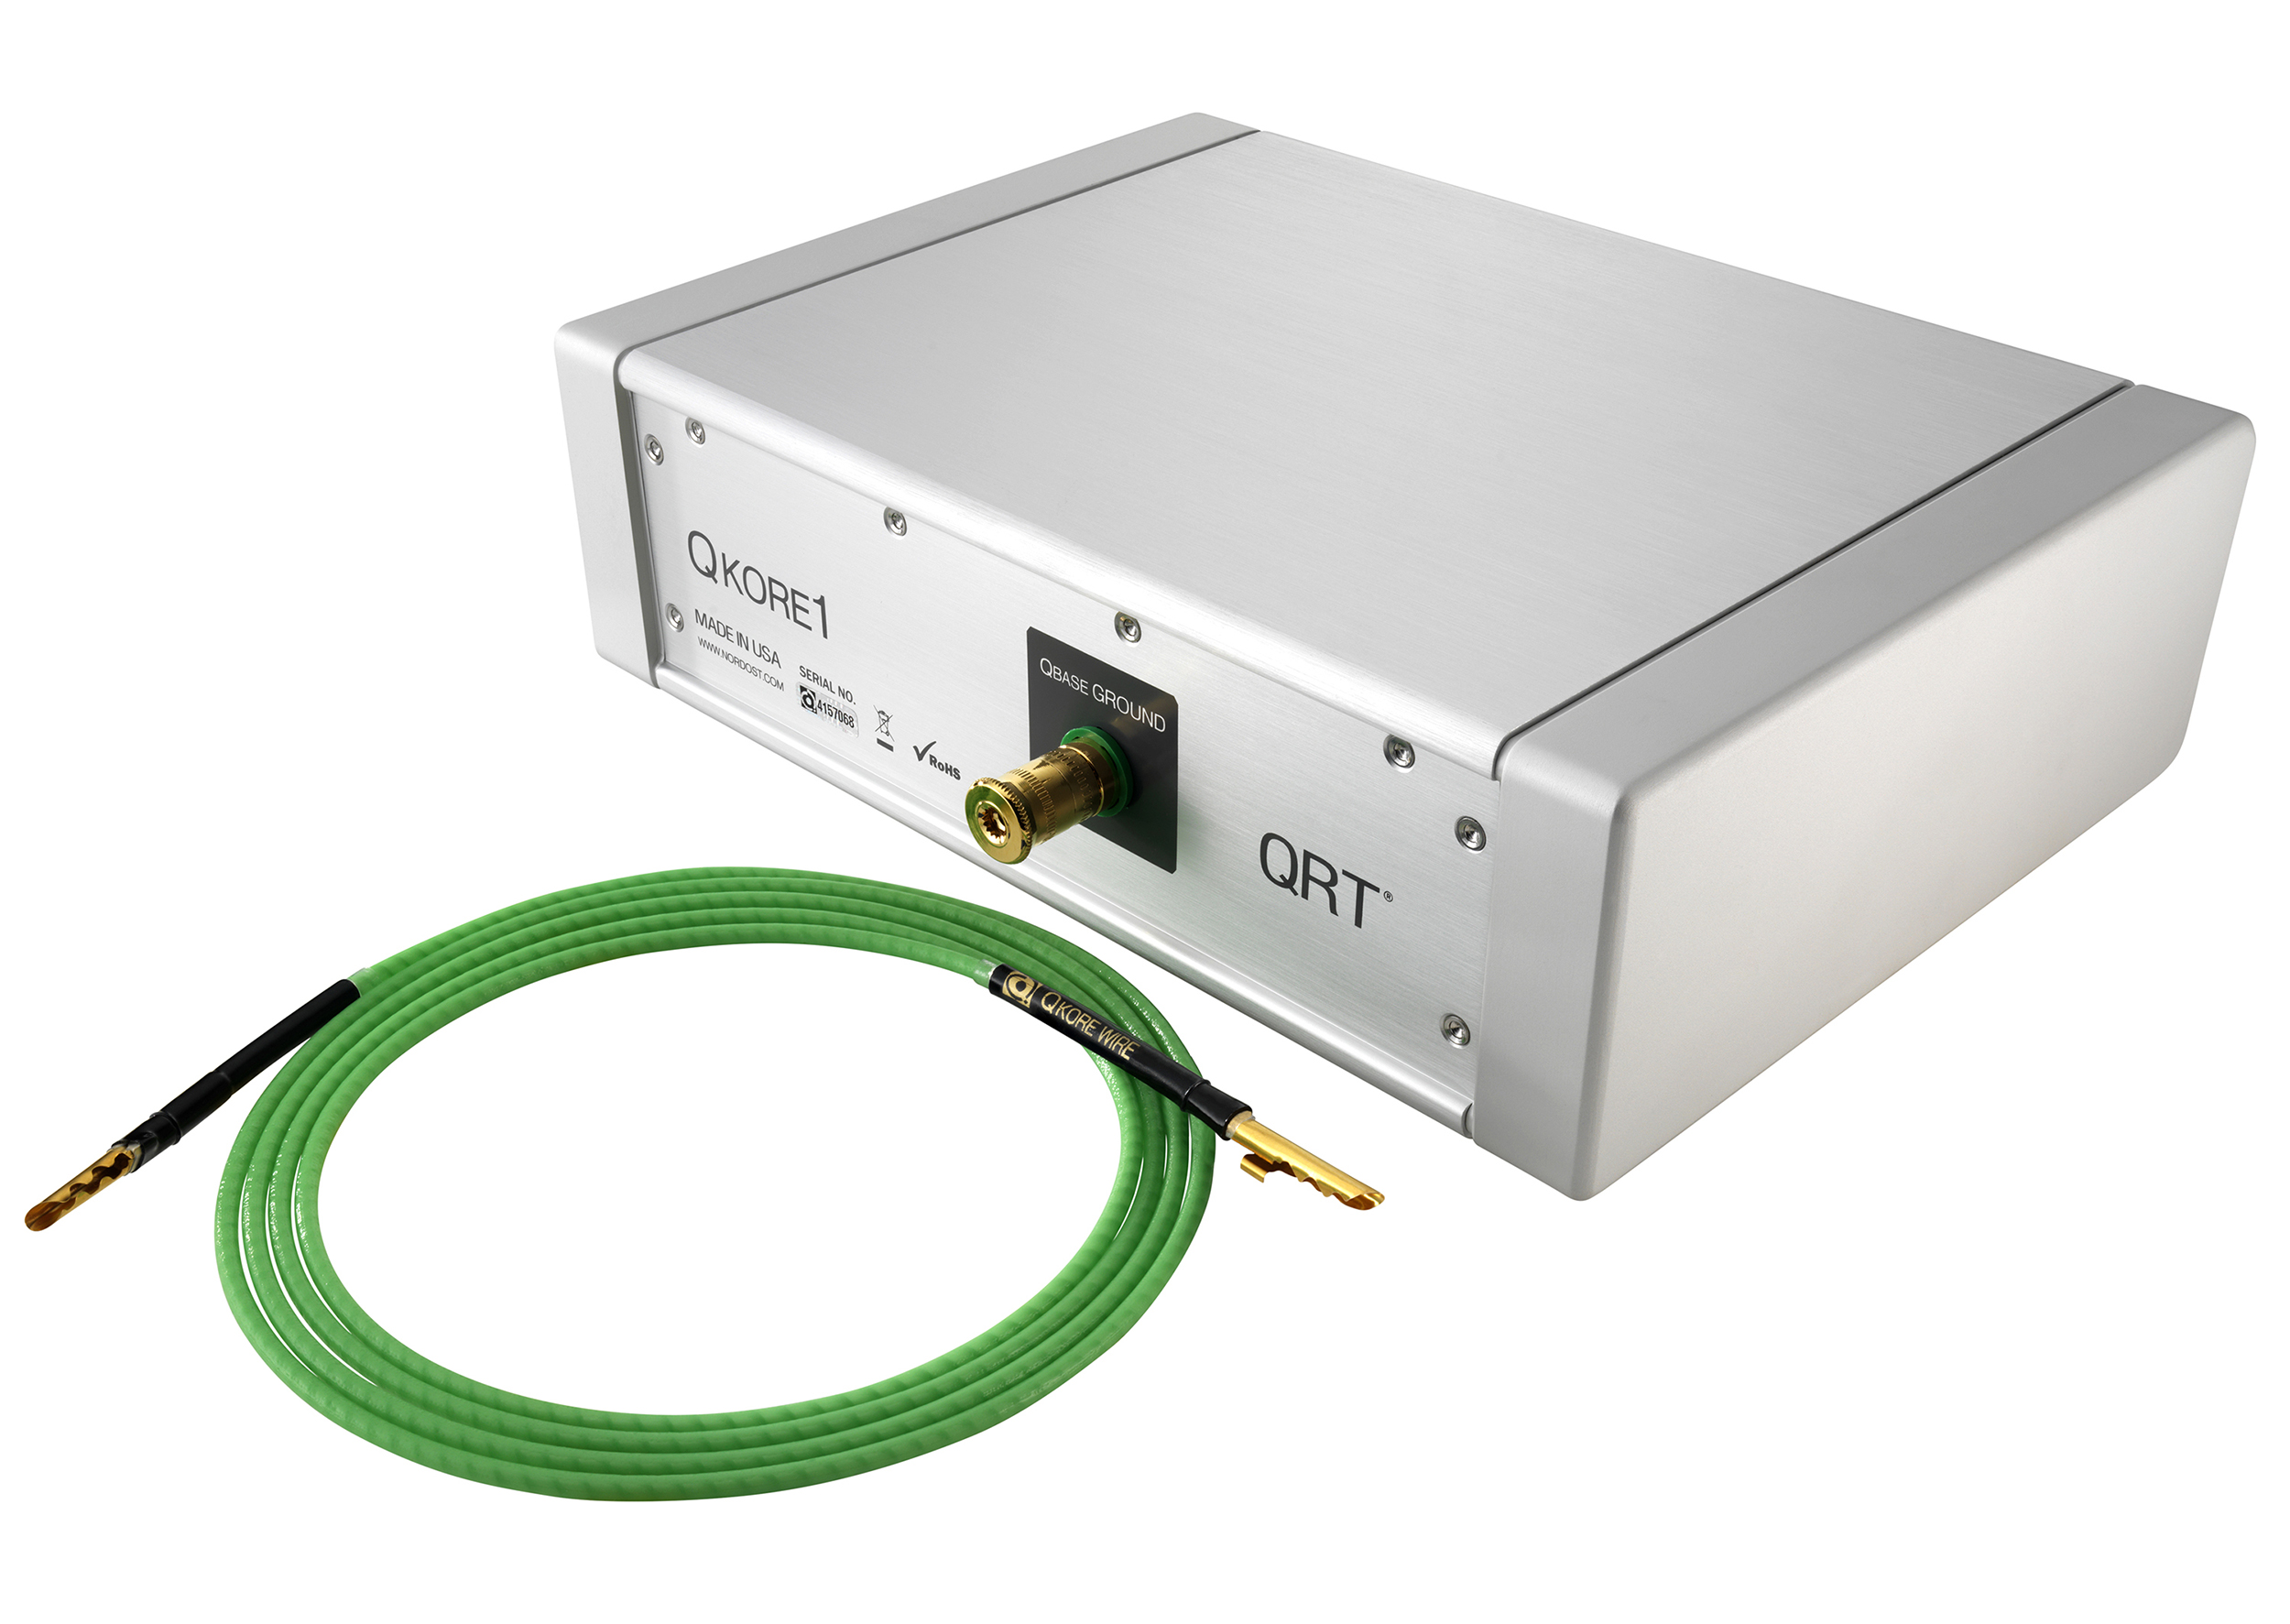
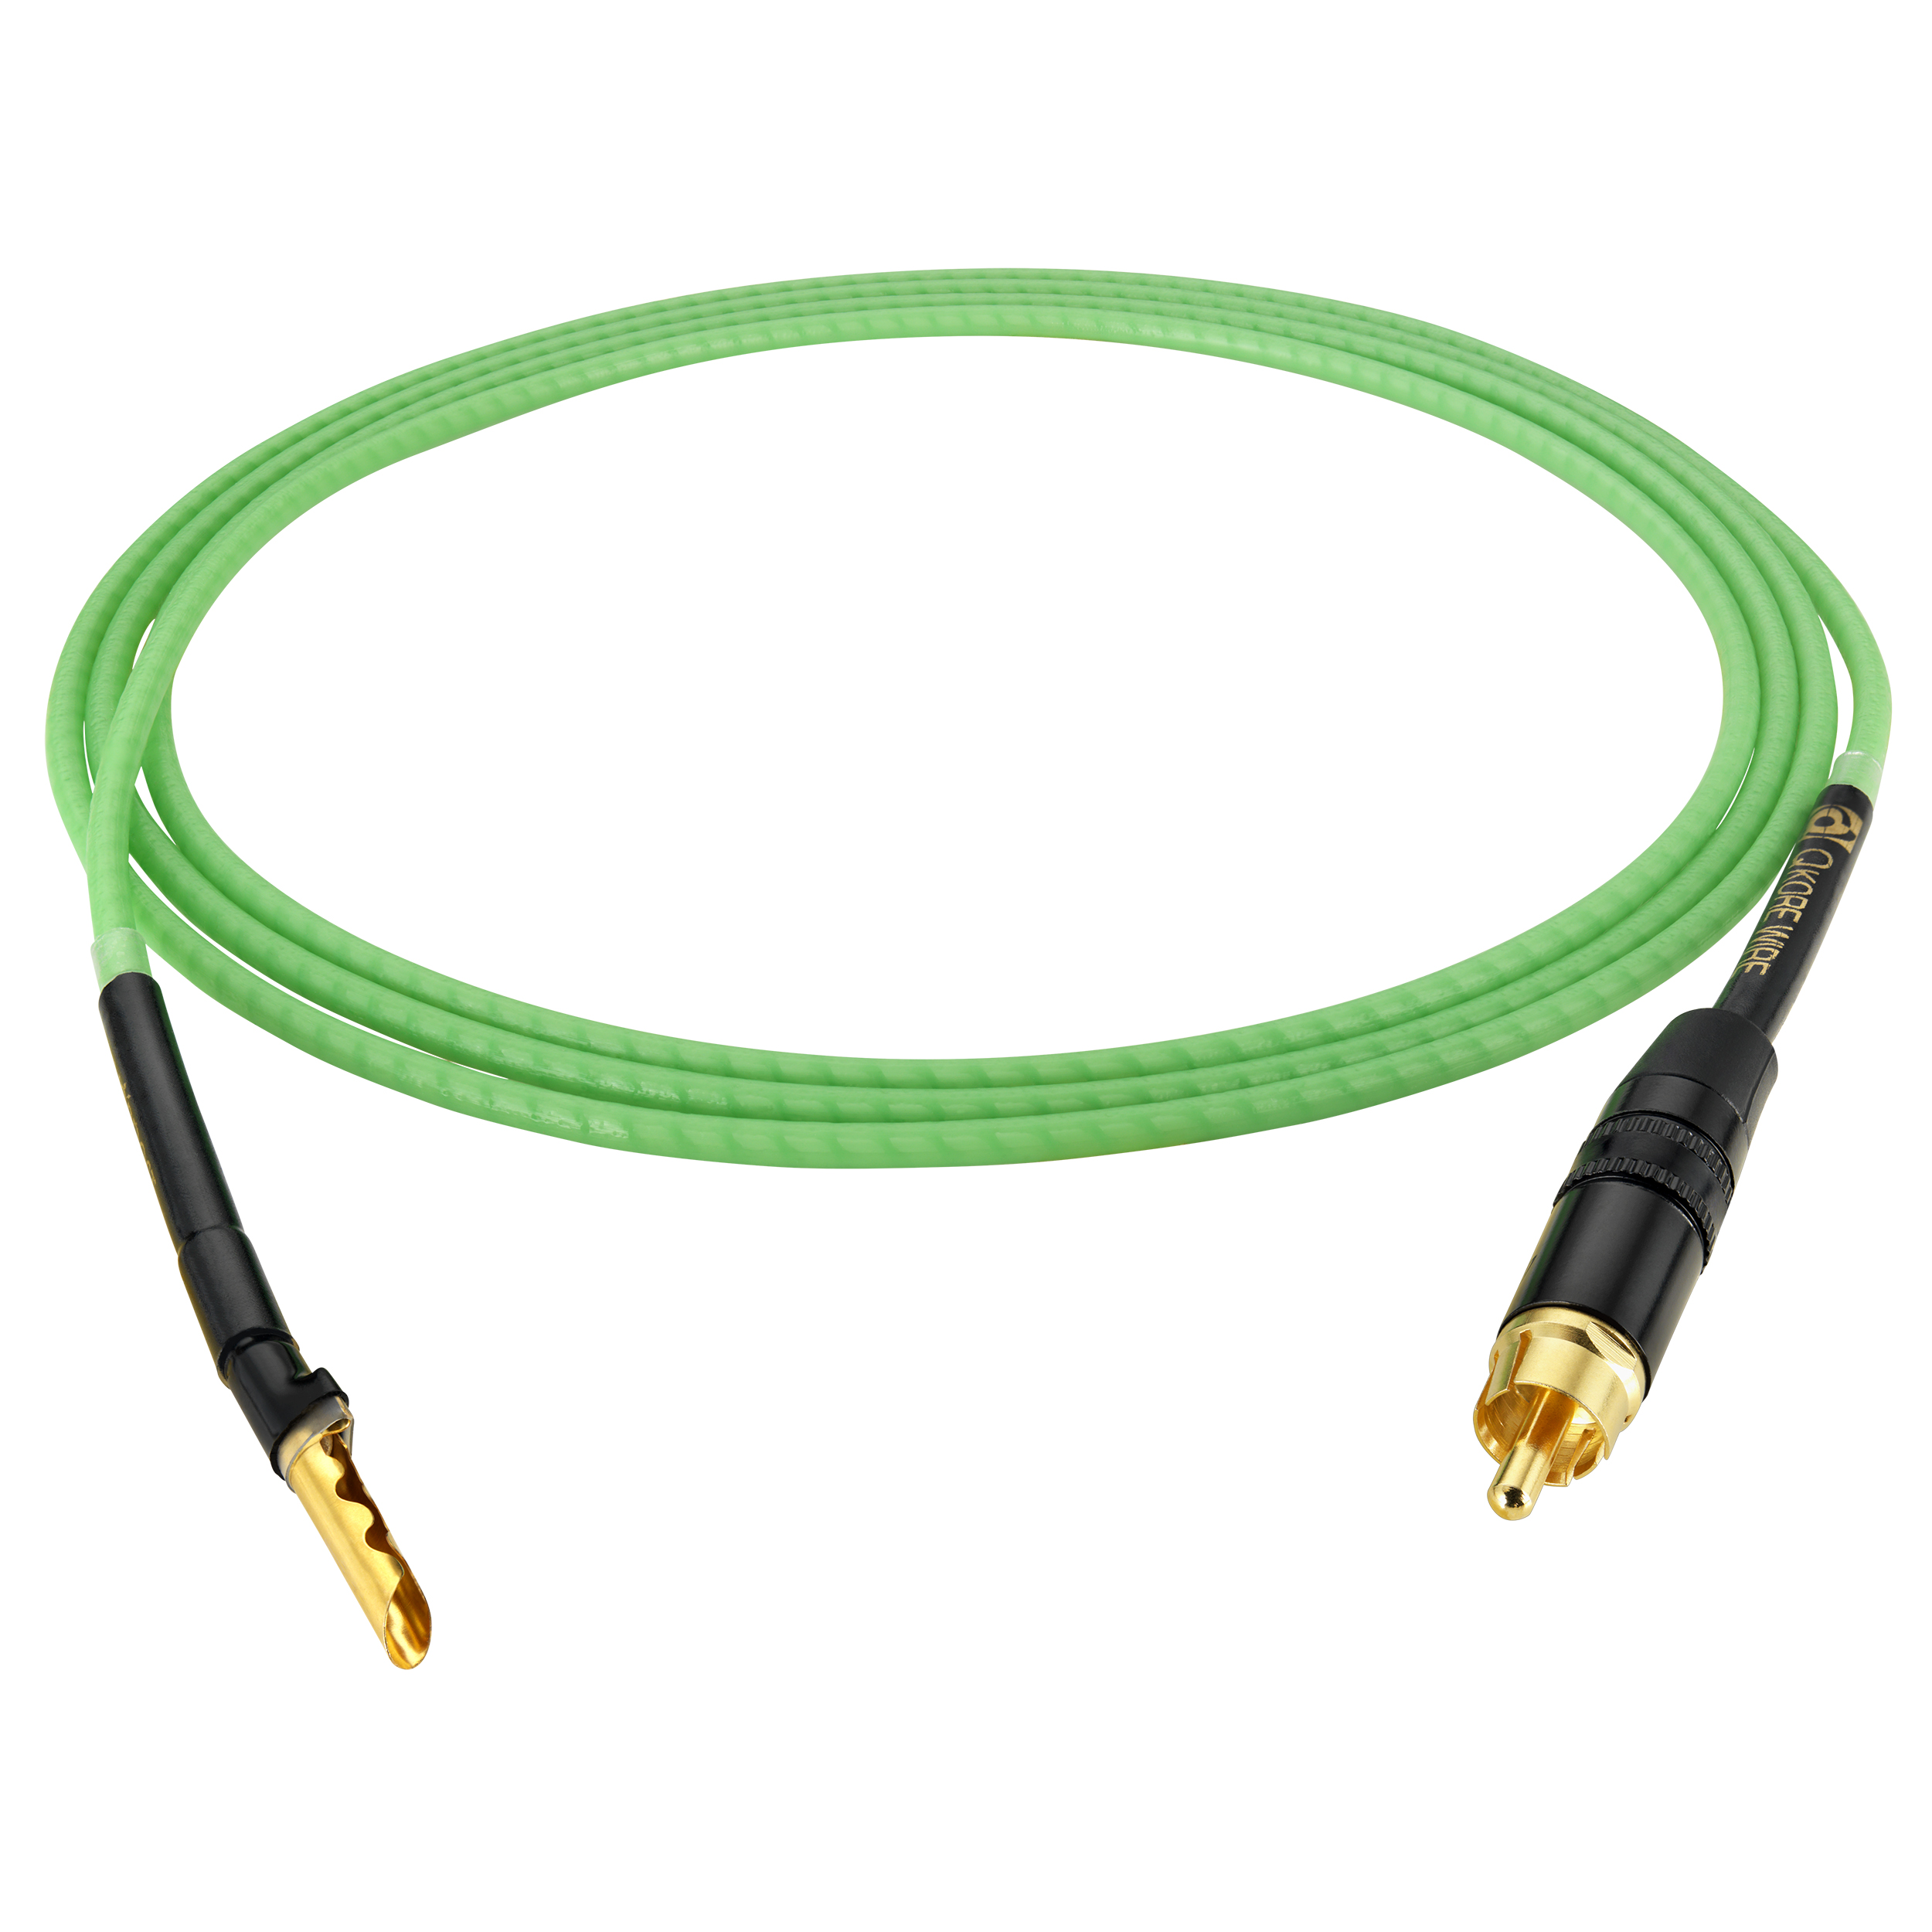
A: The QKORE1 includes a 2 meter QKORE Wire with Banana to Banana terminations, the QKORE3 includes a 2 meter QKORE Wire with Banana to RCA terminations, and the QKORE6 includes one of each. However, it would be impossible to foresee which lengths and terminations would be necessary in each individual’s system. There are 18 different termination combinations available, not to mention variations in cable length.

lg-qrt-qkore-wire

6 Steps to Successfully Audition HiFi Cables in Your Home Sound System

If you have had the opportunity to visit hifi audio shows in the past, hopefully you are familiar with Nordost demonstrations. For over 25 years, Nordost has been exhibiting at shows around the world and performing cable comparisons for the public. We maintain that consumers should audition the components that they are interested in before they make a purchase, and cables are no exception. While hearing cable demonstrations at a hifi show, or in a dealer’s showroom, can be a fun and informative experience, sometimes it is not enough to determine what is right for your home system. By arranging at-home auditions, you are able to hear what benefits, or drawbacks, specific cables bring to your sound system, using your own components, in your own listening room.  However, if you are going to compare cables, there are a few guidelines to follow in order to ensure that you perform a successful audition.


1) Identify your area of interest

Although your ultimate goal may be to do a system-wide cabling upgrade, in order to do a fair comparison, you should identify one area to focus on at a time. For example, perhaps the first thing that you want to look at is the interconnect between your CD player and preamplifier. This will help you isolate and identify the resulting audible differences, as you perform your comparisons.

Picture 398 

2) Request Demo Cables

Make sure that when inquiring about taking cables home from your local audio dealer for comparison, they give you cables that have already been used in a system for a considerable amount of time. Before a cable sounds its best, it must be broken in, due to gases that can be trapped in the insulation, and the high electrical charge that is inherent in new cables. These negative characteristics change after the first 100 hours of play time or “burn-in”. Another thing to note when picking up your demo cables from a dealer is to pay attention to cable length. When making comparisons between one brand, make sure that the cables are the same length, as that can greatly affect the sonic properties of the cables. When you are cross-comparing cables from different companies, the design philosophy of a cable will impact which length sounds “best”. Nordost, for example, uses a low-capacitance design that sounds better with longer lengths of cables (up to about a 5 meter length).


3) Re-familiarize yourself with your system

Now that you have identified the cables you will focus on, and you have collected burned-in demo cables of uniform length from your dealer, it is time to change… nothing. Although it might be tempting to get started right away, take some time to first reacquaint yourself to your system as is. Put on some music and listen to your system with a critical ear: point out the characteristics that are unique to your system, identifying aspects you like, aspects that you find lacking etc.

 cd-864402_960_720

4) Musical selection and listening

The genre of music you select for auditioning cables is entirely up to you. However, it is important to choose tracks that you are familiar with. One of the most enjoyable aspects of comparing and upgrading cables, is discovering nuances you have never heard before in a piece of music that you have listened to countless times! Once you have decided on a number of tracks that you are familiar with (you should choose a few different pieces, especially if you are going to be doing a number of comparisons, so that listening fatigue doesn’t set in), make sure to play each cut of music for only 45 seconds to 1 minute before making a change. If you listen to a song in its entirety, you may forget the details in the beginning of the track. We find that 45 seconds is just enough time to get into a piece, without waiting so long as to take away from the comparison.

cd-1003342_960_720

5) Switching Cables 

Once you listen to your 45 second piece of music, it is important to switch out your cables as quickly as possible, in order to minimize the time between the comparisons. When conducting your switch, make sure that all other variables remain the same. If we stick with the assumption that you are changing the interconnect between your CD player and preamplifier, put your preamplifier on mute (or change the input to effectively mute the preamp) but do NOT change the volume or power down your system. If you are comparing power cords, you will have to power down, but make sure that your volume remains the same throughout all of your comparisons.

If your system includes tube amplifiers, they take some time to become linear, so unfortunately you will have to wait for them to warm up in order to perform a fair comparison.


6) Switch Back

Once you have repeated this process until you have completed all of your A/B comparisons, switch back to your original cabling to remind yourself how much of an impact one cable can make within your entire system.


Although you have now finished your comparison process, that doesn’t mean your audition is over. It takes time for cables to settle into your system. We encourage our customers to reinstall the cable that you are most happy with from doing the initial comparison, and live with it in your system for a few days to really understand what this addition will bring to the overall performance of your system.

“Taking The High Ground” Chasing Ground Noise From Your Hi-Fi System

By Anthony Chiarella

For all the times we improve our HiFis by upgrading components, some of the most satisfying enhancements are absolutely free. And perhaps no other “Tweak” offers as much sonic benefit as chasing ground noise from your sound system.

Back in the days before streaming—or even CDs—most of us suffered some sort of ground noise from our analog rigs. Between the low output of moving coils, the high gain of phono preamps, noise leakage from turntable motors, etc., most pre-digital audiophiles needed to roll up their sleeves and chase hums and buzzes from their systems. Typically, this was (…and still is) accomplished by using ground wires to connect the tonearm and/or turntable to the preamp chassis.  However, there were also occasions where certain cartridges needed to be placed at a great distance from power transformers, not to mention that certain cartridges wouldn’t work with some turntable motors.

turntable-1149496_960_720

The scenario above illustrates an extreme case of grounding issues, but, to some degree, EVERY system is prone to the effects of component grounding. This means, of course, that EVERY system can be improved by paying careful attention to grounding.

For starters, let’s understand the problem. A three-prong electrical cord carries the positive (+) and negative (-) legs of the AC voltage, while the third wire is “Earth” which typically connects the chassis to true ground, which, in theory, reaches through the foundations of your home and into the earth itself. Simple, huh? Problem is, the walls of a typical house contain a birds’ nest of wires—electrical and otherwise—and some of your outlets might not make a proper, solid connection to ground. To complicate matters, not all components are grounded in the same manner, while some are not grounded at all! Throwing together bad household wiring and components, with different grounding schemes, creates a “Perfect Storm”, which allows hum and noise to pollute your system.

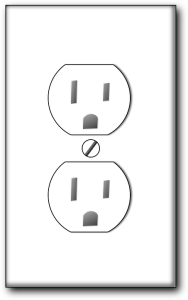
Fortunately, there are simple and effective solutions to grounding issues. Let’s start at the AC outlet. In most systems I’ve seen, the single biggest problem is the quality of the AC outlet. Think about it: we spend a fortune on AC cords and power conditioners, and then plug them into a decades-old AC socket with corroded conductors (which probably have little “grip” or connection integrity), and we expect our systems to sound their best? For under $15, a 20-amp, Hospital Grade AC outlet will vastly improve power delivery. Why? Well, first of all, these receptacles are much more robust than the sockets which were installed when your house was built. Heavier metal conductors (which, given the fact that they’re brand new, are corrosion-free), thicker insulators, made of superior dielectric materials, and the fact that “Hospital Grade” sockets are designed to grip the blades of the AC plug more tightly, better prevent life-saving machinery from being accidentally disconnected from the outlet. Simply put, there is no more cost-effective means of improving your system than replacing your AC receptacle.

outlet-303731_960_720

Just as important, you’ll need to make sure your AC receptacle is installed correctly. The positive, negative and Earth wires must be connected to the proper terminals on the AC receptacle. This can be easily accomplished with an “AC Receptacle Tester” which is available at any hardware store. I bought mine on Amazon for under $7.

So, for under $25 (combined cost of AC Receptacle and Tester), you can dramatically improve the quality of the AC that reaches your system and ensure that your system is properly grounded. Congratulations! You’ve just established a foundation for greater system performance. You’ve also eliminated most of your system’s potential grounding issues! (CAUTION: working with AC power and your home’s electrical system is potentially hazardous. Please consult a licensed electrical contractor.)

Once you’ve optimized your AC, it is time to look at your power distribution. A common mistake is to use a cheap “outlet strip” intended to connect a computer, printer, etc. These devices have terrible contact integrity, tiny-gauge wiring and—worst of all—current-robbing, noise inducing surge suppression and protection circuitry.

Now, take a look at your components’ AC cords. Are they all three-prong, or are some of them two-prong varieties? We’re trying to determine if you’ll develop “ground loops” due to a combination of grounded and ungrounded components. Plug all your components into the outlet strip and power-up your system. With no source playing, and using a normal volume setting, put your ear close to each speaker. What do you hear? A gentle hissing sound is ideal, as it suggests that your system is properly grounded; on the other hand, any sort of hum indicates grounding issues.

Lg-QRT-qb8 mark II-us

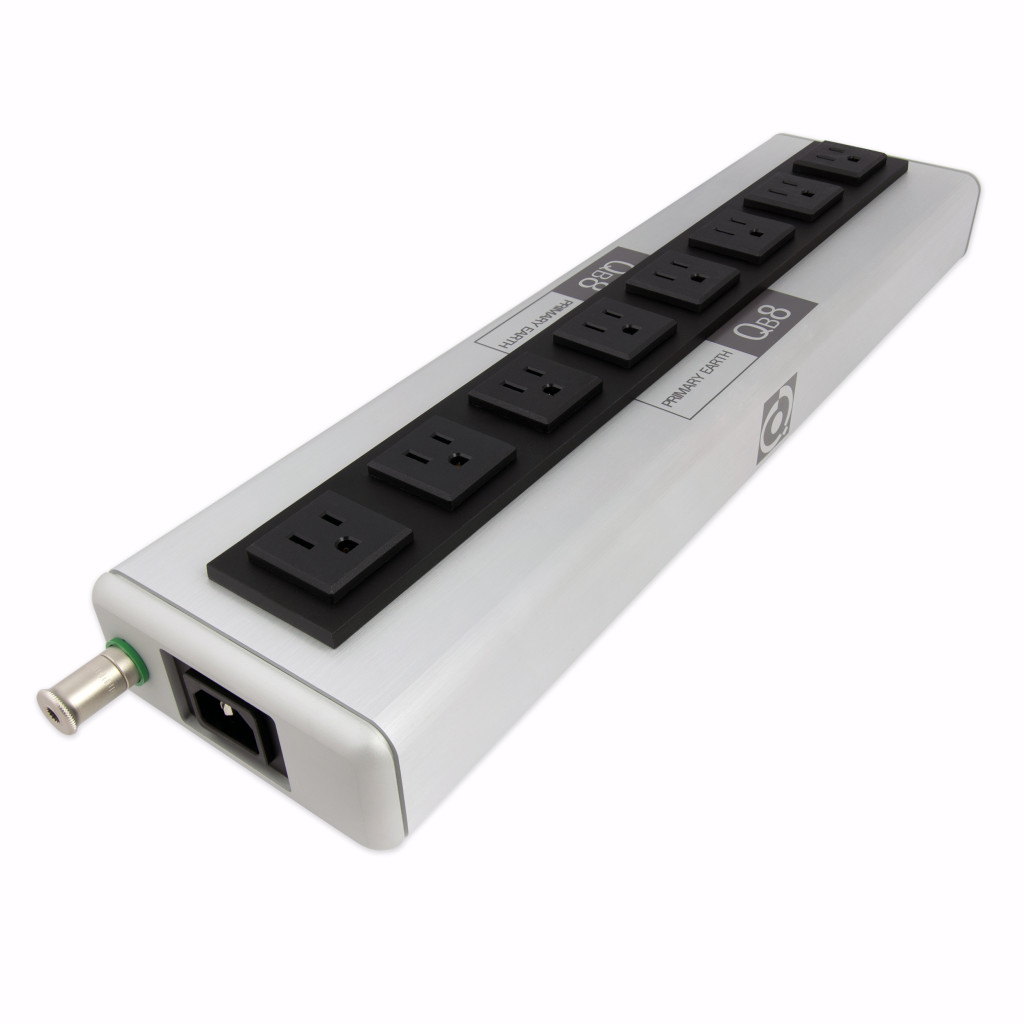
To address ground problems, you can introduce a product like Nordost’s QBASE into the system.  Instead of using any sort of filtering or conditioning circuitry, which could adversely affect power delivery, Nordost’s QB8 creates a “Star Ground” topology to optimize system grounding and minimize hum and noise, while its shape and construction are designed to control resonance and further improve sound.  The real key to a product like this, is it controls ground flow between components.  We can all tell how signal flows throughout our system (For example, we know the signal goes from our turntable, to our phono stage, to our pre-amplifier). What we don’t know is which direction our ground is going; although, we can pretty much tell it goes in the direction of the component with the lowest chassis impedance— meaning sometimes it can flow directly opposite of the signal creating noise and hum.  As an entry point into Nordost’s AC power system, the QBASE can offer dramatically quieter and more lifelike sound quality, because it forces ground to flow in the direction of the integrated amp or pre-amp.

Ground optimization is truly a triumph of brains over bucks. With careful attention to the quality and proper wiring of your AC Cords, you can achieve a dramatic improvement in the sonic production of any system!

Questions and Answers (February 2017)

Our product specialists receive questions on a daily basis about Nordost products, their application, and hifi in general.  We thought that we would take a minute to share some of our most recent and frequently asked questions here so that everyone can get the answers they are looking for!


Q: I have never owned any type of audio power equipment. Where do you think I should start?

A: A lot of our advice would depend on your particular system. Generally however, step one would be investing in a high quality distribution block. Our QBASE units address the conflicting flows of signal and ground paths in a typical system, which create noise on the line. By using a unique method that we call “star-earth topology”, our QB8 and QB4 units (QB6 if you are from the UK) control ground flow by lifting the impedance level of every outlet except for one (the “primary earth” outlet) by .5 Ohms. This creates an uninterrupted, straight-line AC distribution path from the wall to each individual component. This has a significantly positive impact on your soundstage—it lowers the noise floor without any high frequency compression.

Lg-QRT-qb8 mark II-us


Q: My dealer supplied me with a copy of the Nordost set up and tuning disc. Could you let me know how long and how often I should use the “burn in” track?

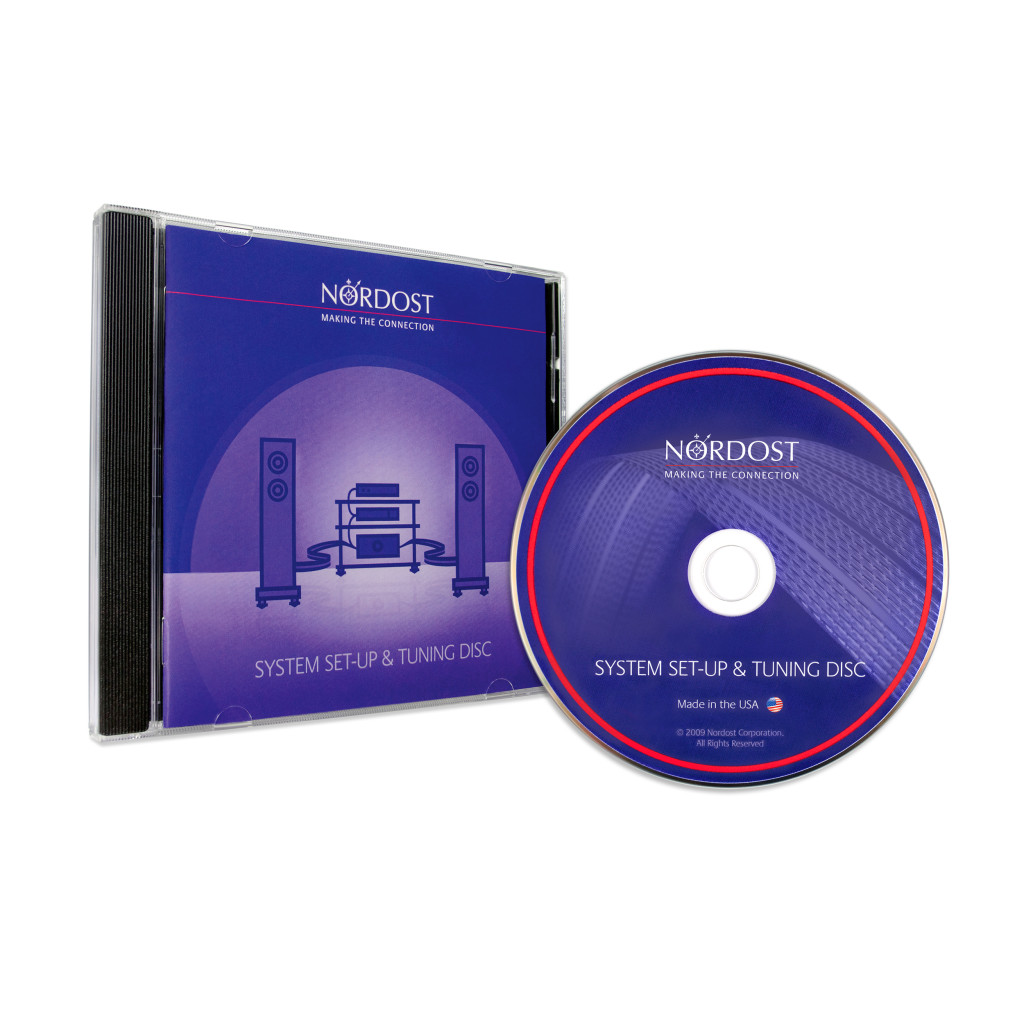
A: We’re glad that your dealer gave you the Nordost System Set-Up and Tuning Disc. It really does accelerate the burn in process!  Using the burn in track on repeat, your interconnects and speaker cables will require about 96 hours of continuous play to get to the point where we consider them “burned in” (power cords burn in much faster and don’t require this).  After that, if you use the disc once a year for several hours, the cables will continue to perform perfectly.  We recommend that you repeat this process yearly in order to ensure that your cables are subjected to frequencies that your music might not contain.

lg-set-up disc-Accessory

Q: I am already using most of Nordost’s power products. I am now thinking about adding QK1 and/or QV2, but I don’t know which I should use in my one remaining free outlet. What problem(s) are the two different units designed to solve? 

A: I think it is important to clarify that these two units are not solving problems per se, but more importantly, they are adding harmonics in different frequency ranges. The QV2 adds harmonics to the midrange and upper bass frequencies, and the QK1 adds harmonics to high frequencies—so you use them to add clarity to those areas.

The QV2 provides more audible effects, since it’s easier to hear changes within the mid and lower frequency spectrums. However, both the QV2 and QK1 make nice improvements.

We also want to point out that these units are not limited to the space available on your distribution block. QV2 and QK1 units can also be plugged into wall sockets, as long as they are in the same circuit as your sound system. When you are purchasing these devices, it is important to note that QV2 units work best in pairs, since that has a tendency to double their impact — QK1s work great in any quantity.

QRT_QK1_QV2