“Image Is Everything!”
How to squeeze every drop of performance from your speakers….
By Anthony Chiarella
In nearly two decades as an Audio Reviewer, I wrote hundreds of articles and, as I look back, most of these were written about speakers. Whether listening to them, evaluating them, or moving them around my room, loudspeakers have consumed more of my attention than any other part of my audio systems…and with good reason! The performance of no other component in your system is more sensitive to proper placement than your speakers; in other words, speaker setup places the sound of your system largely under your control. Here’s how….
Roughing-In for Bass
The art and science of speaker placement involves a series of adjustments, beginning with “Roughing-in” speaker positions by finding the location where bass response is smoothest. (Note: assuming your speakers have spiked feet, Nordost’s Sort Füt units, or some other type of interface with the floor, you can retract these to make it easier to move the speakers. Near the end of the process, we’ll level the speakers and will adjust the feet at that point.) Start with both of your speakers about three feet away from side and rear walls, pointing straight ahead. Play some music with deep bass content (pipe organ, double bass or prominent electric bass) and move the speakers out of the corners until a natural bass balance is achieved. Don’t even think about mid- and high-frequencies right now: we’re dialing-in bass response. Listening to tracks with heavy bass content, disconnect first one speaker and then the other, moving each closer to, and farther from, rear and side walls until balanced bass is achieved. Now, connect both speakers and let ‘er rip! Is bass powerful and natural but without boom or overhang? When you’ve balanced the bass, it’s time to move “Onward and upward….”
Room Treatment
When it comes to Midrange and Treble, the room—specifically the reflective/absorbent characteristics of various surfaces such as walls, floors, windows and furnishings—is going to influence the sound at the listening position. If you find your mids and highs are bright and forward, try moving the speakers a little farther from room boundaries (but not so much that you compromise bass performance) and consider adding some absorptive treatments—wall hangings, carpets, plush furniture—at strategic points in your room in order to minimize reflections. At this point, you can also start toeing-in the speakers slightly.
Equilateral Triangle Approach
Years ago, British manufacturers including Spendor, Harbeth, Rogers and ProAc used a system whereby the two speakers and the listener formed the three corners of an equilateral triangle (all three sides being identical in length), with the speakers toed-in until only the front baffle of each speaker was visible from the listening position and both sides of the cabinet hidden from sight. This is a great way to control room reflections and focus central images for a solitary, centrally-seated listener; on the other hand, though you’ll wind up with razor-sharp focus, the soundstage probably won’t venture outside the speakers. What’s worse, the best seat in the house is the ONLY seat in the house, since this sort of positioning accommodates only one listener and is, to put it bluntly, anti-social.
Nearfield Listening
A similar approach—known as “Nearfield Listening”—involves moving both speakers and listener into the center of the room, father away from the four walls, with the listener sitting close to the speakers. Nearfield listening, which had its genesis in recording studios where engineers placed their “Nearfield Monitor” speakers atop the mastering console, goes even farther to remove room variables from the sonic equation. While this theory has many supporters, I always feel like the speakers are too close…almost like I’m wearing headphones. And of course, only one listener will enjoy properly balanced sound.
Voweling
“Voweling” is a more recent tuning process. Developed by Wilson Audio, voweling involves moving the speakers a fraction of an inch at a time—forward and backward, closer together and farther apart—until you’ve achieved the best tonal balance and imaging. When I first heard about voweling, I dismissed it; after all, how could moving the speakers half an inch at a time have a dramatic impact upon sound? And then I tried it….
In a word, it works! Moving the speakers such a small amount influences the mids and highs without impacting the bass. Once the speakers have been “Roughed-in” for bass response, as per above, put on a recording of a solo vocalist and slightly toe-in the speakers until the voice is sharply focused. Using a tape measure, make sure the speakers are the same distance from the back wall. Maintaining the same toe-in angle, move each speaker about ½” closer to the other and re-audition. Experiment, moving the speakers very slightly closer together, farther apart, forward and backward, until you’ve achieved the most natural, pleasing tonal balance.
Fine Tuning
Once you’ve dialed-in your ideal tonal balance, it’s time to fine-tune spatial characteristics. The goal is to balance image focus, on the one hand, with soundstage size on the other. This is accomplished by gentle toe-in. Since you’ve gone to great lengths to pick the exact location for your speakers, you should proceed in a way that doesn’t negate your hard work. I recommend pivoting each speaker using the outer rear foot as the fixed vertical axis of rotation; in this way, the positioning (which you worked so hard to achieve) stays constant. (Consider putting small pieces of tape on the floor to mark the speaker positions.) Work in half-degree increments, focusing the image in much the same way as you would a pair of binoculars. If you’ve accomplished all previous steps properly, you should only need a small amount of toe-in to focus images while achieving a wall-to-wall soundstage.
Spikes and Feet
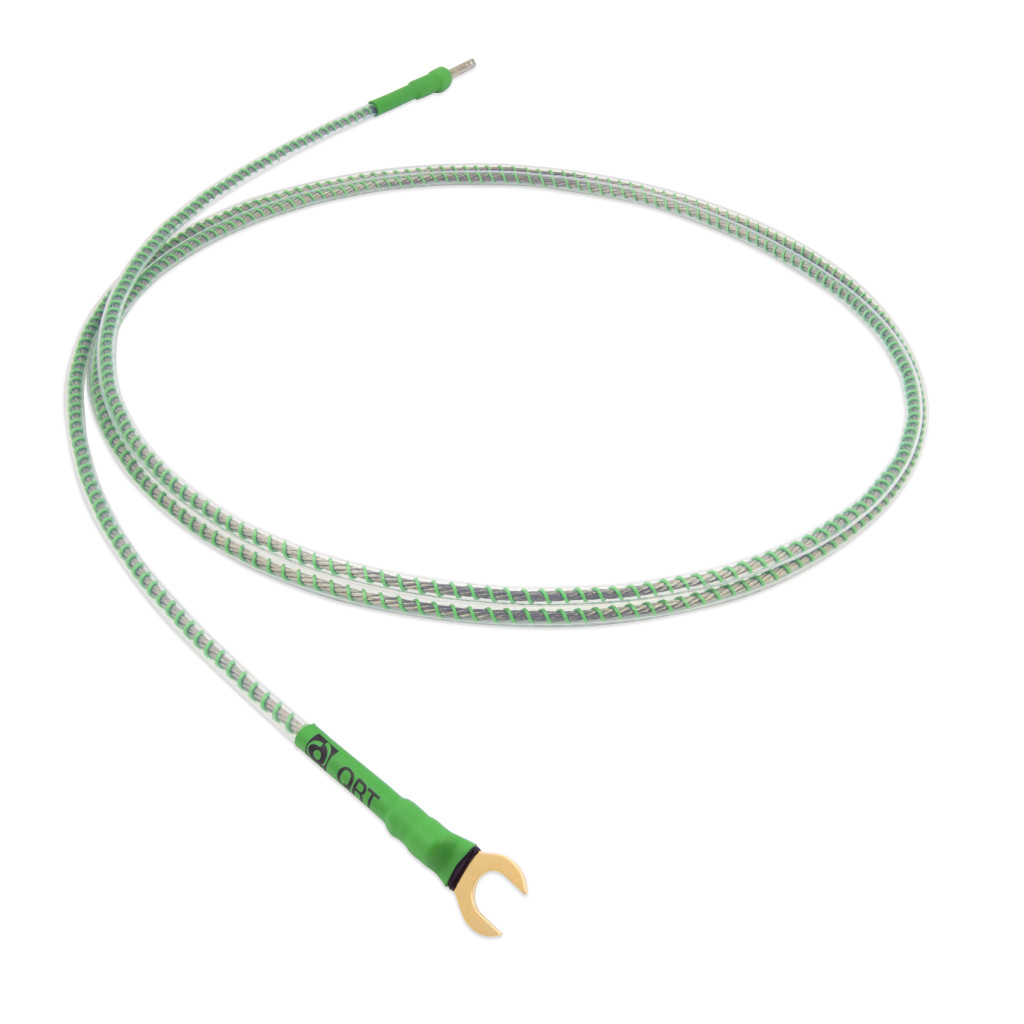
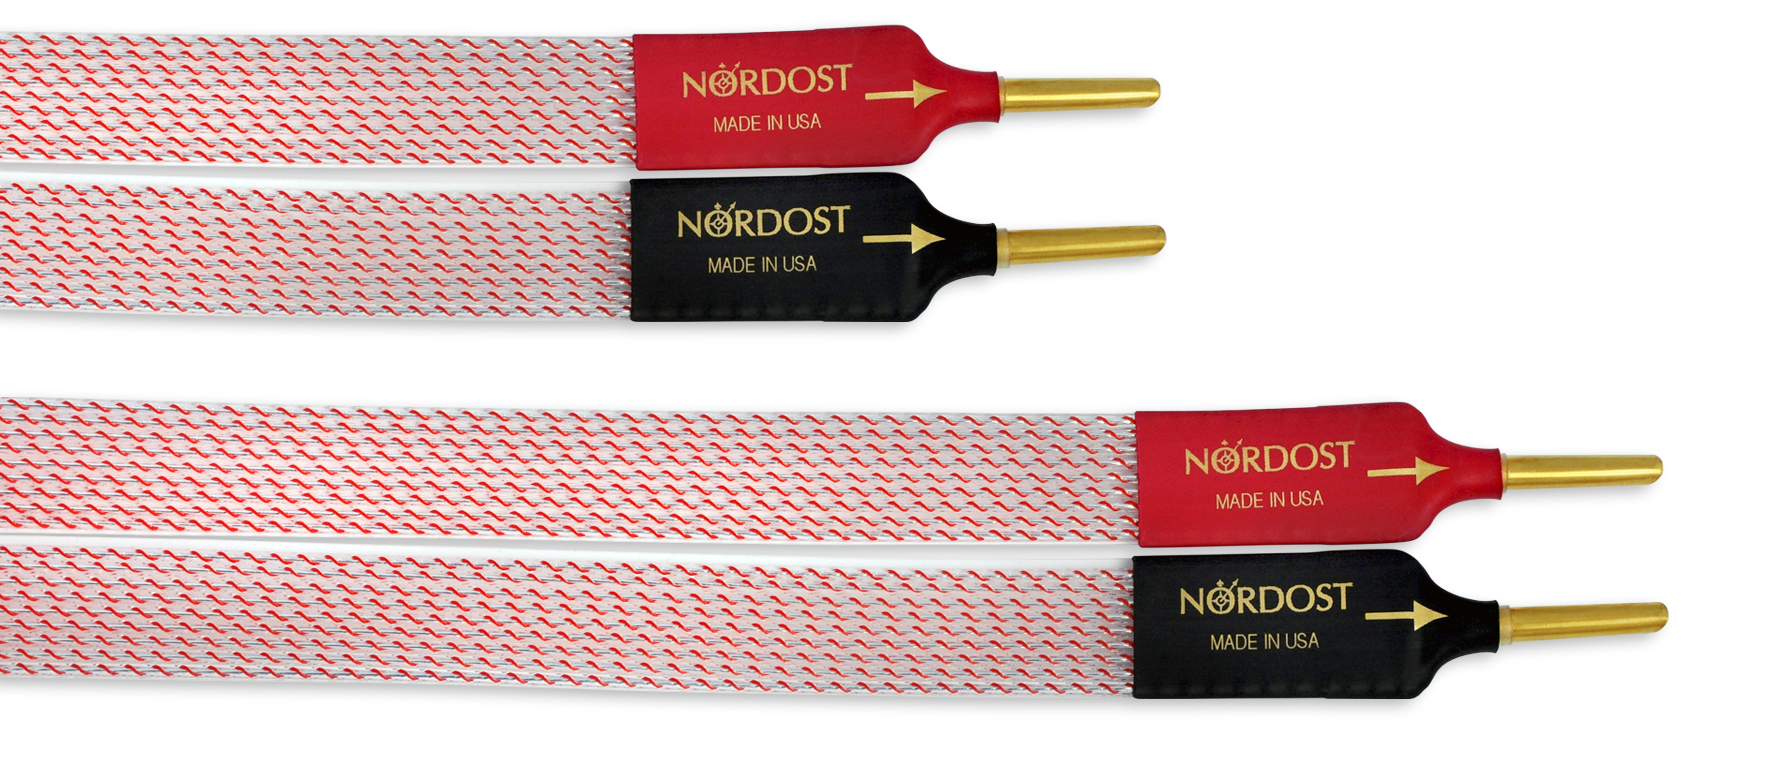
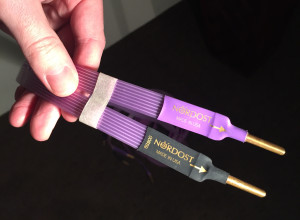
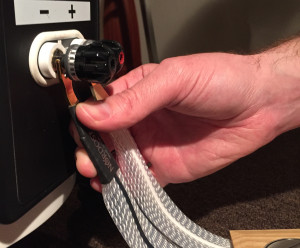
As a final step, you need to adjust the floor spikes or other speaker feet. There are two goals here: first, you want to make sure the speaker is completely stable and doesn’t “rock” back and forth; secondly, you need to make sure the speaker is perfectly level. Drop a spirit level atop each speaker cabinet until the perfect level is obtained and all four spikes or feet are in solid contact with the floor. If you find the sound to be bright or forward, you can tilt each speaker back slightly by raising the front spikes. (Again: a little is better than a lot!) Or, if you have Nordost’s Sort Füt, this last step will go much smoother. The Sort Füt is adjustable so that you can level your speakers with ease, and their premium package comes with a laser level to help both with leveling and toe-in. If you have the funds, I strongly suggest a set of Sort Füt. This solution not only protects your speakers from external vibrations, but also drains the cabinet of internal vibrations generated from the speakers themselves, elevating the sound of EVERY speaker to a much higher level of performance!
For more even ideas about speaker setup, see our Speaker Placement Guide


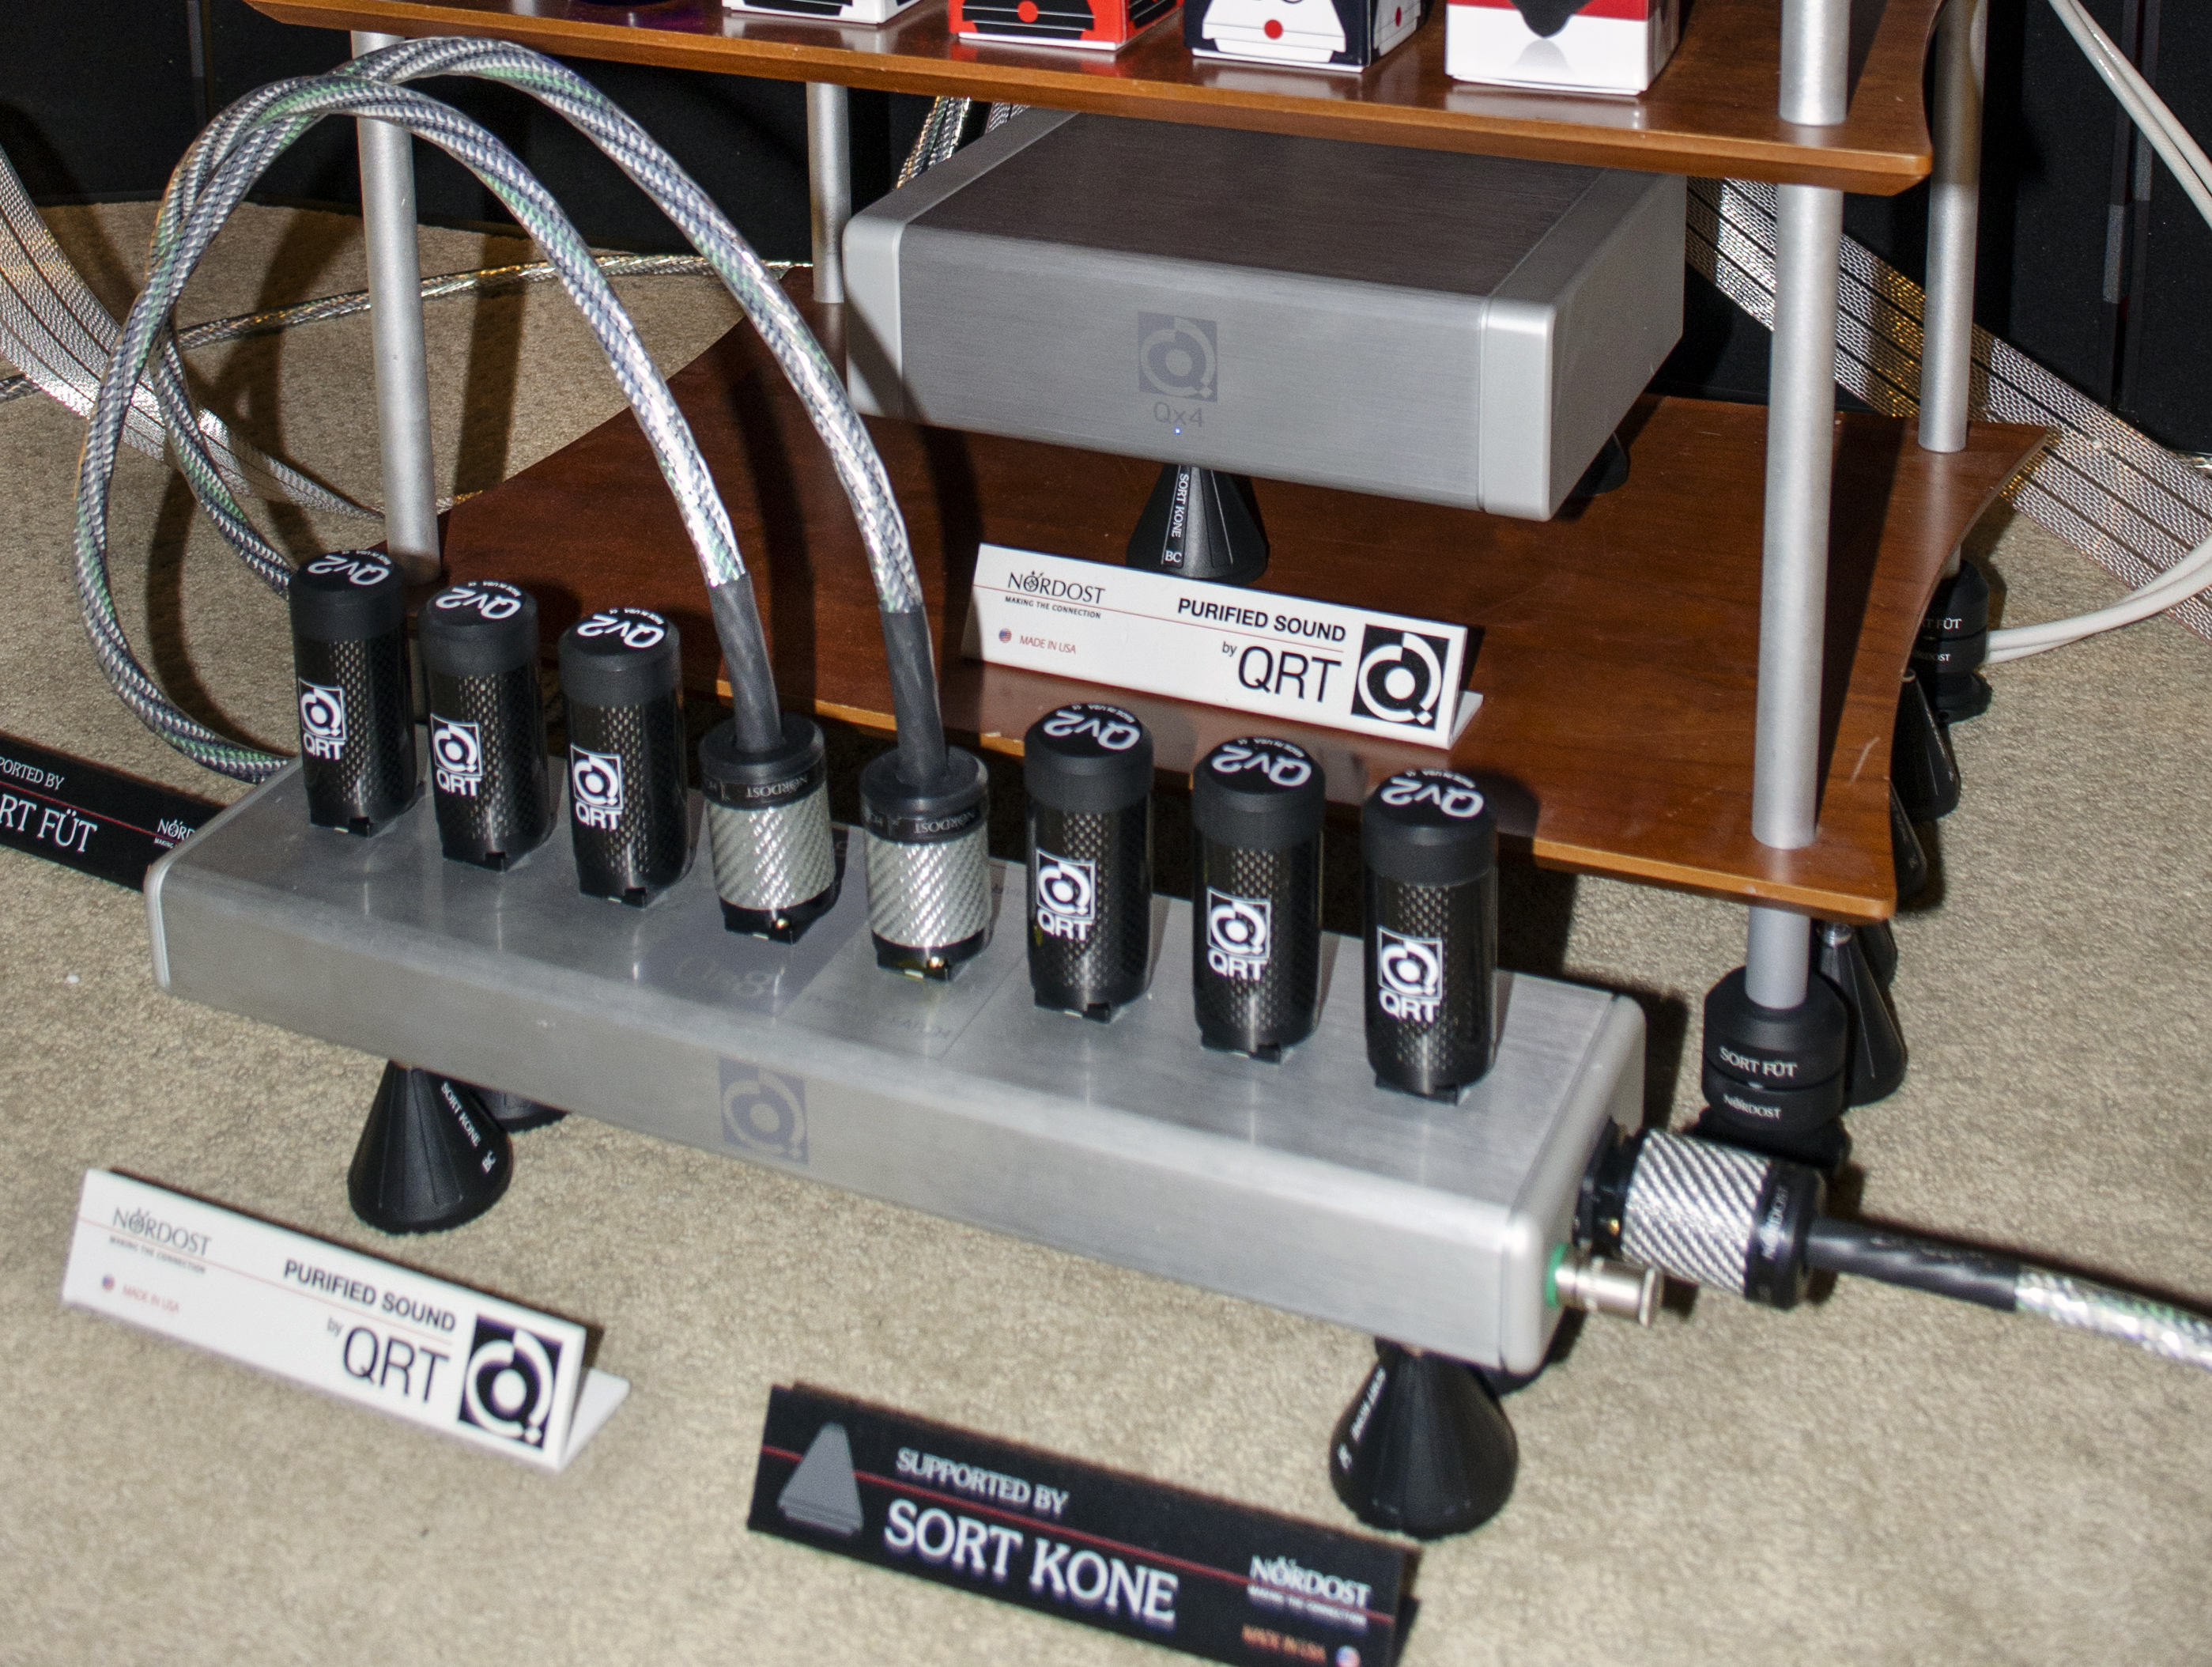


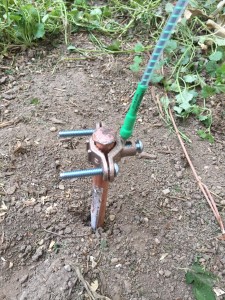
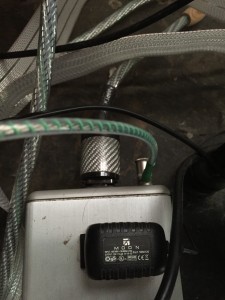
 After a quick inspection, I found it would be easy to use an existing intrusion into the house from an incoming cable line that was right behind my Nordost Q