By Bjorn Bengtsson
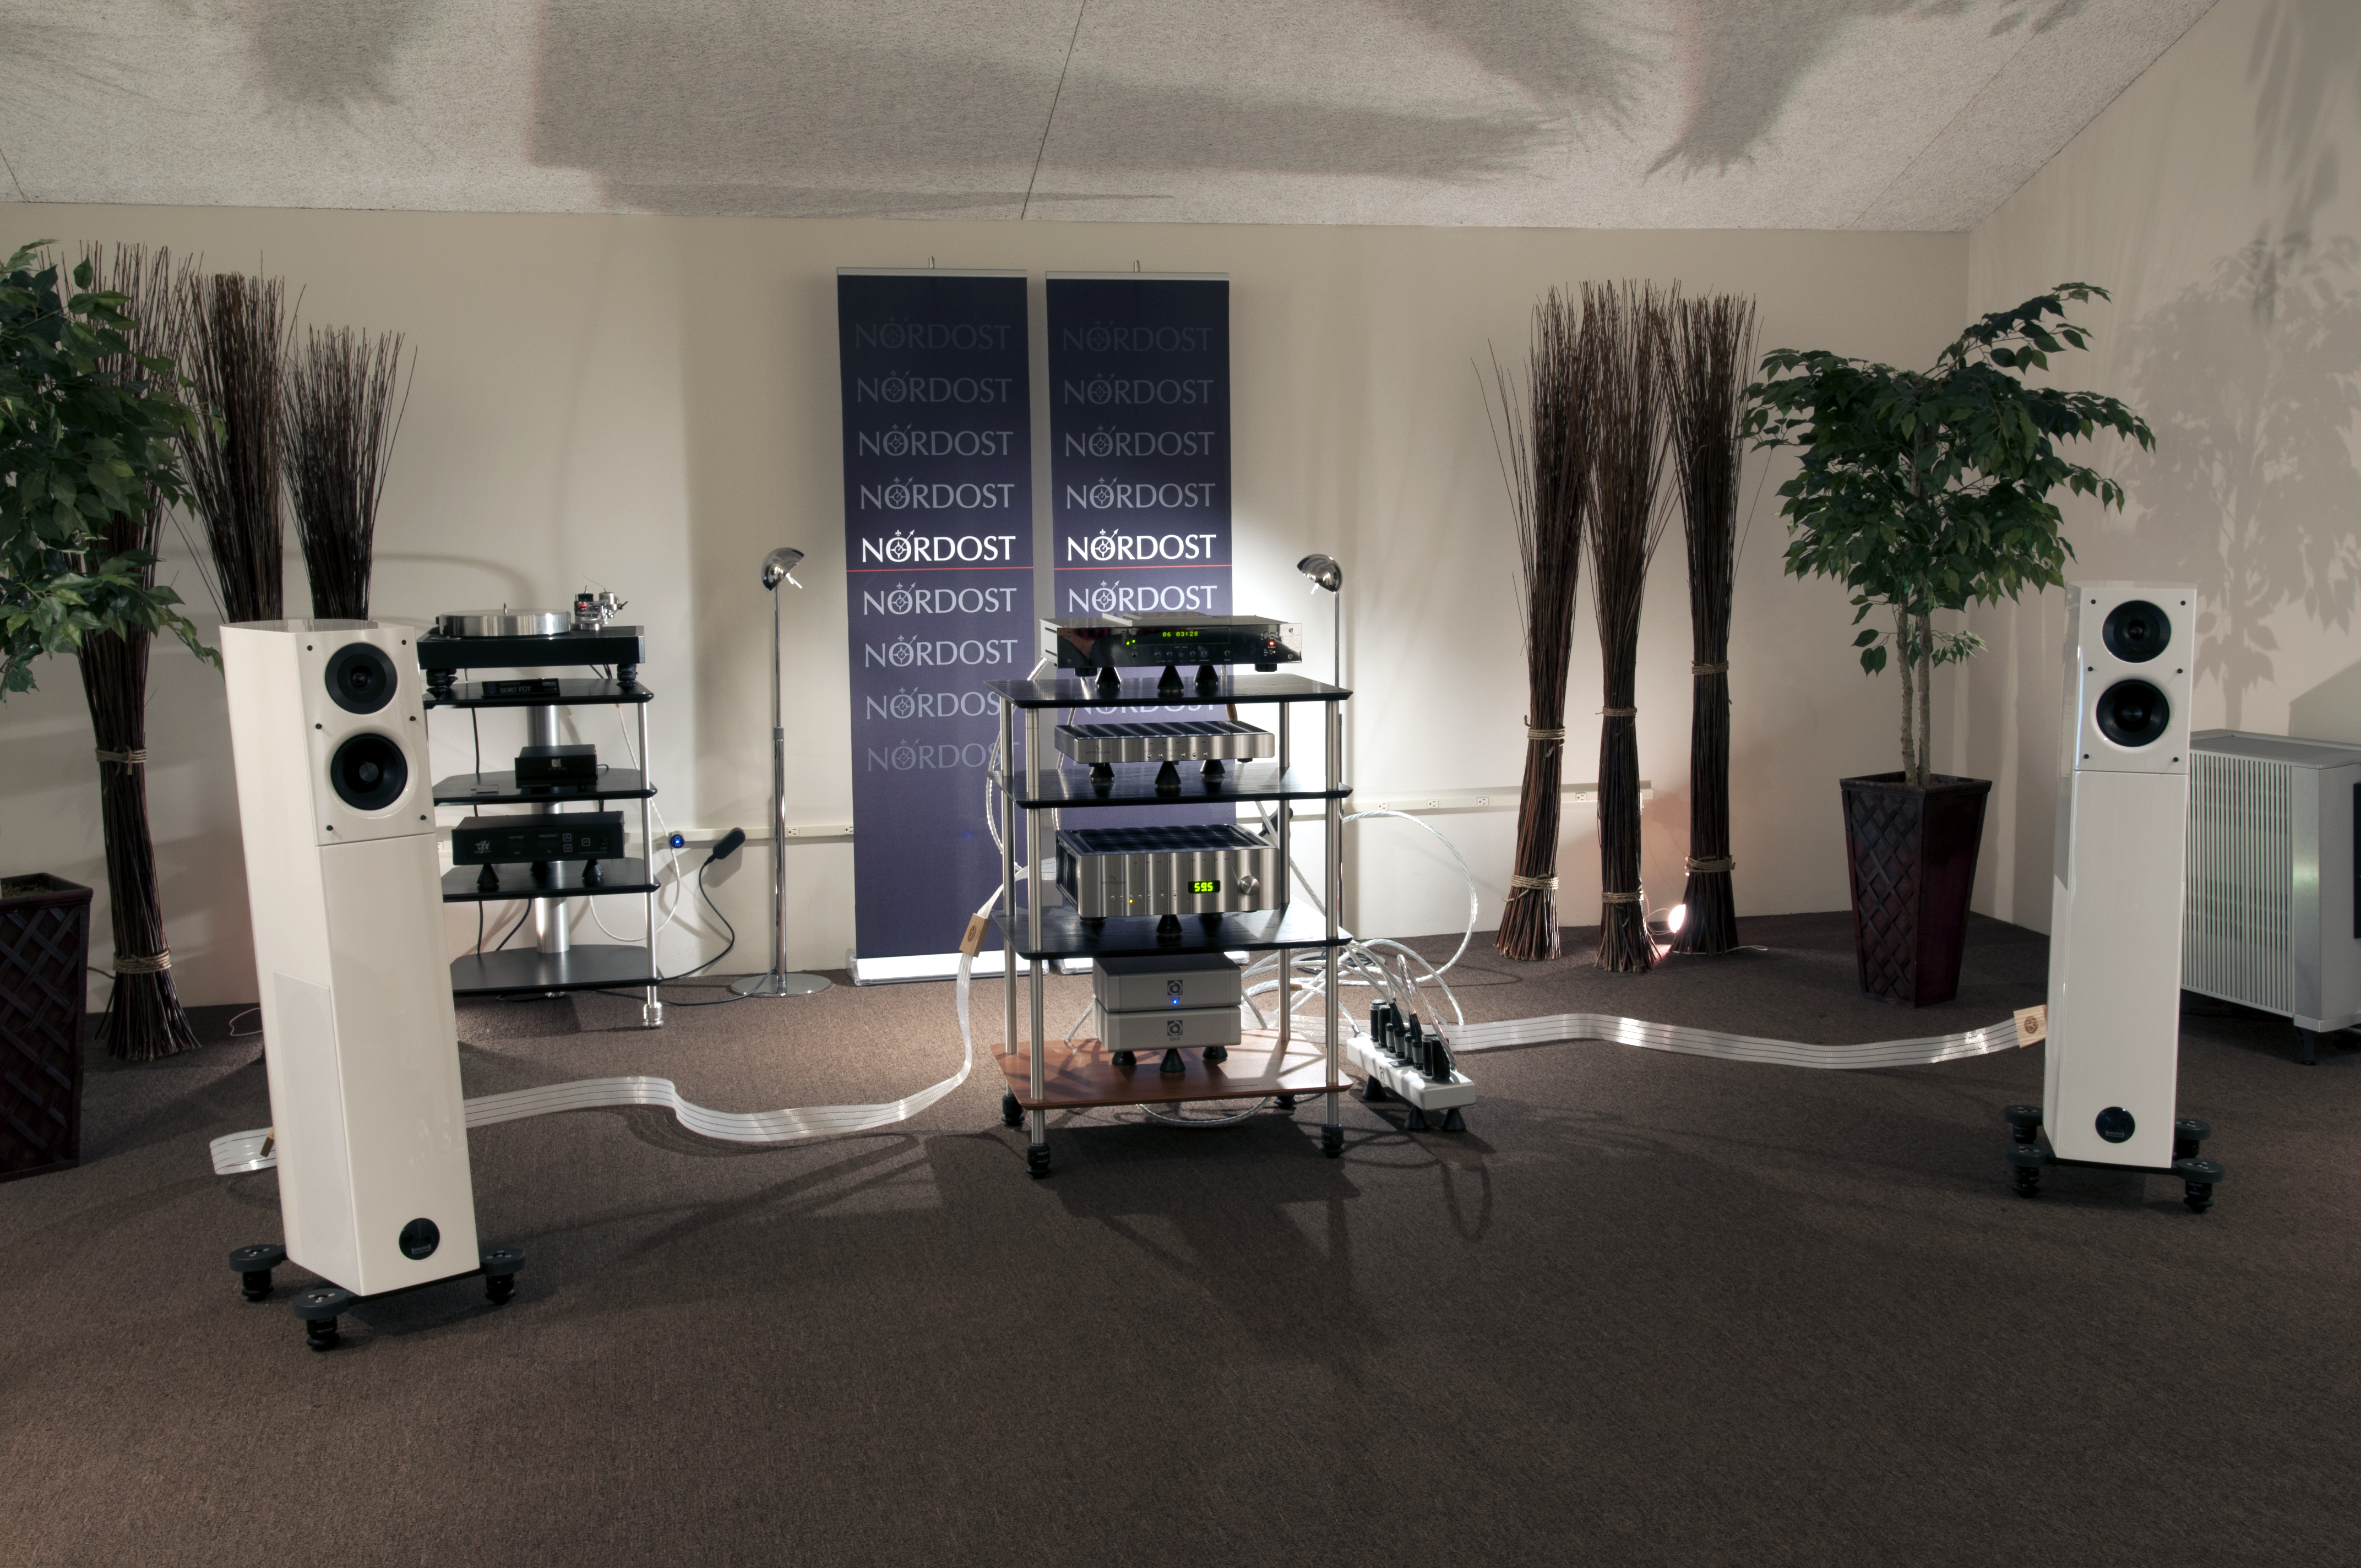
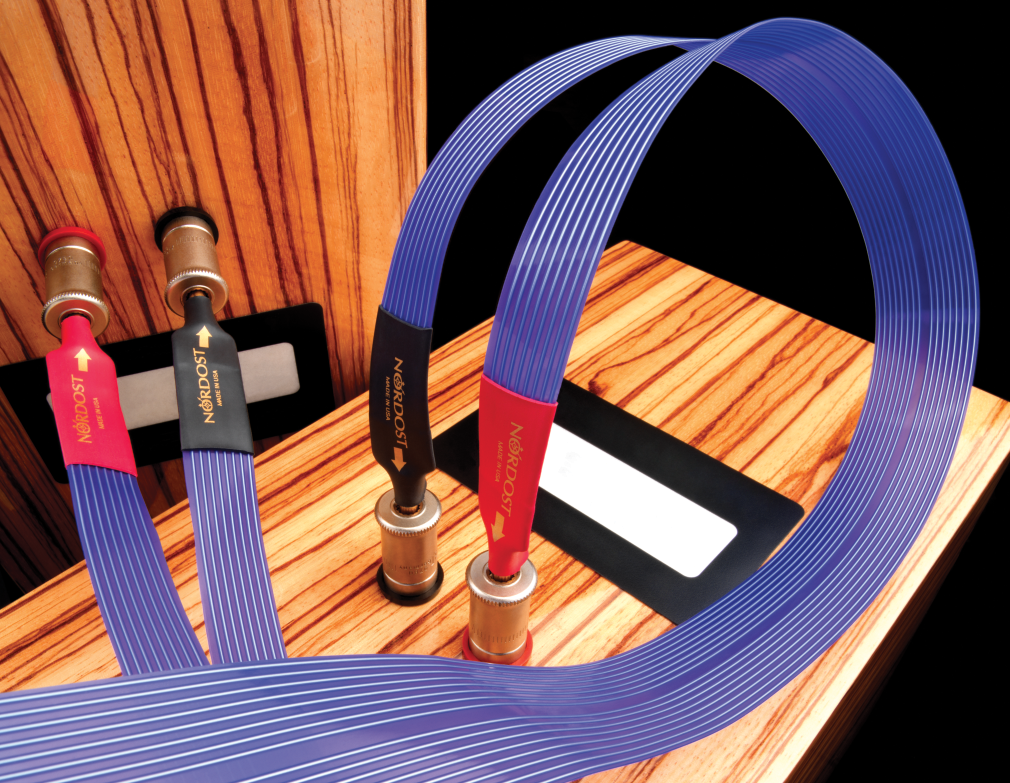
Subwoofers usually get overlooked. During the development of our latest Blue Heaven Subwoofer Cable, we realized just how little TLC is typically given to the subwoofers in sound systems. Often the complaint we hear is that subwoofers don’t integrate well enough, when listening to two-channel music. At Nordost we understand the tremendous value of high-quality audio cables, power products and resonance control, and once people hear our demonstrations at industry shows, or in retail showrooms, they understand the importance of these upgrades as well. However, whenever people begin to consider upgrades to help improve their subwoofer, we hear a lot of “buts”:
“…But what’s the point? The amplifier inside my subwoofer isn’t as good as the amplifier in my dedicated main speaker.”
“…But the interconnect would have to be so long—my subwoofer is too far away from my preamp. “
“…But why change the footers? My subwoofer already came with its own set of feet.”
I’m sure that all of these arguments sound familiar. I do have one more “but” for you however:
“…But these arguments are exactly why you need to consider making upgrades to your subwoofer!”
Let me explain:
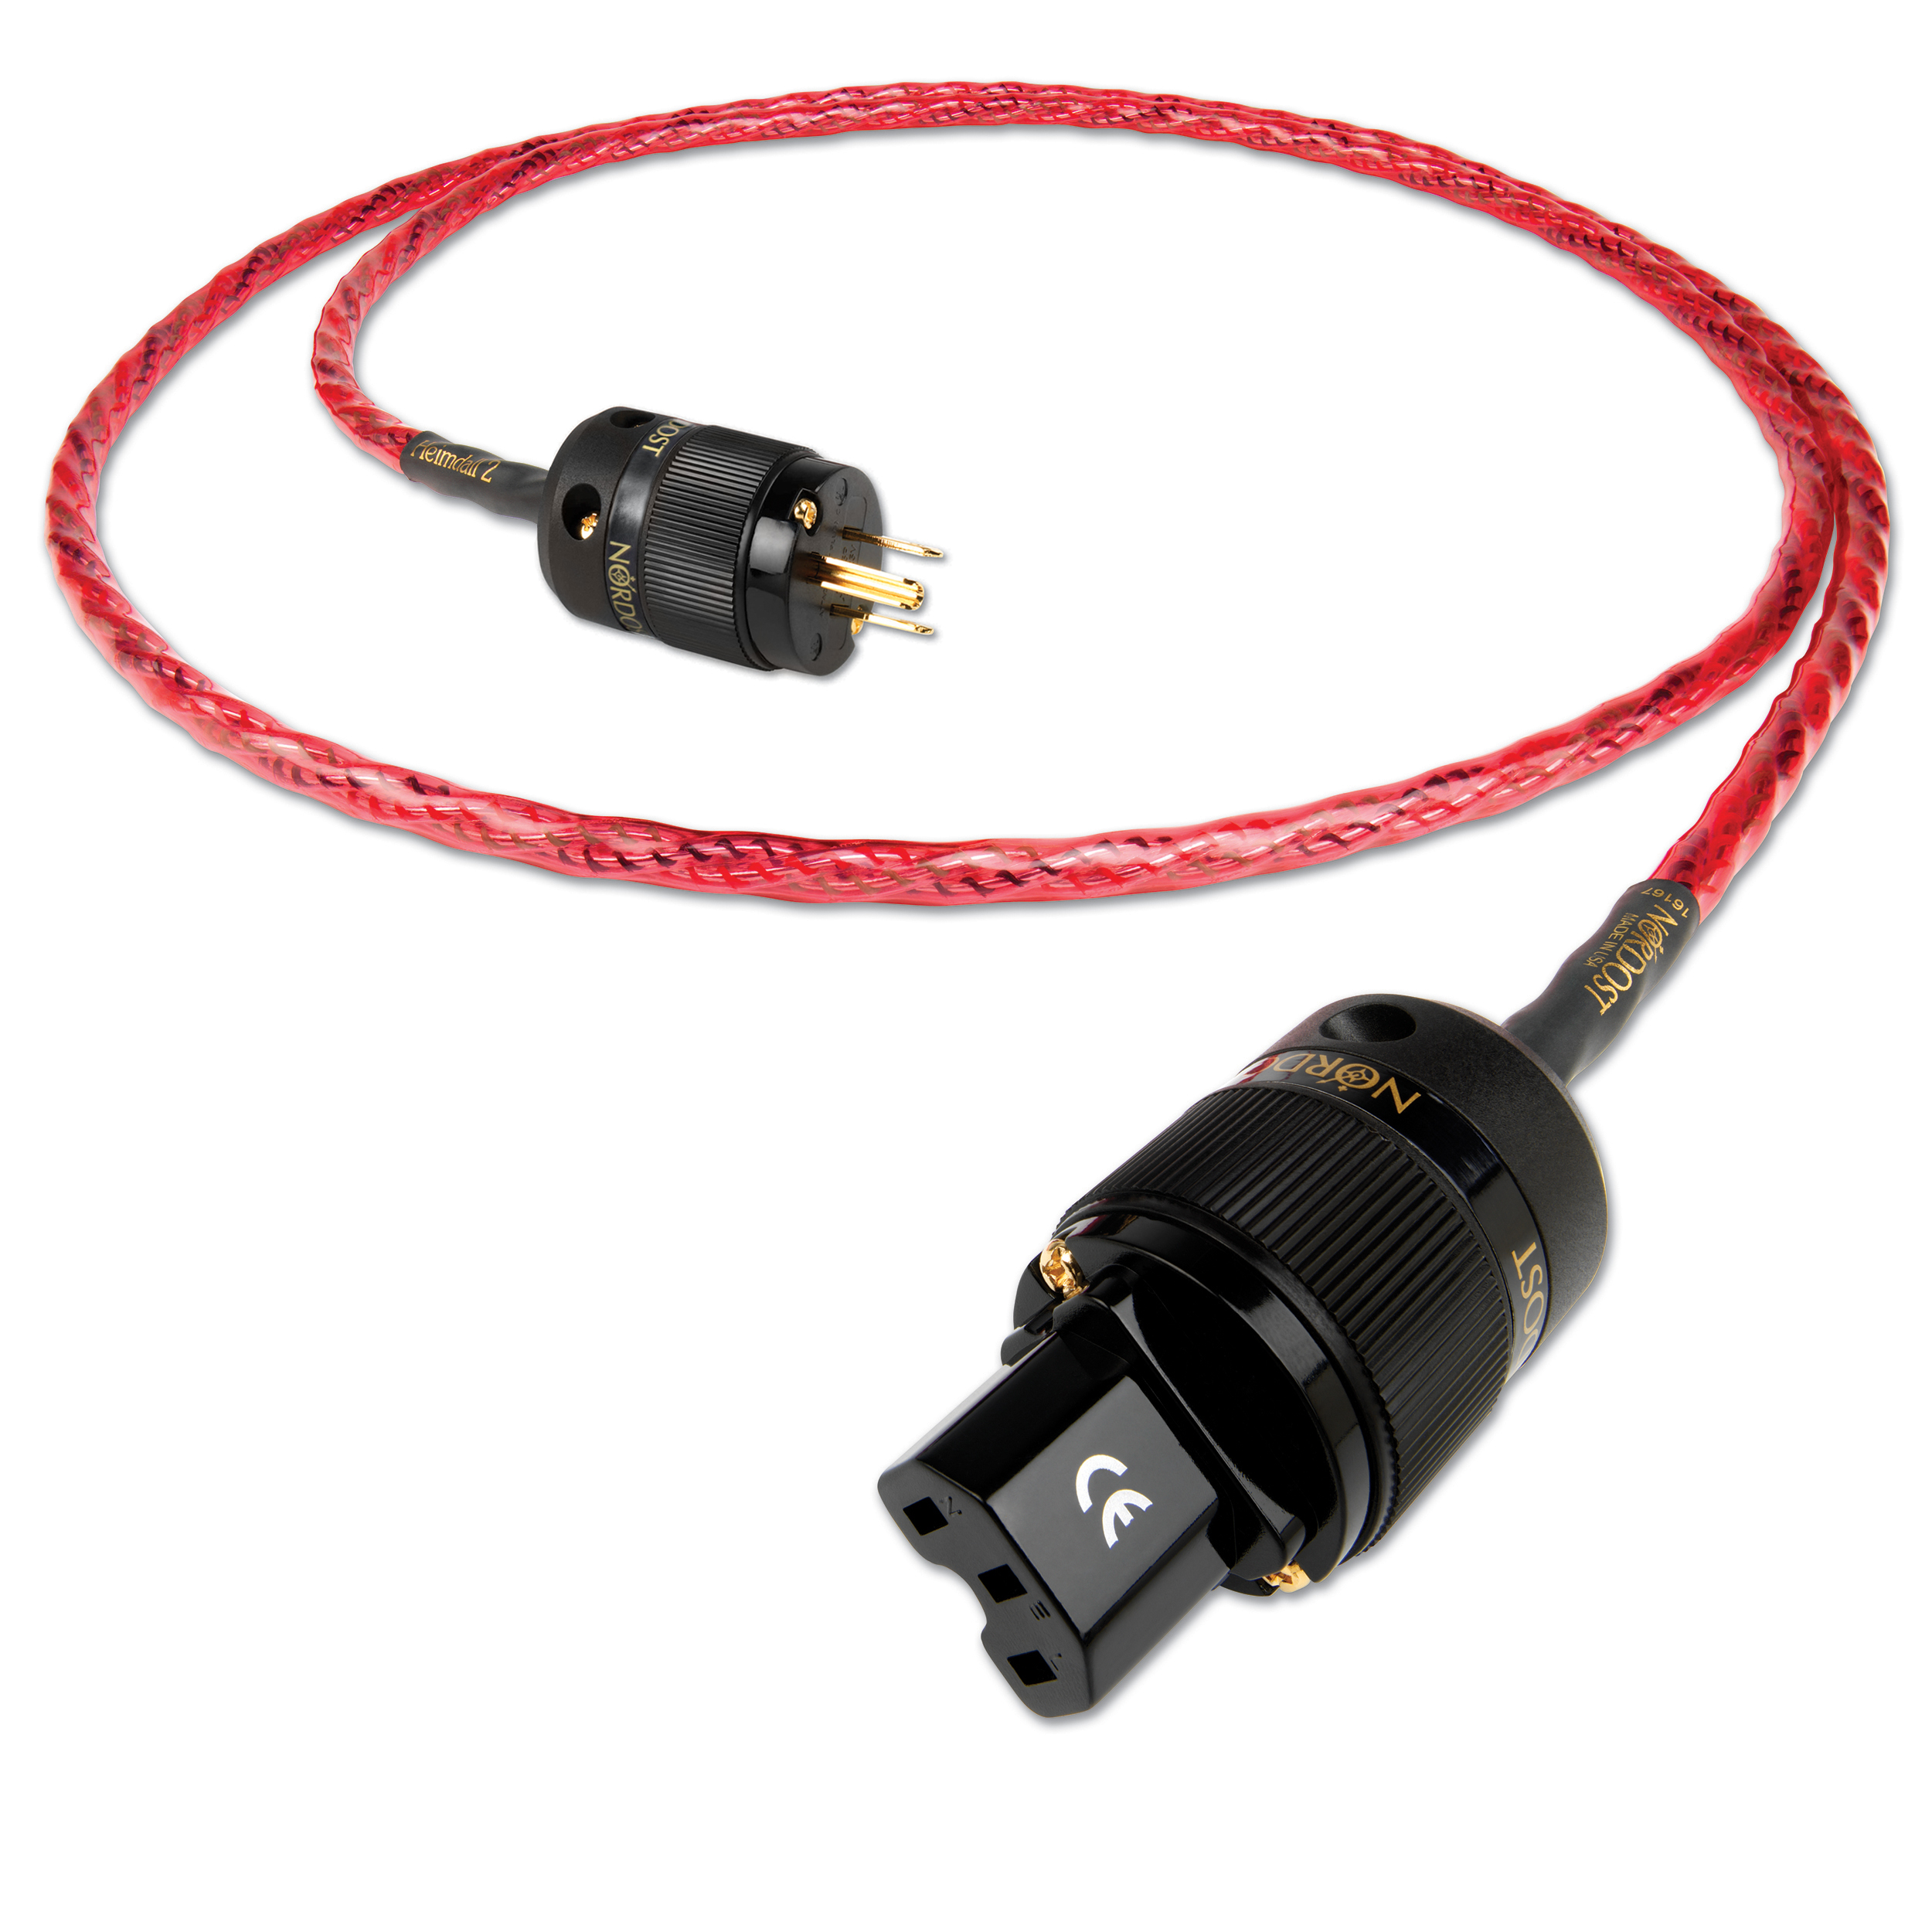
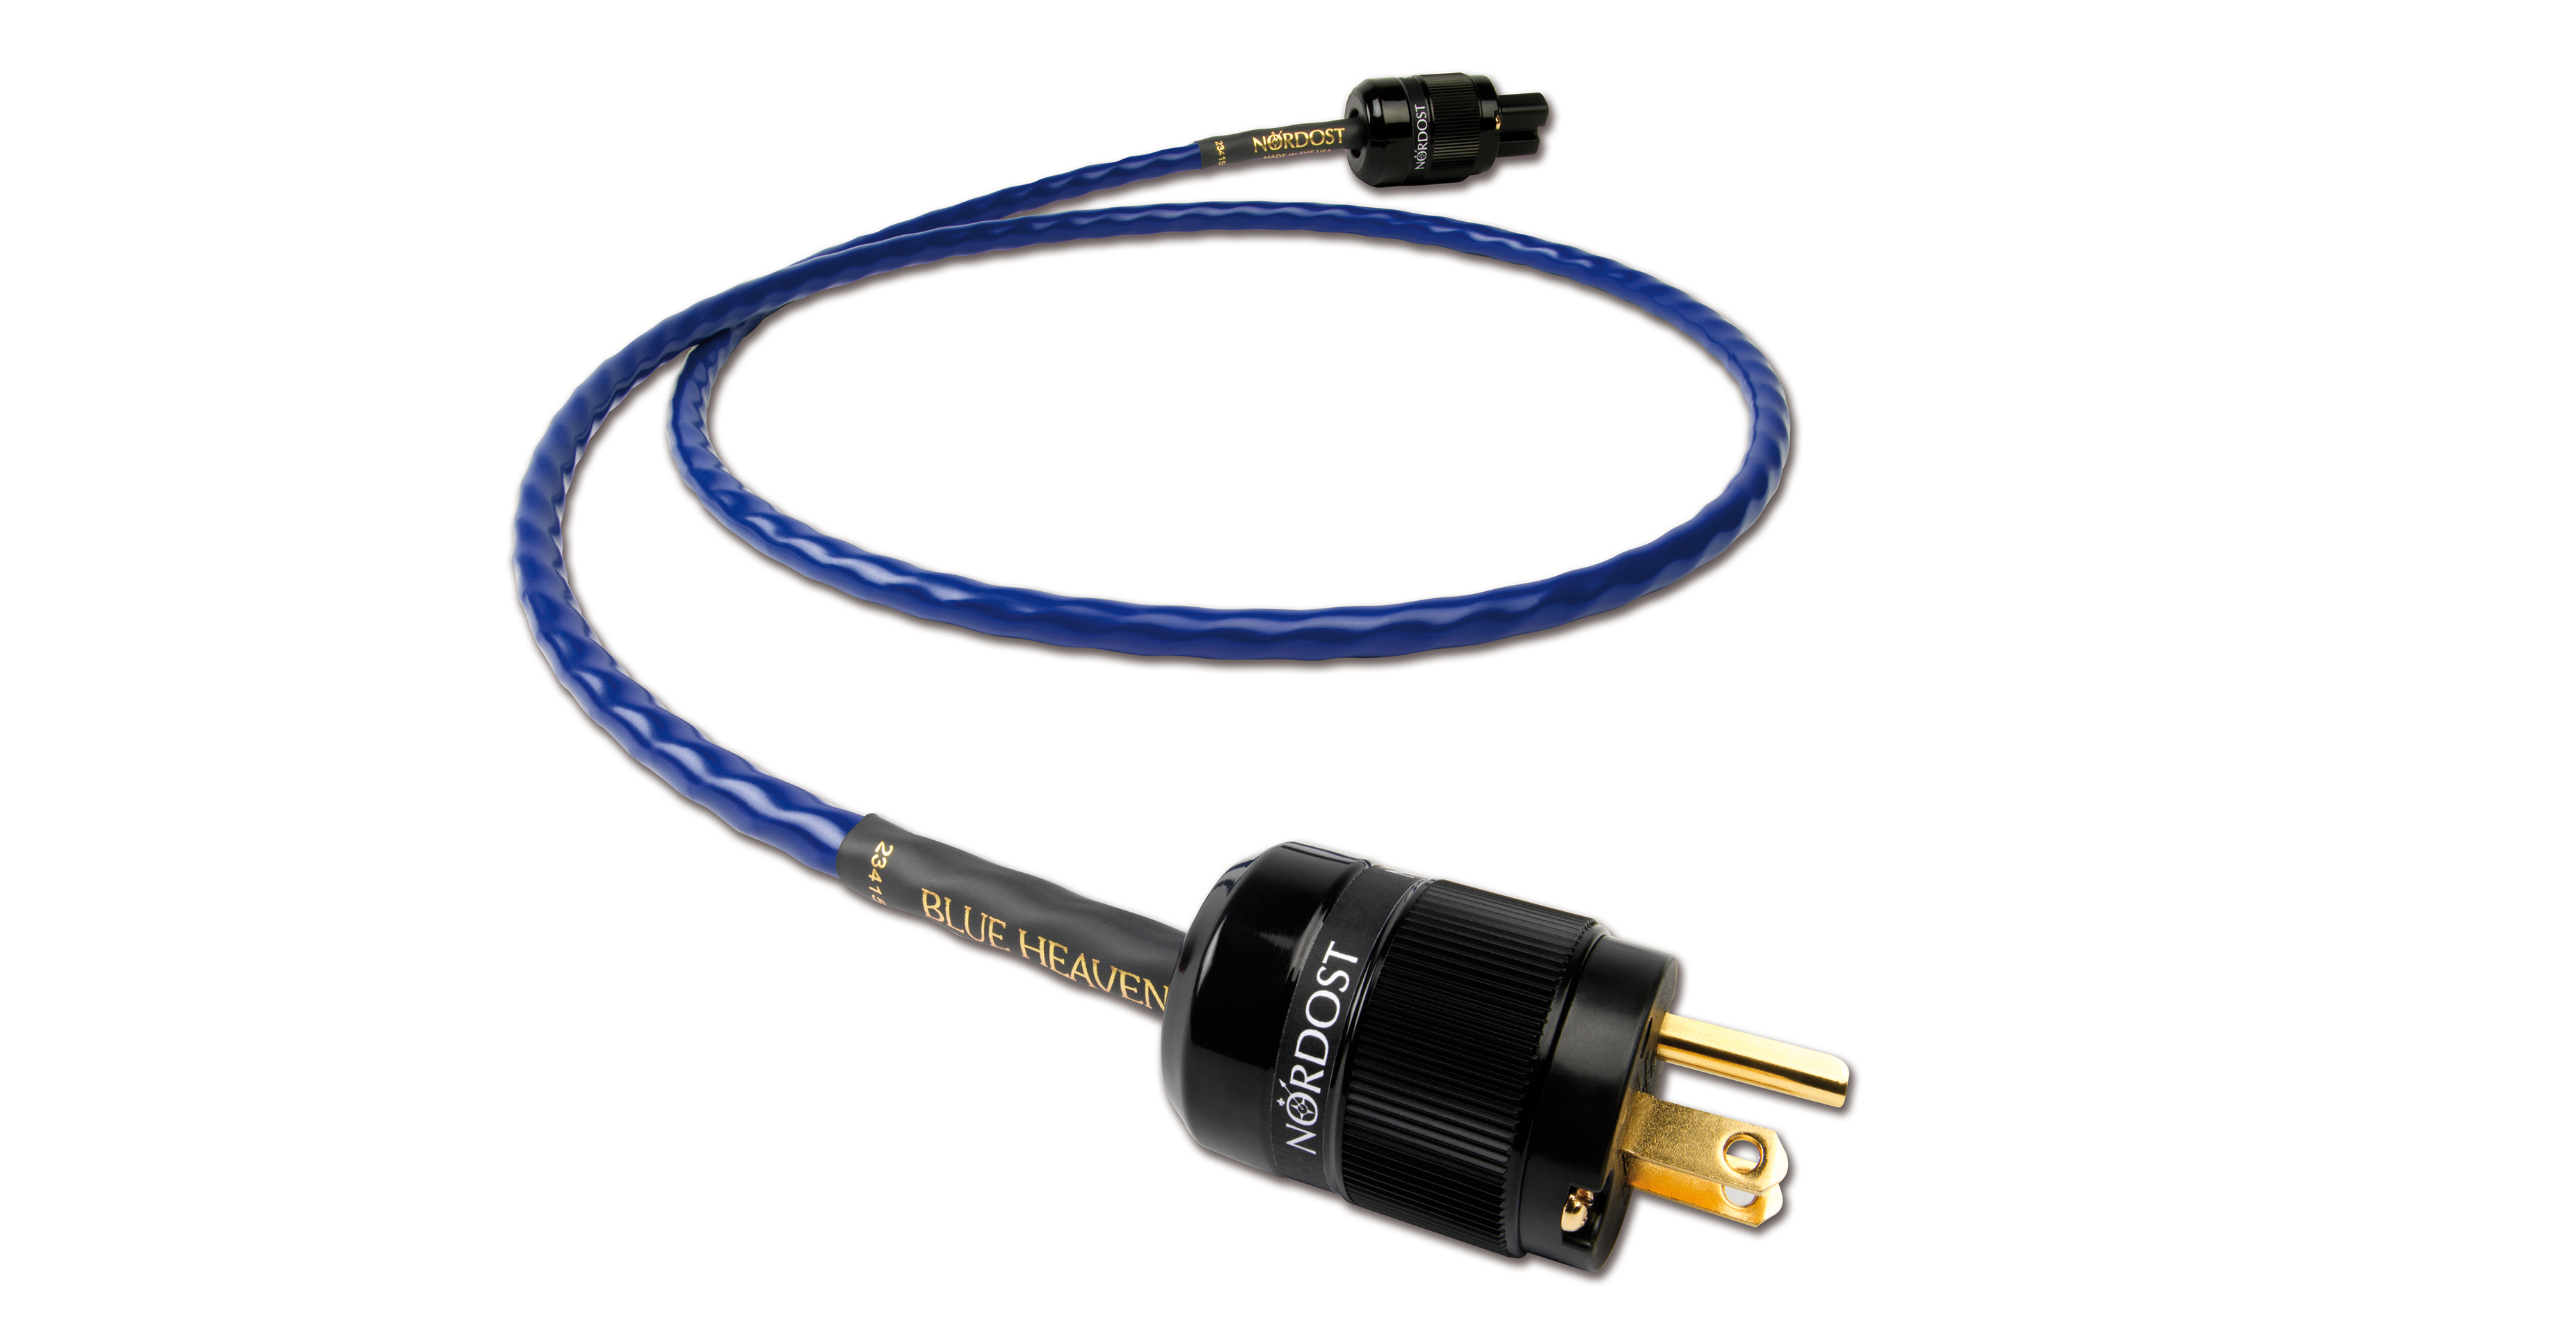
1) Power Cord Upgrade
If the amplifier in your subwoofer isn’t as good as the amplifiers in your primary loudspeakers, it’s imperative to optimize its situation, in order to allow your subwoofer to succeed. This can easily be done by upgrading the power cord feeding the subwoofer. A really good power cord is essential to ensure that the built-in amplifier performs at its absolute best. With quality AC feeding your subwoofer, you will finally be able to enjoy those powerful, low frequency notes in your music, and not be stuck experiencing them as just a rumble.
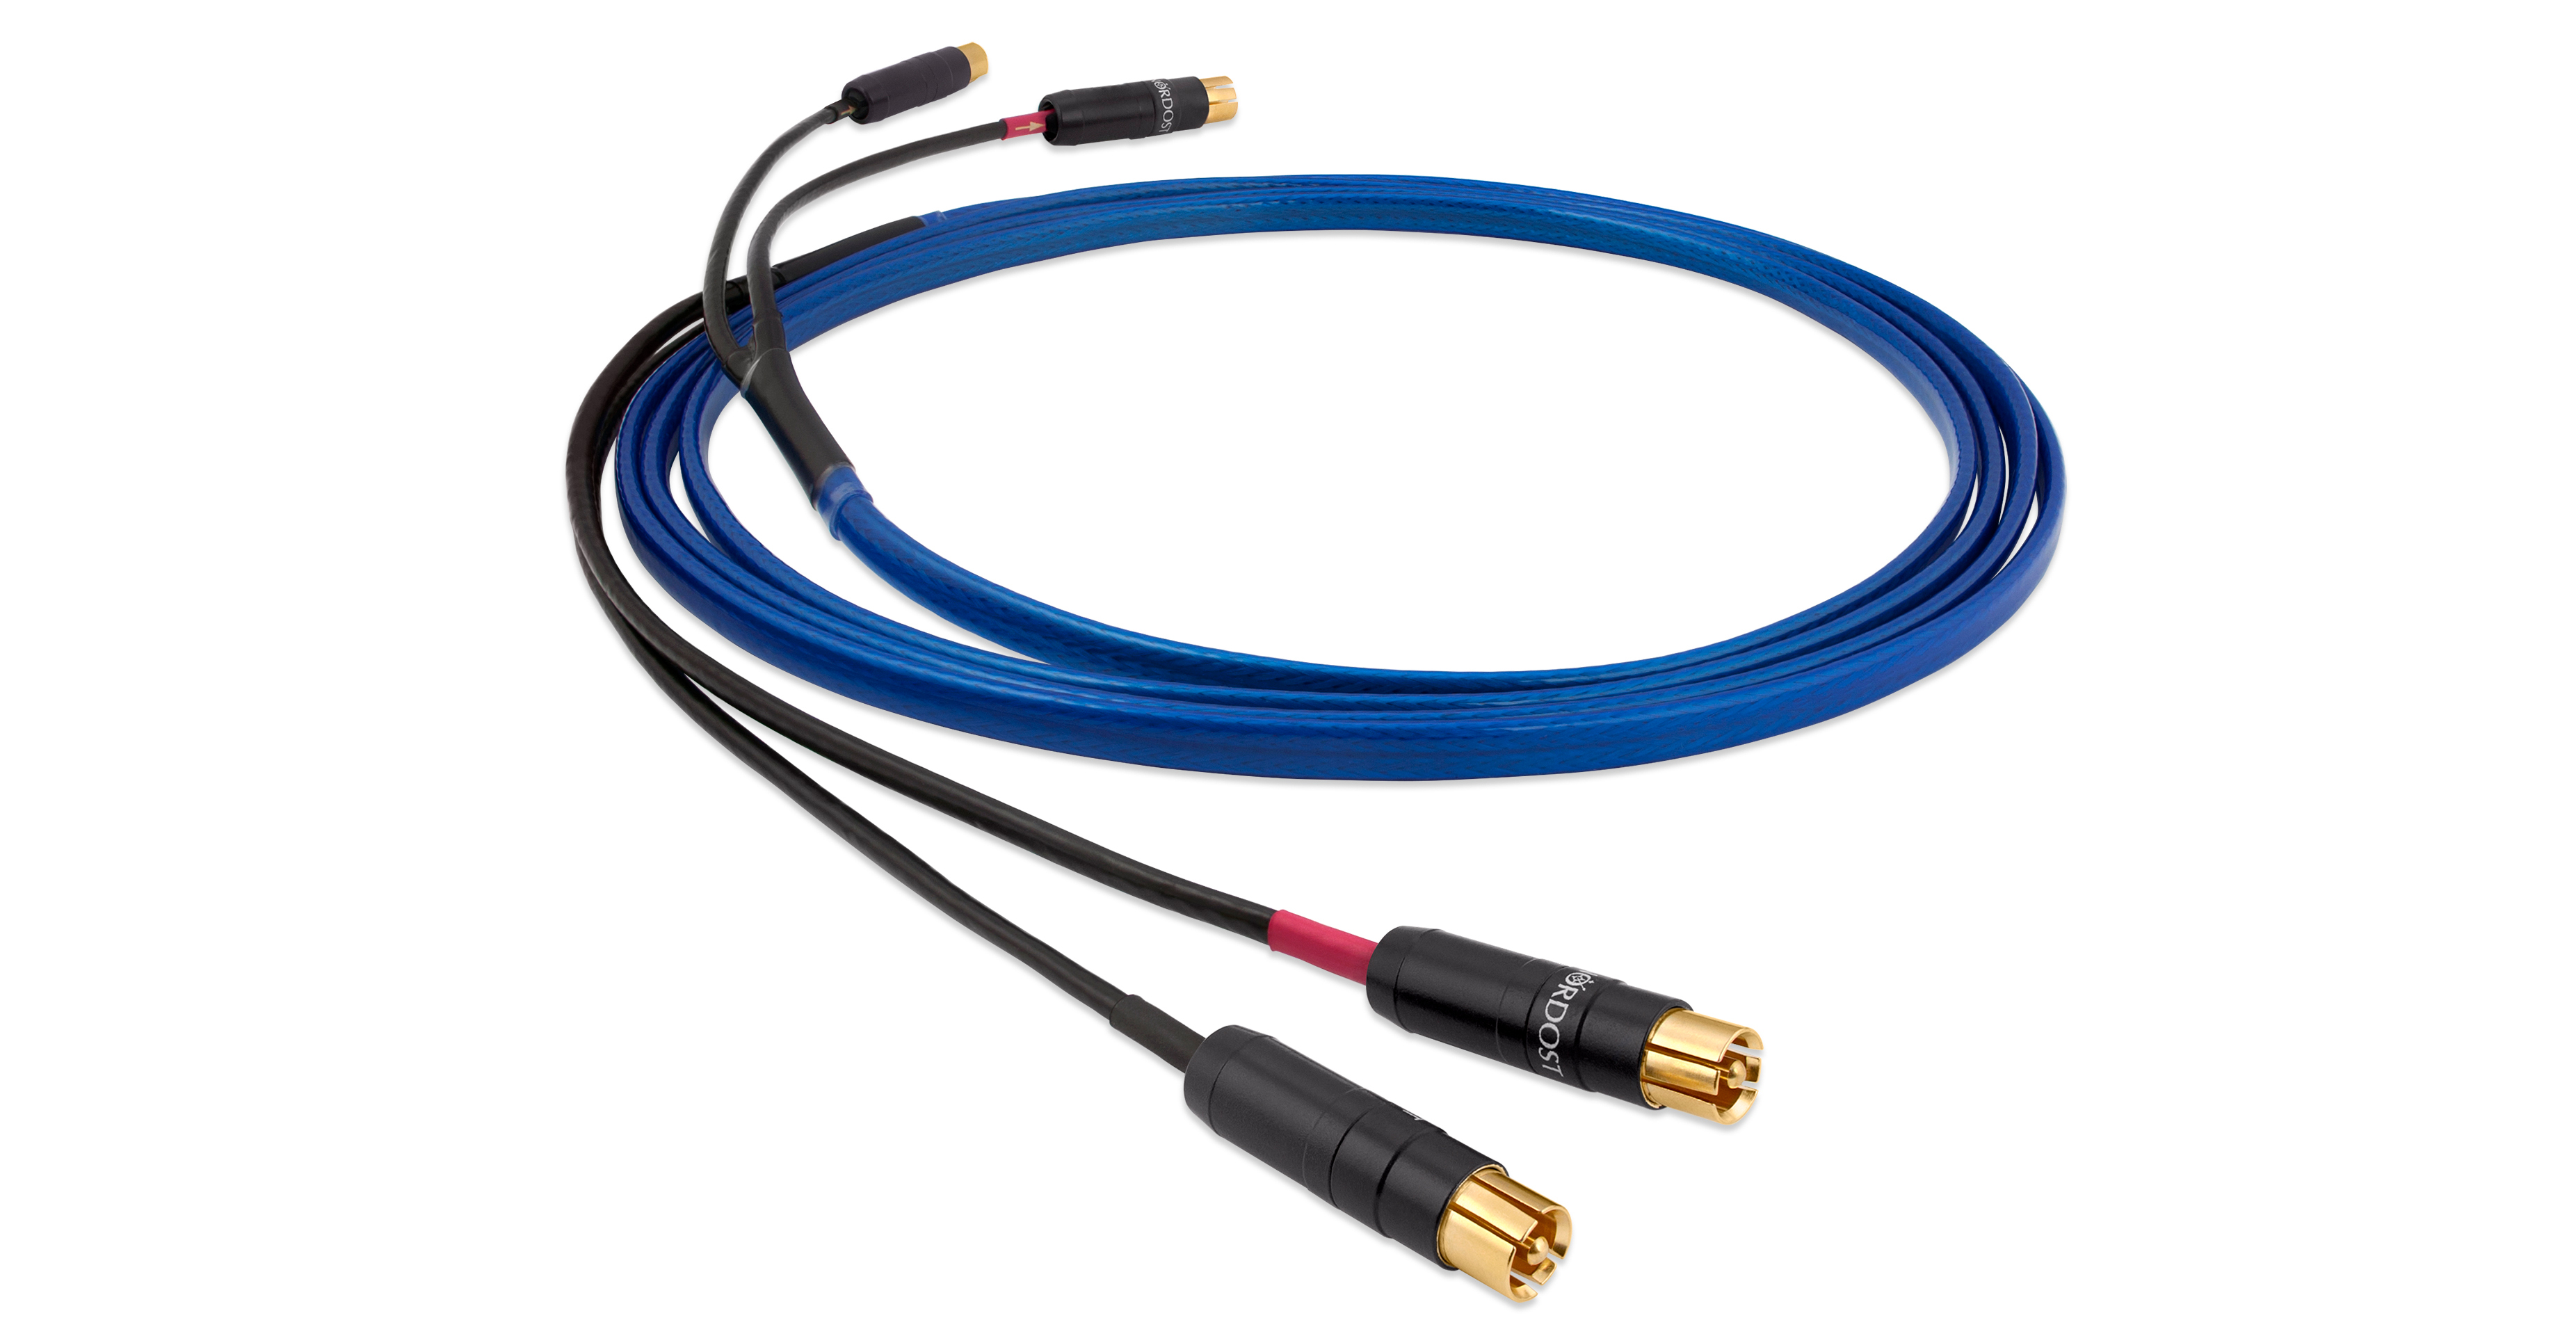
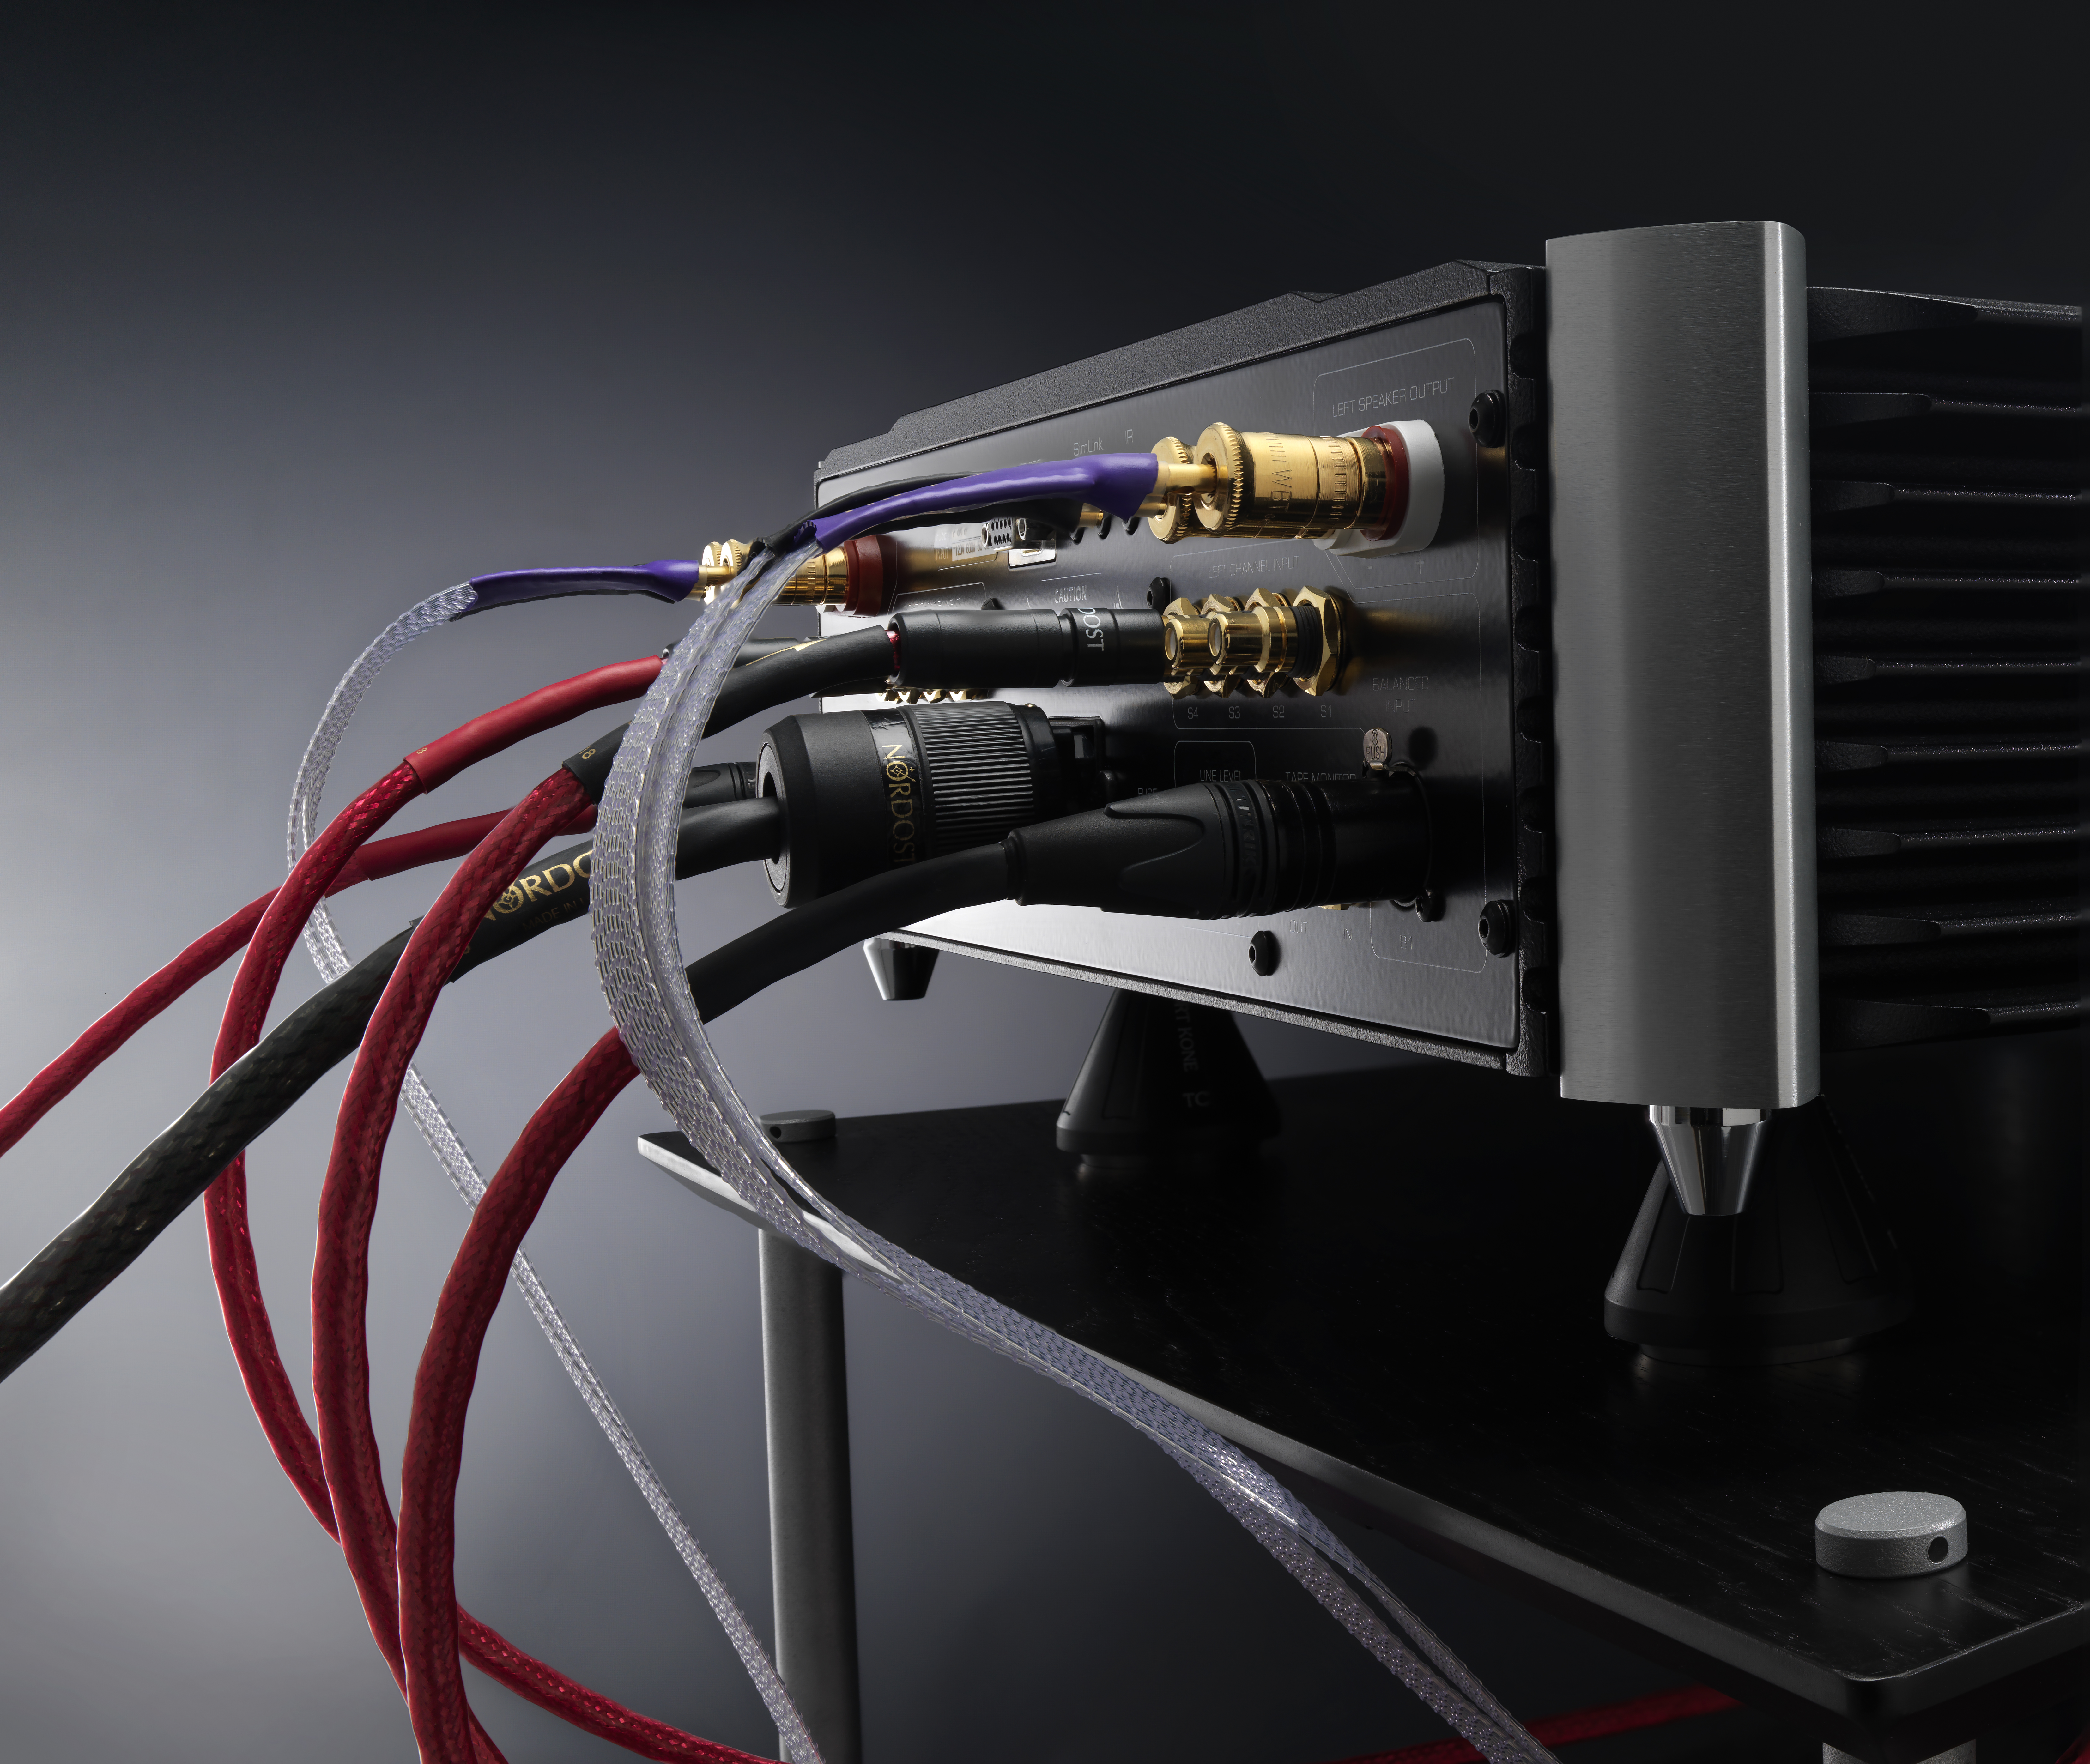
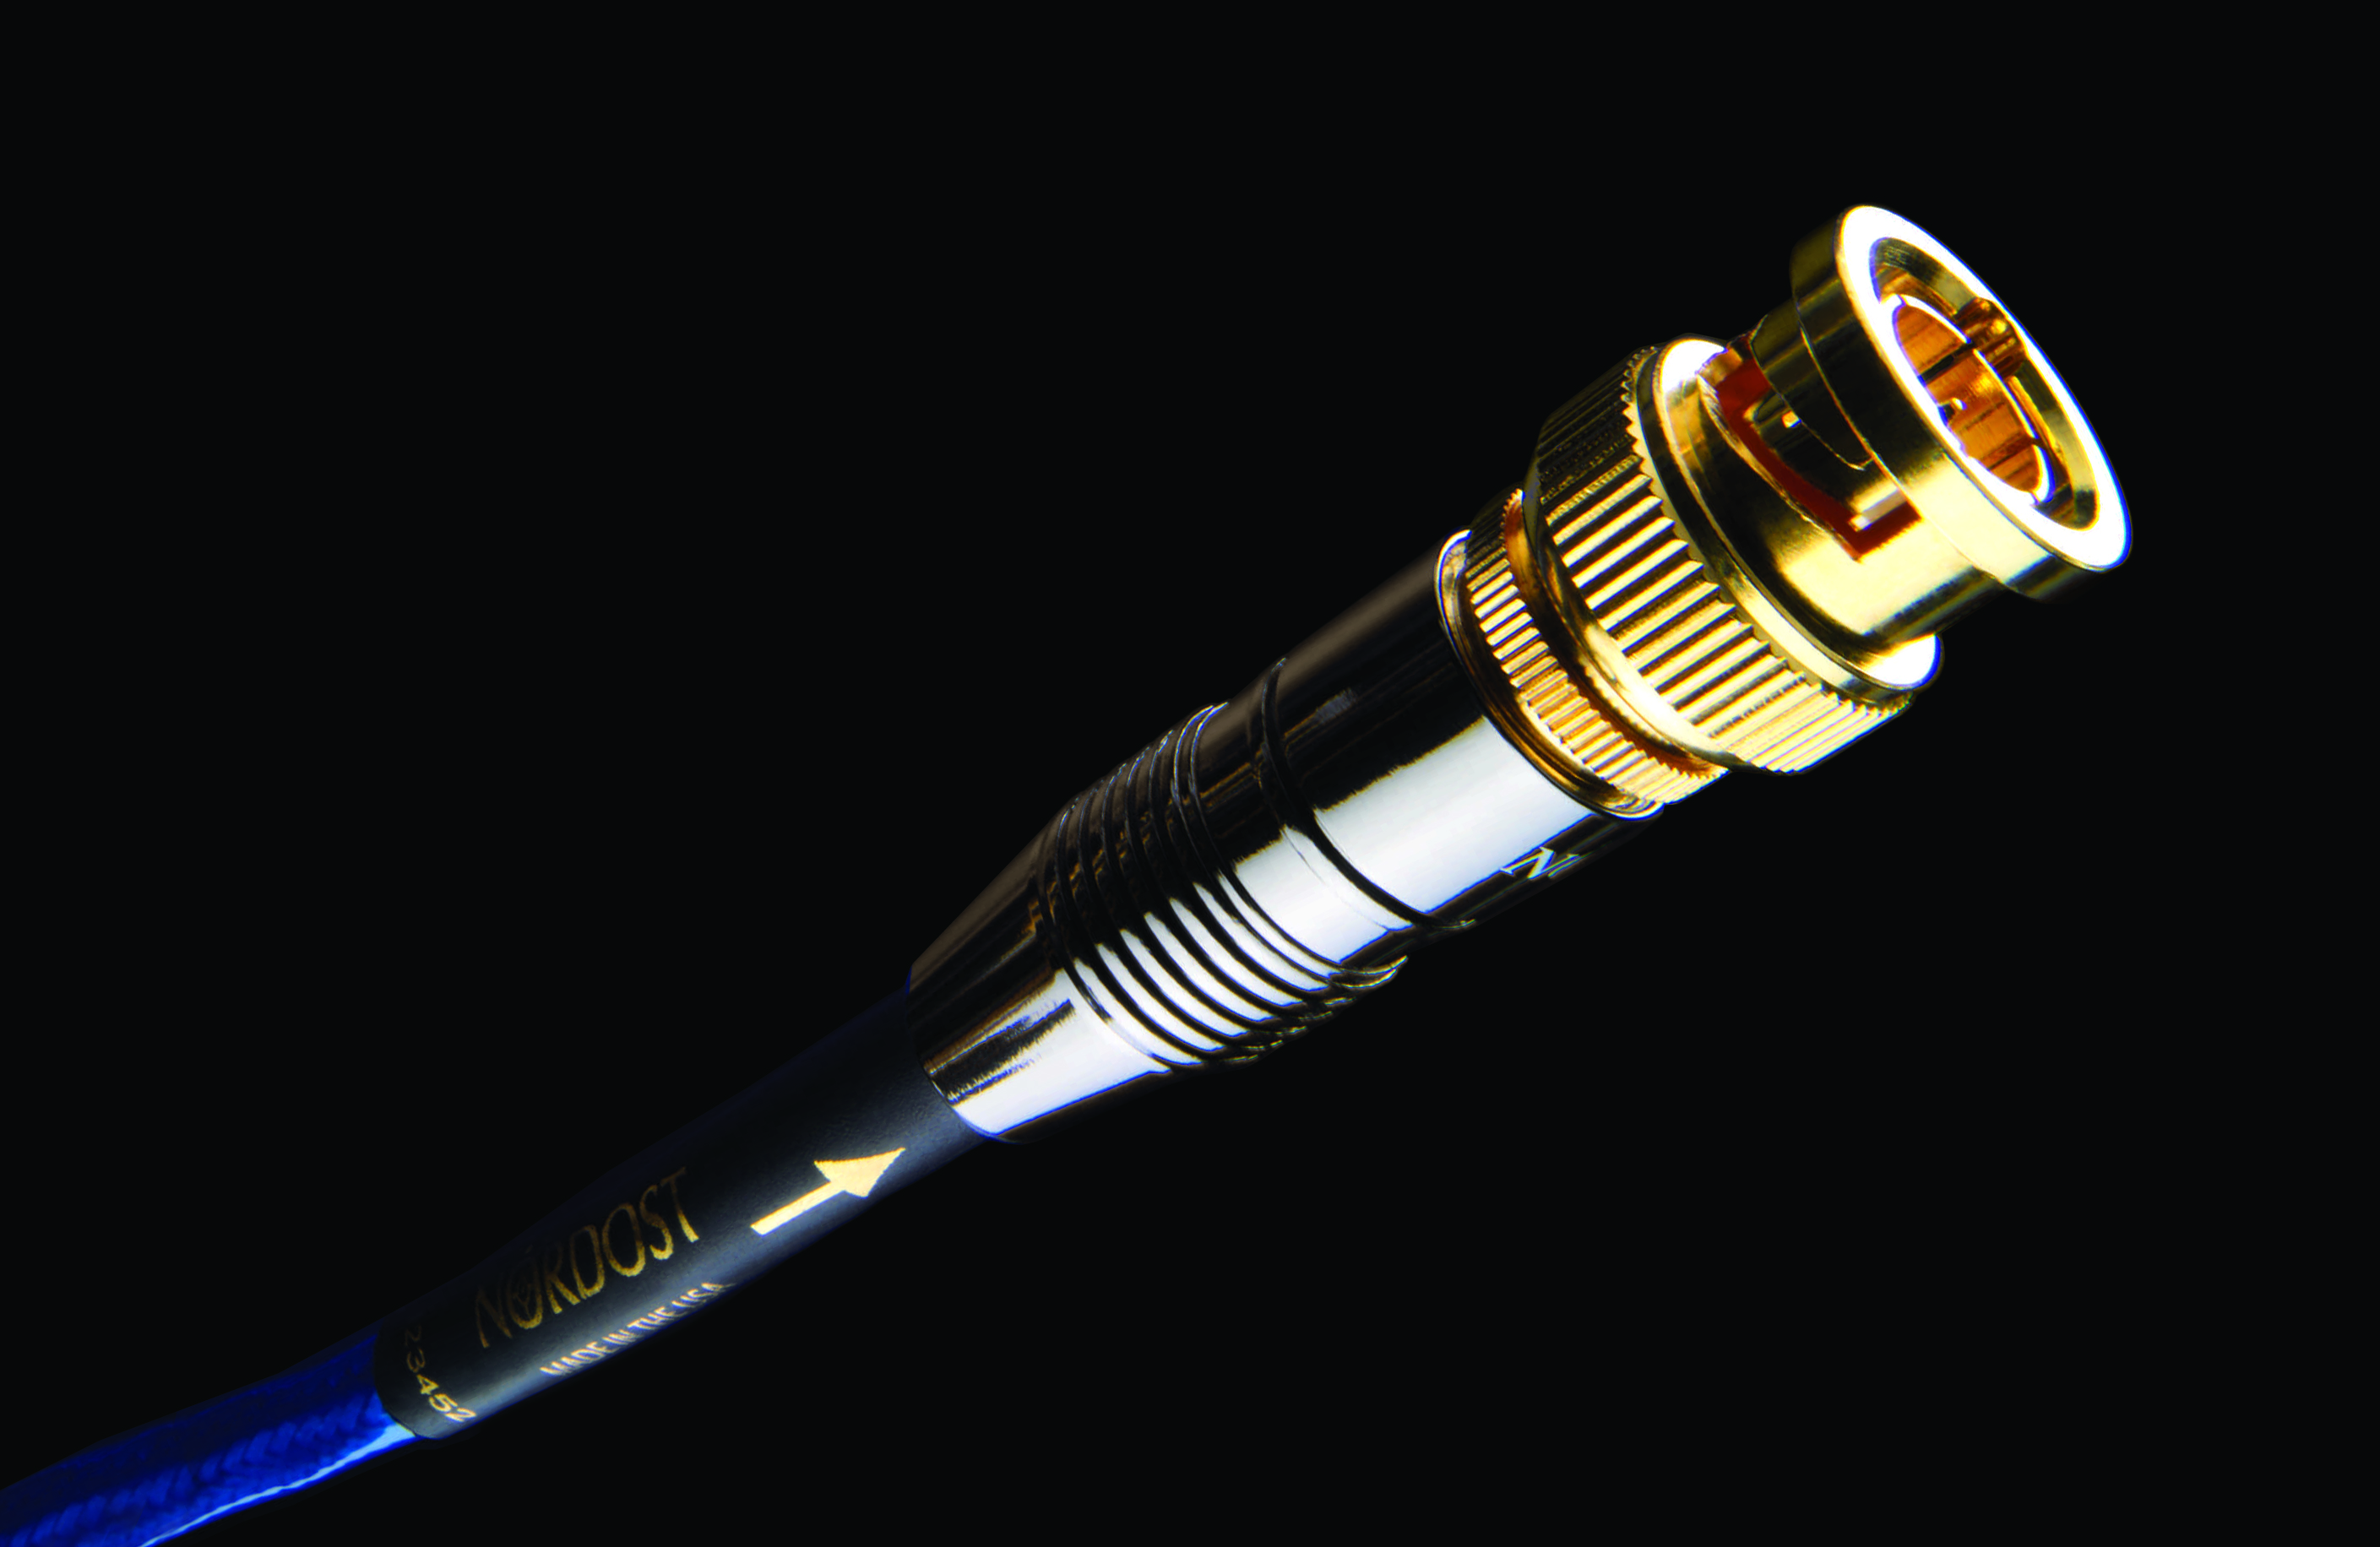
2) Dedicated Subwoofer Interconnect
The price of long-length interconnects may be daunting. However, at longer lengths, having a high-quality cable is of the utmost importance. The longer a signal is trapped in its conduit, the more damage and signal-loss will be experienced, especially if that signal is being transported in a substandard cable. When dealing with subwoofers, which are typically placed far away from the rest of the system, you are introduced to a series of real challenges that a good, purpose-built subwoofer cable will have to overcome. If these challenges aren’t addressed properly, the signal will arrive “tired”, very distorted, and riddled with phase problems.
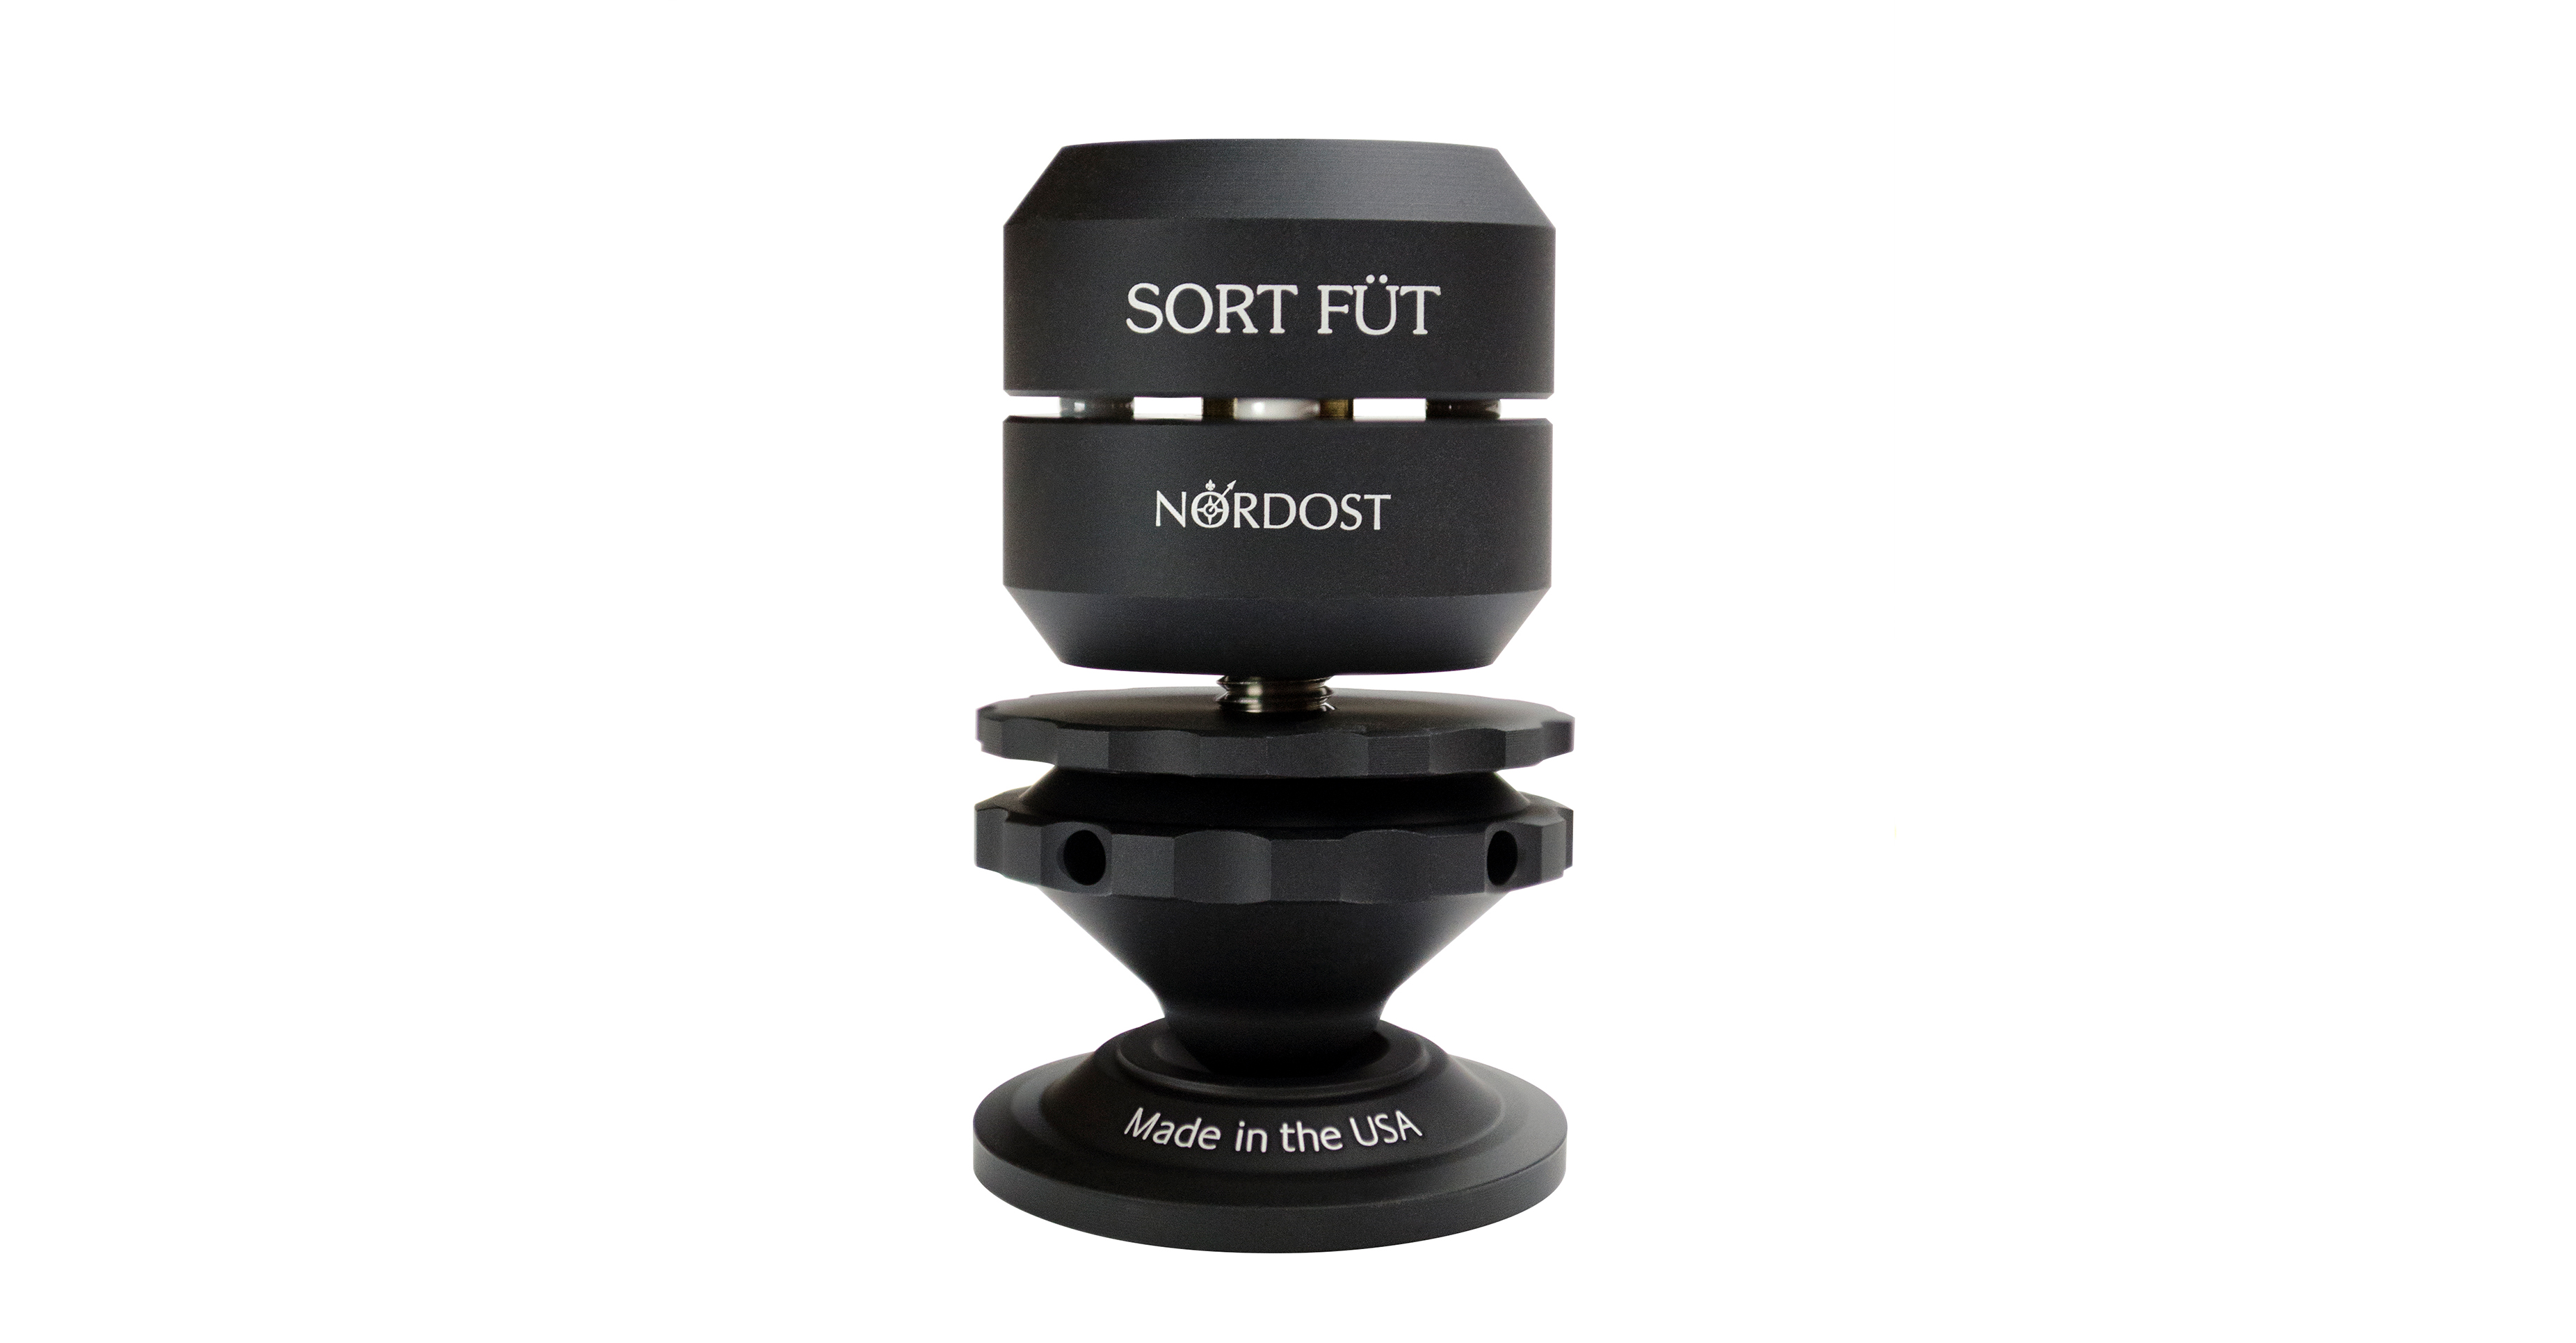
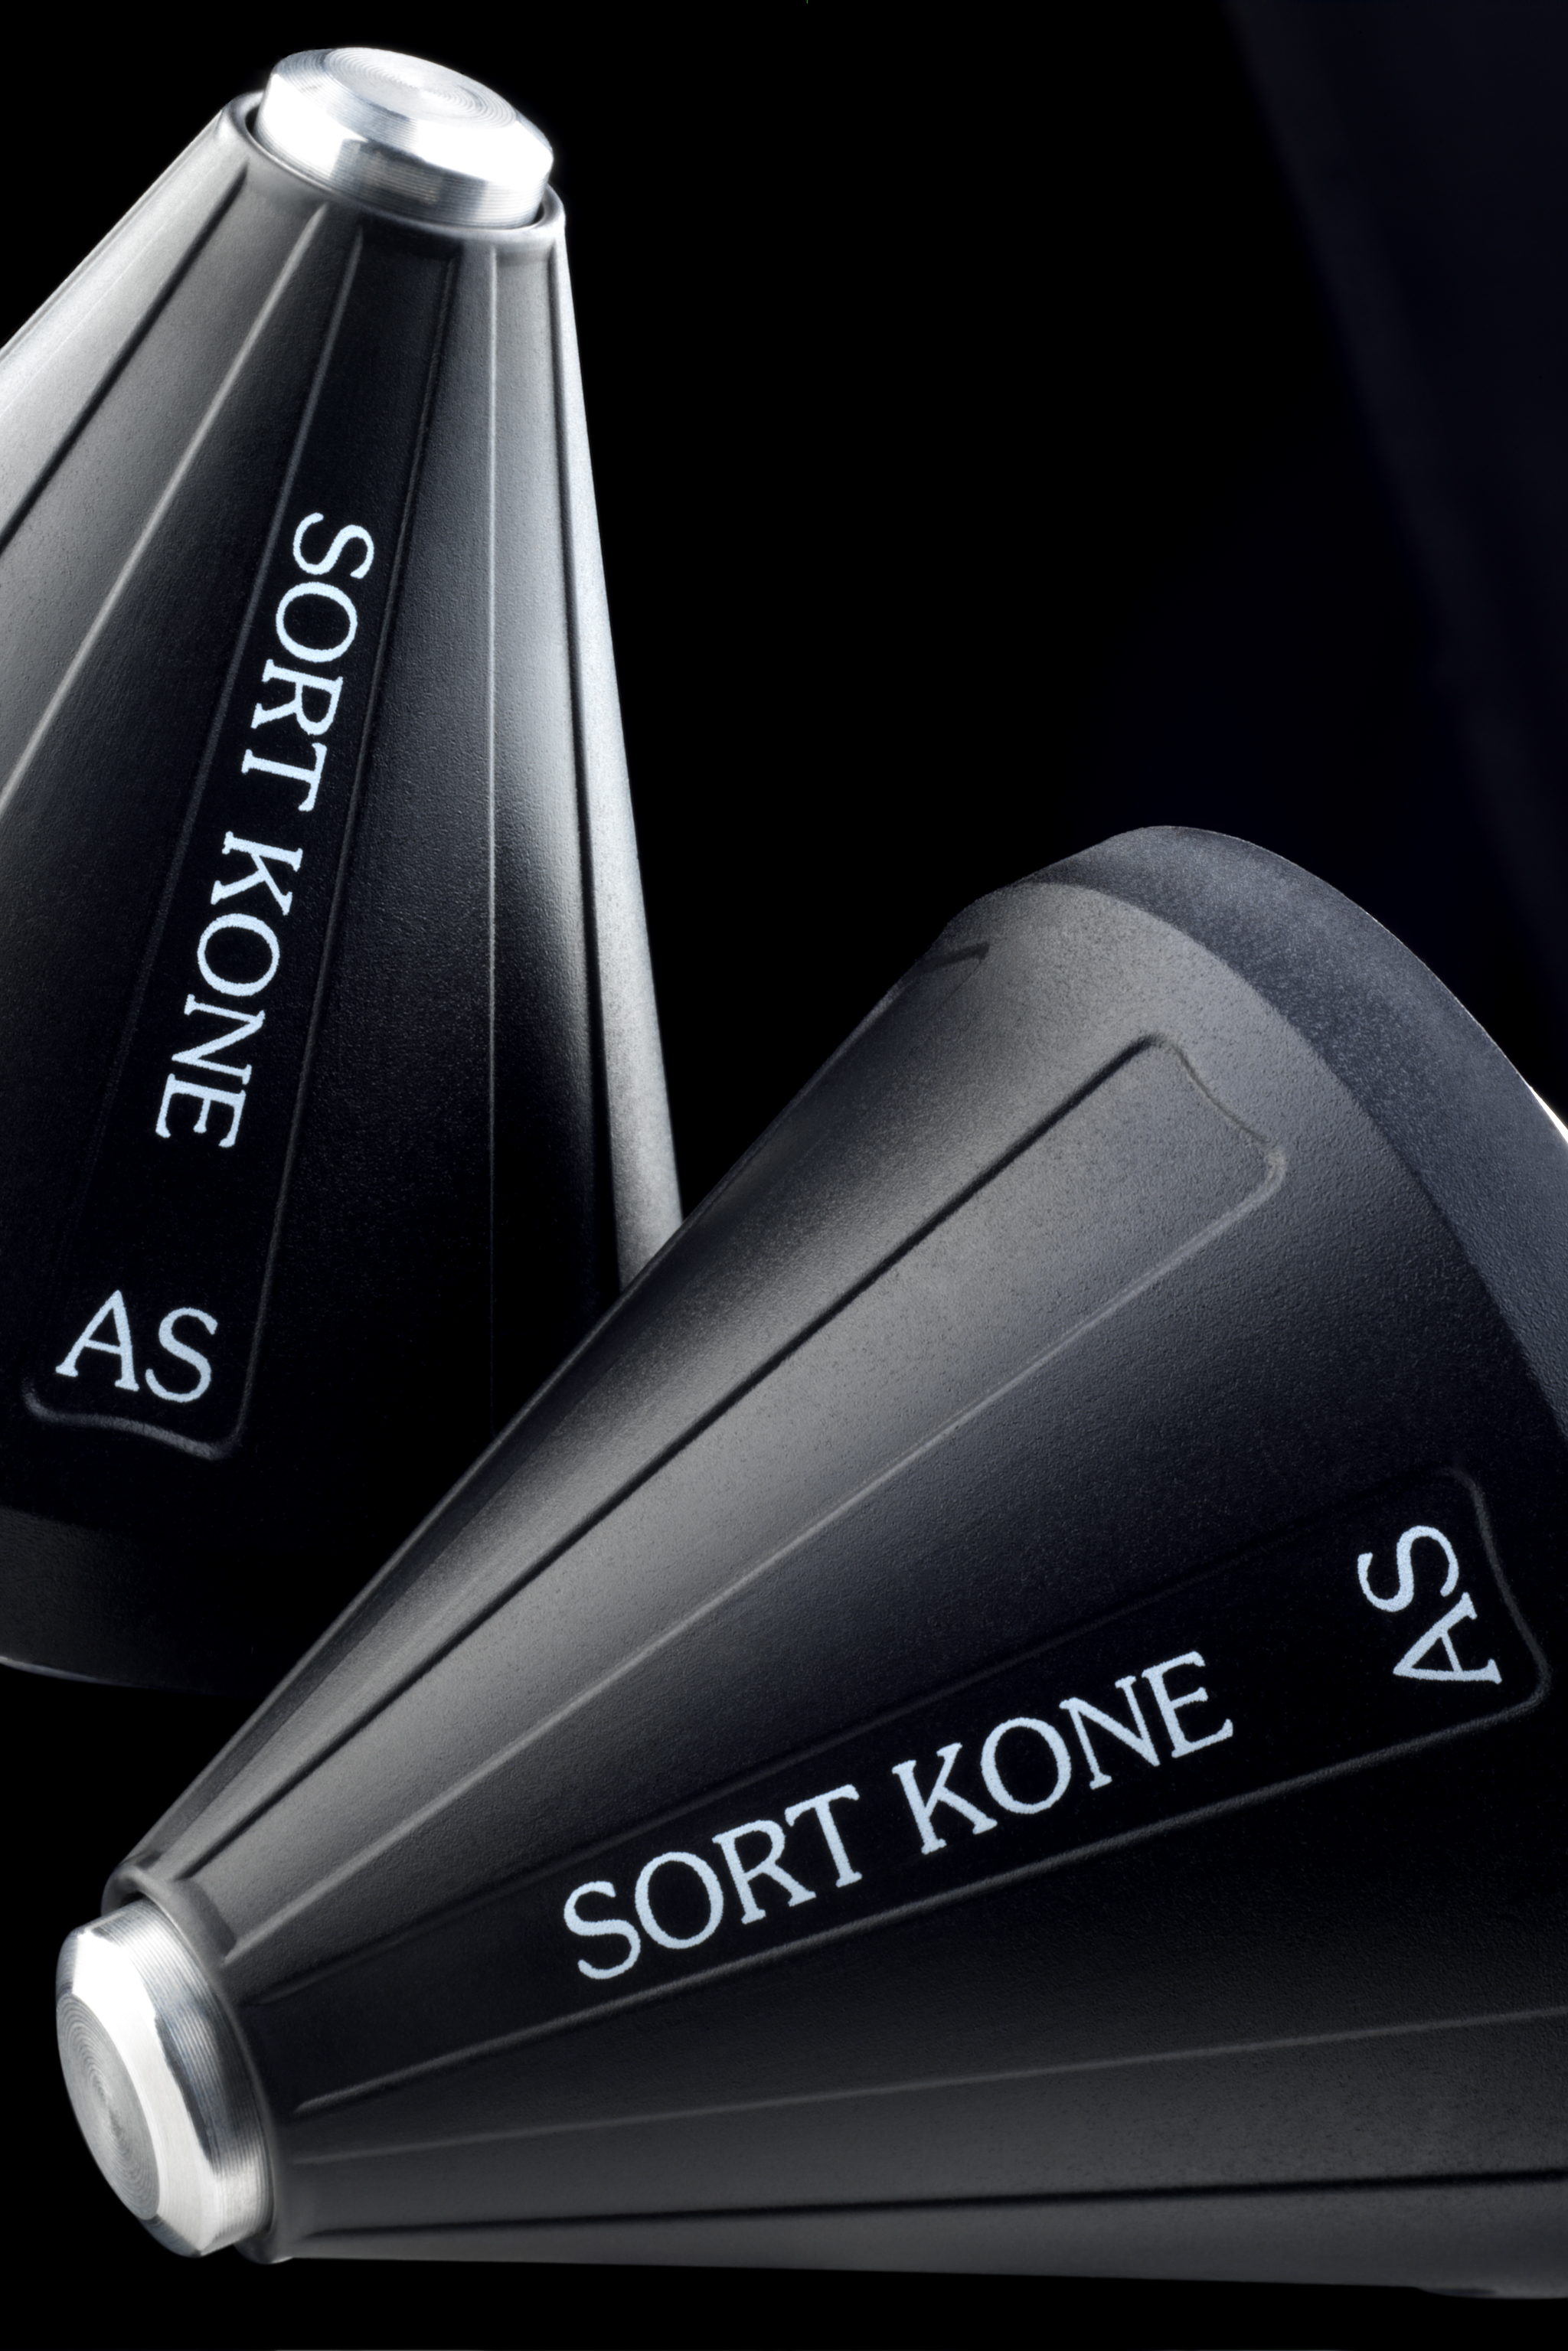
3) Resonance Control
In terms of mechanical optimization, low frequencies create a hostile situation. Unfortunately, the footers and spikes that come with subwoofers were not designed to efficiently drain the cabinet of detrimental vibrations generated by those frequencies. When trapped within the cabinet, these vibrations will negatively affect the driver(s) in your subwoofer, making the sound have an undesirable, muddled and boomy quality. Upgrading your footers and spikes with a product that addresses resonance, like the Nordost Sort Füt, will help minimize these harmful effects and maximize the performance of your subwoofer.
Subwoofers are worth paying attention to, and just like any other component in your system, the attention that you give them will make a huge difference! If you make these changes, you will be able to impress both yourself and your audiophile buddies with seamless low frequency integration, without any rumble. When done right, a properly optimized subwoofer will allow you to enjoy low frequency sound that will make the legs of your trousers flap, your eyes blink involuntary, and your chest cavity resonate with your favorite music…
 By Mike Marko


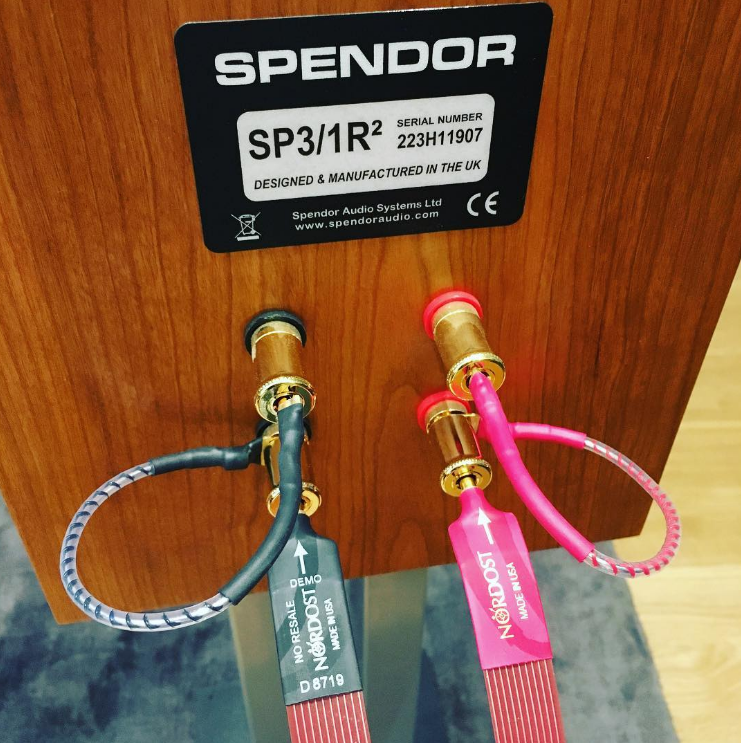


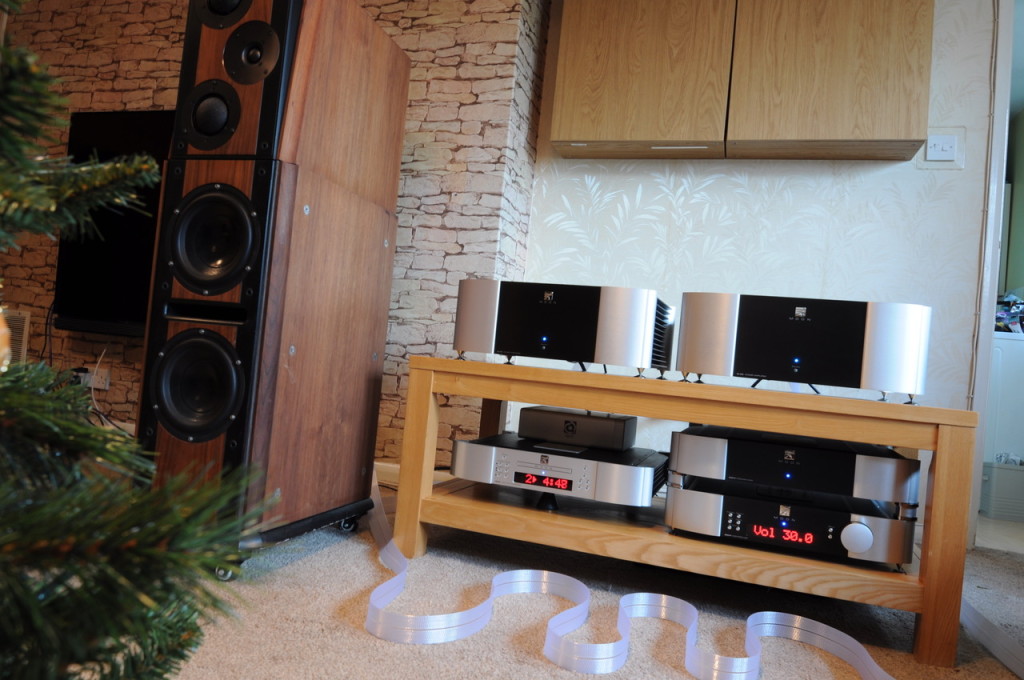
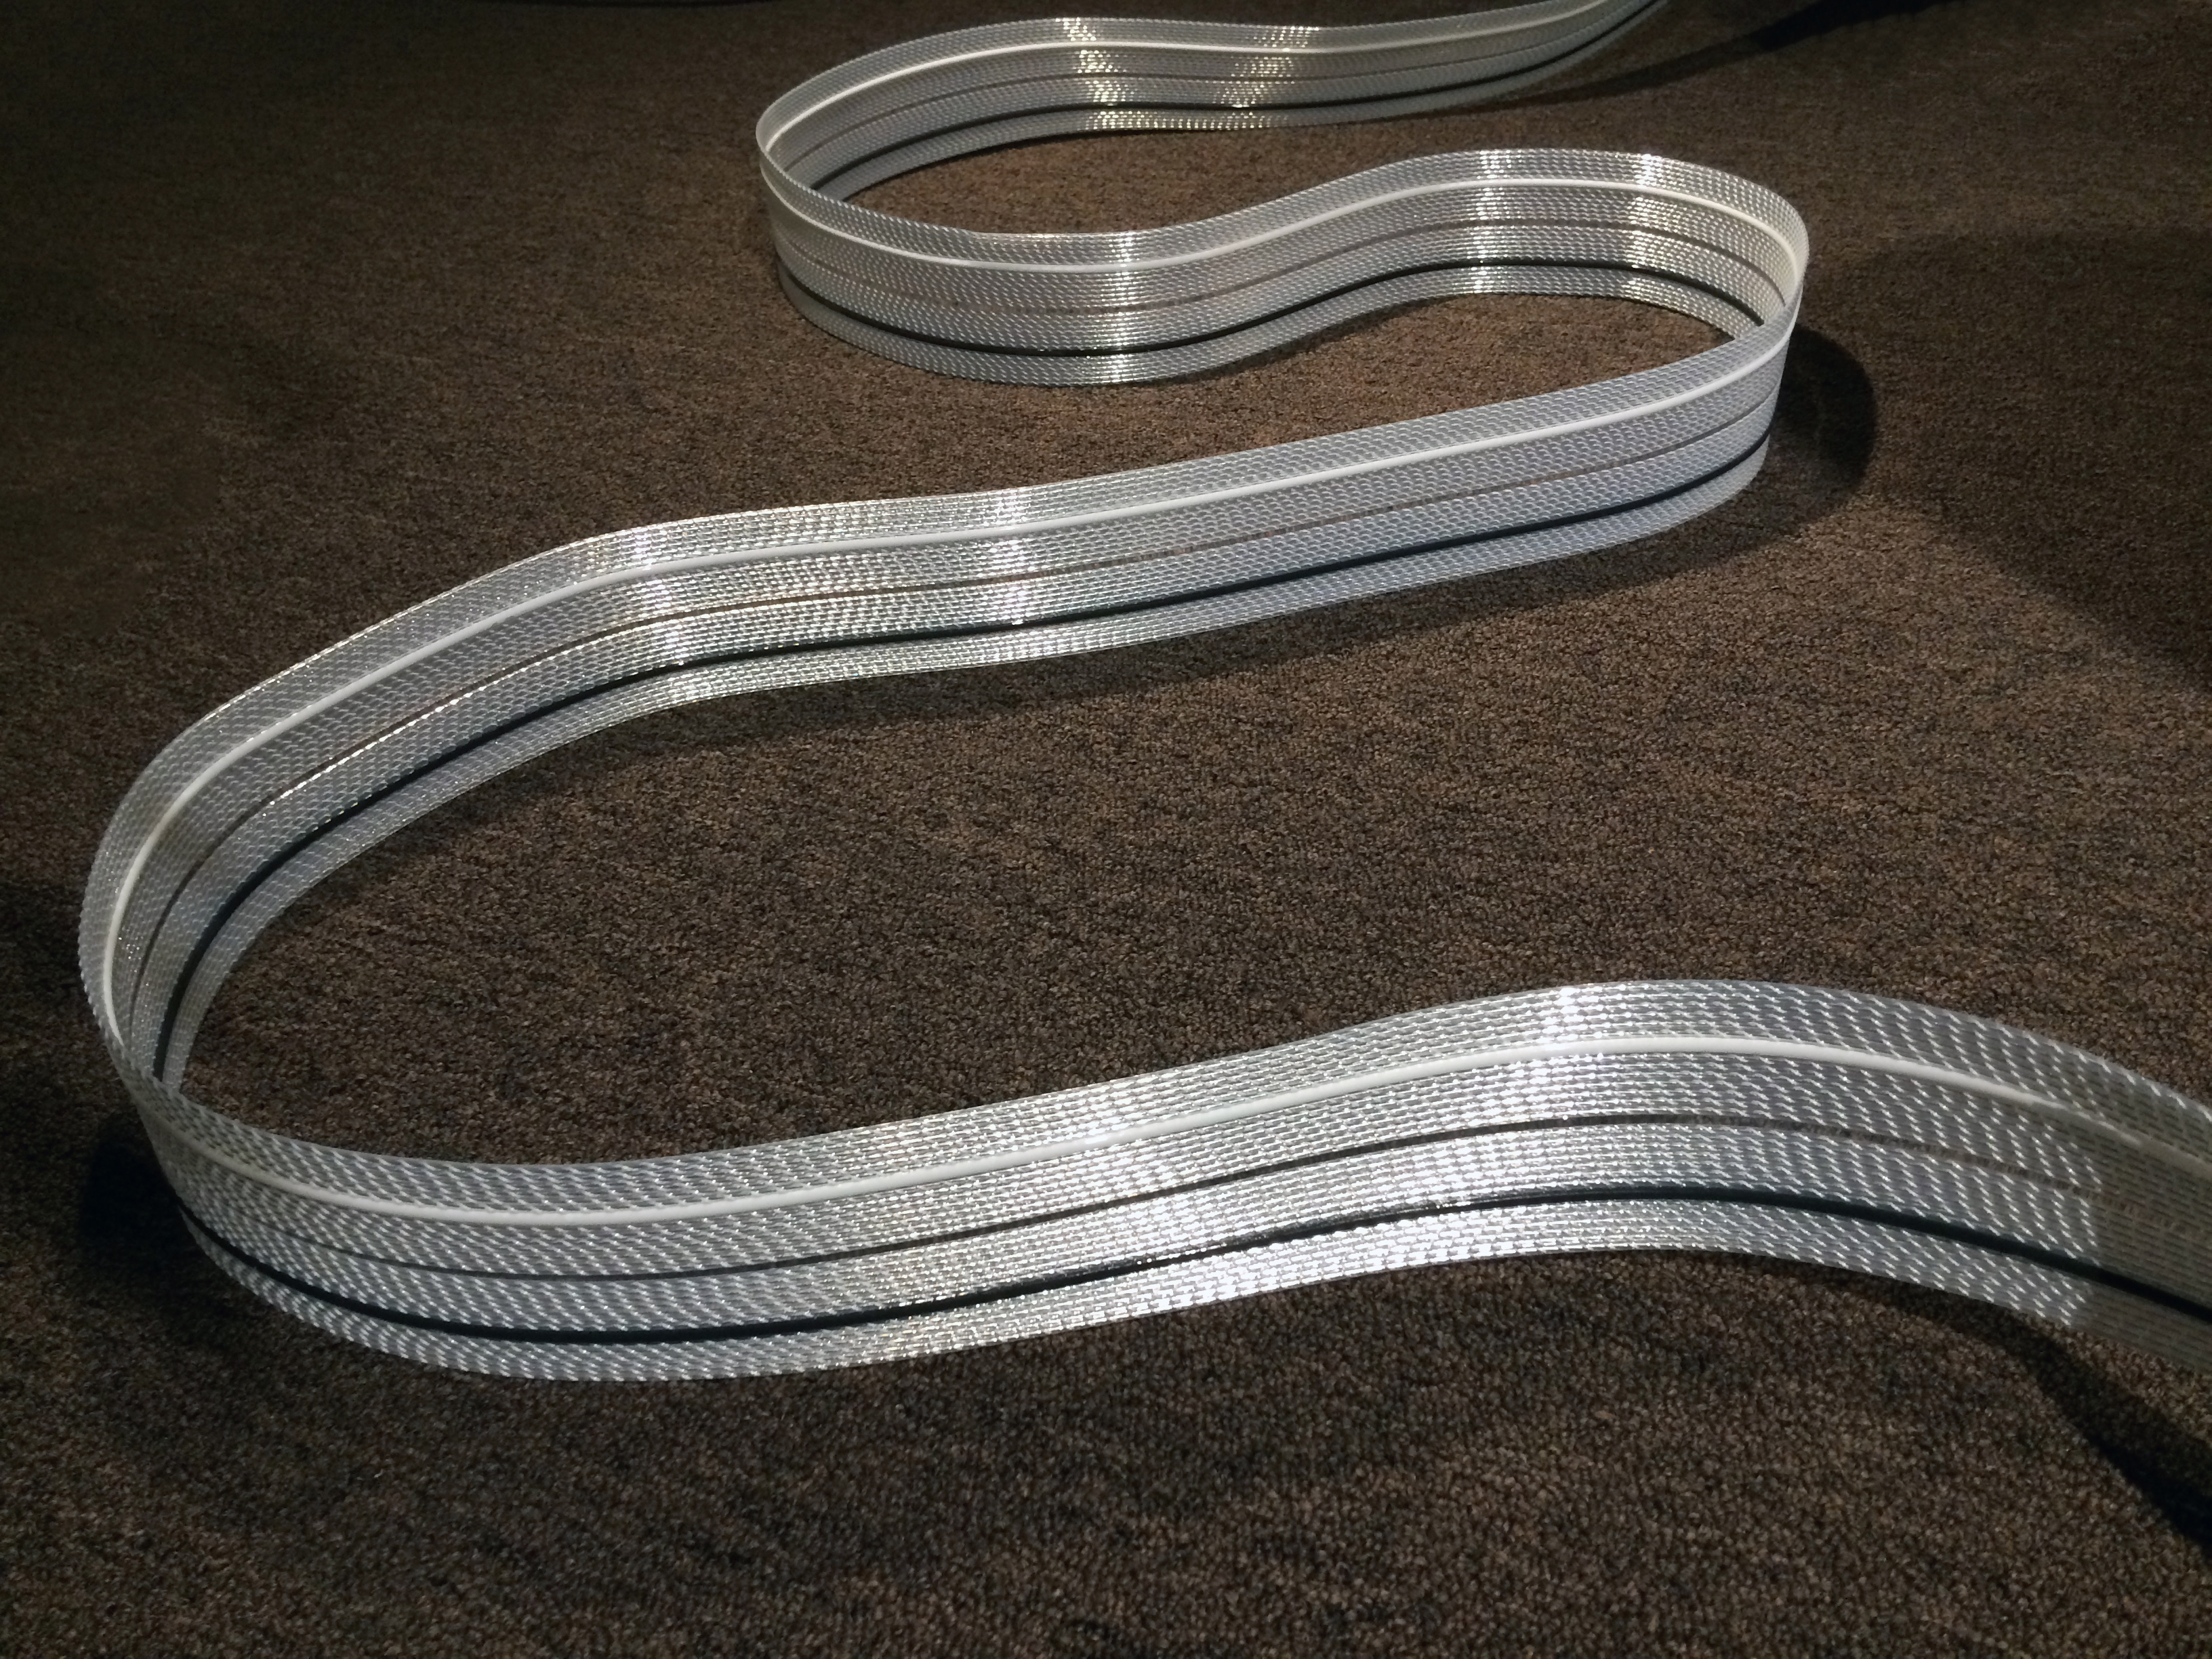
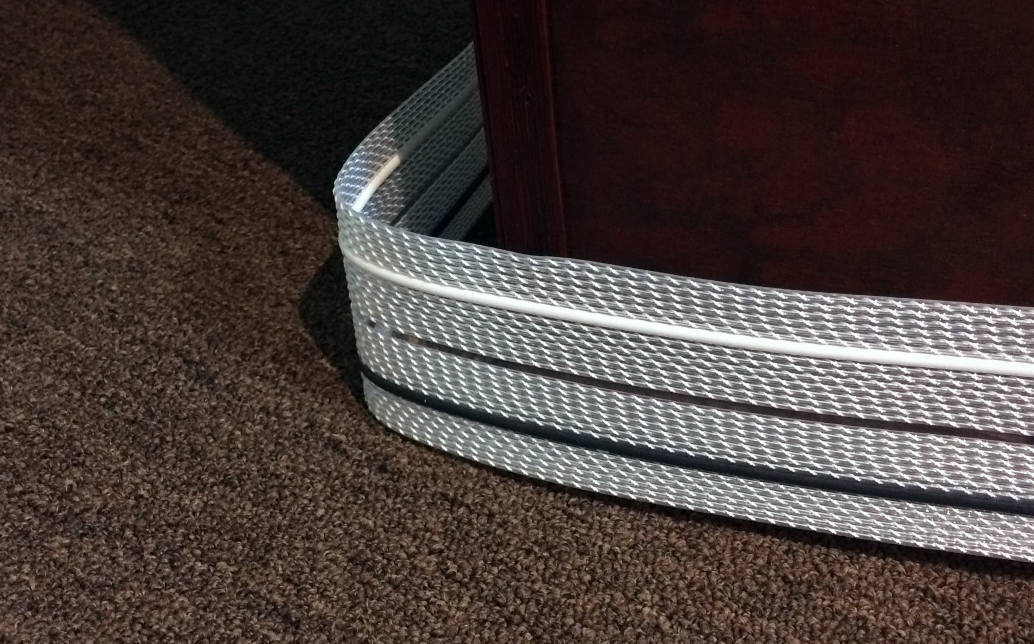 Q: I am in the process of upgrading my audio cables, but the way that my system is set up, I need to make sure that whatever I get is flexible. Can your speaker wire be bent to form around corners?
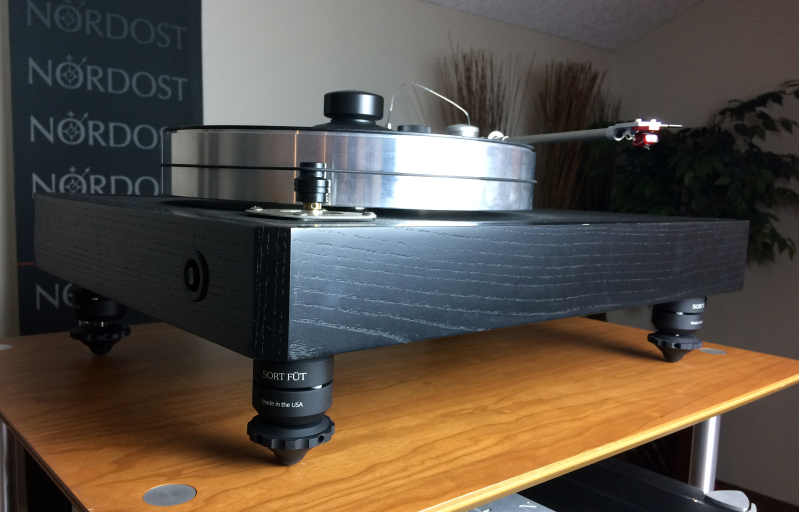
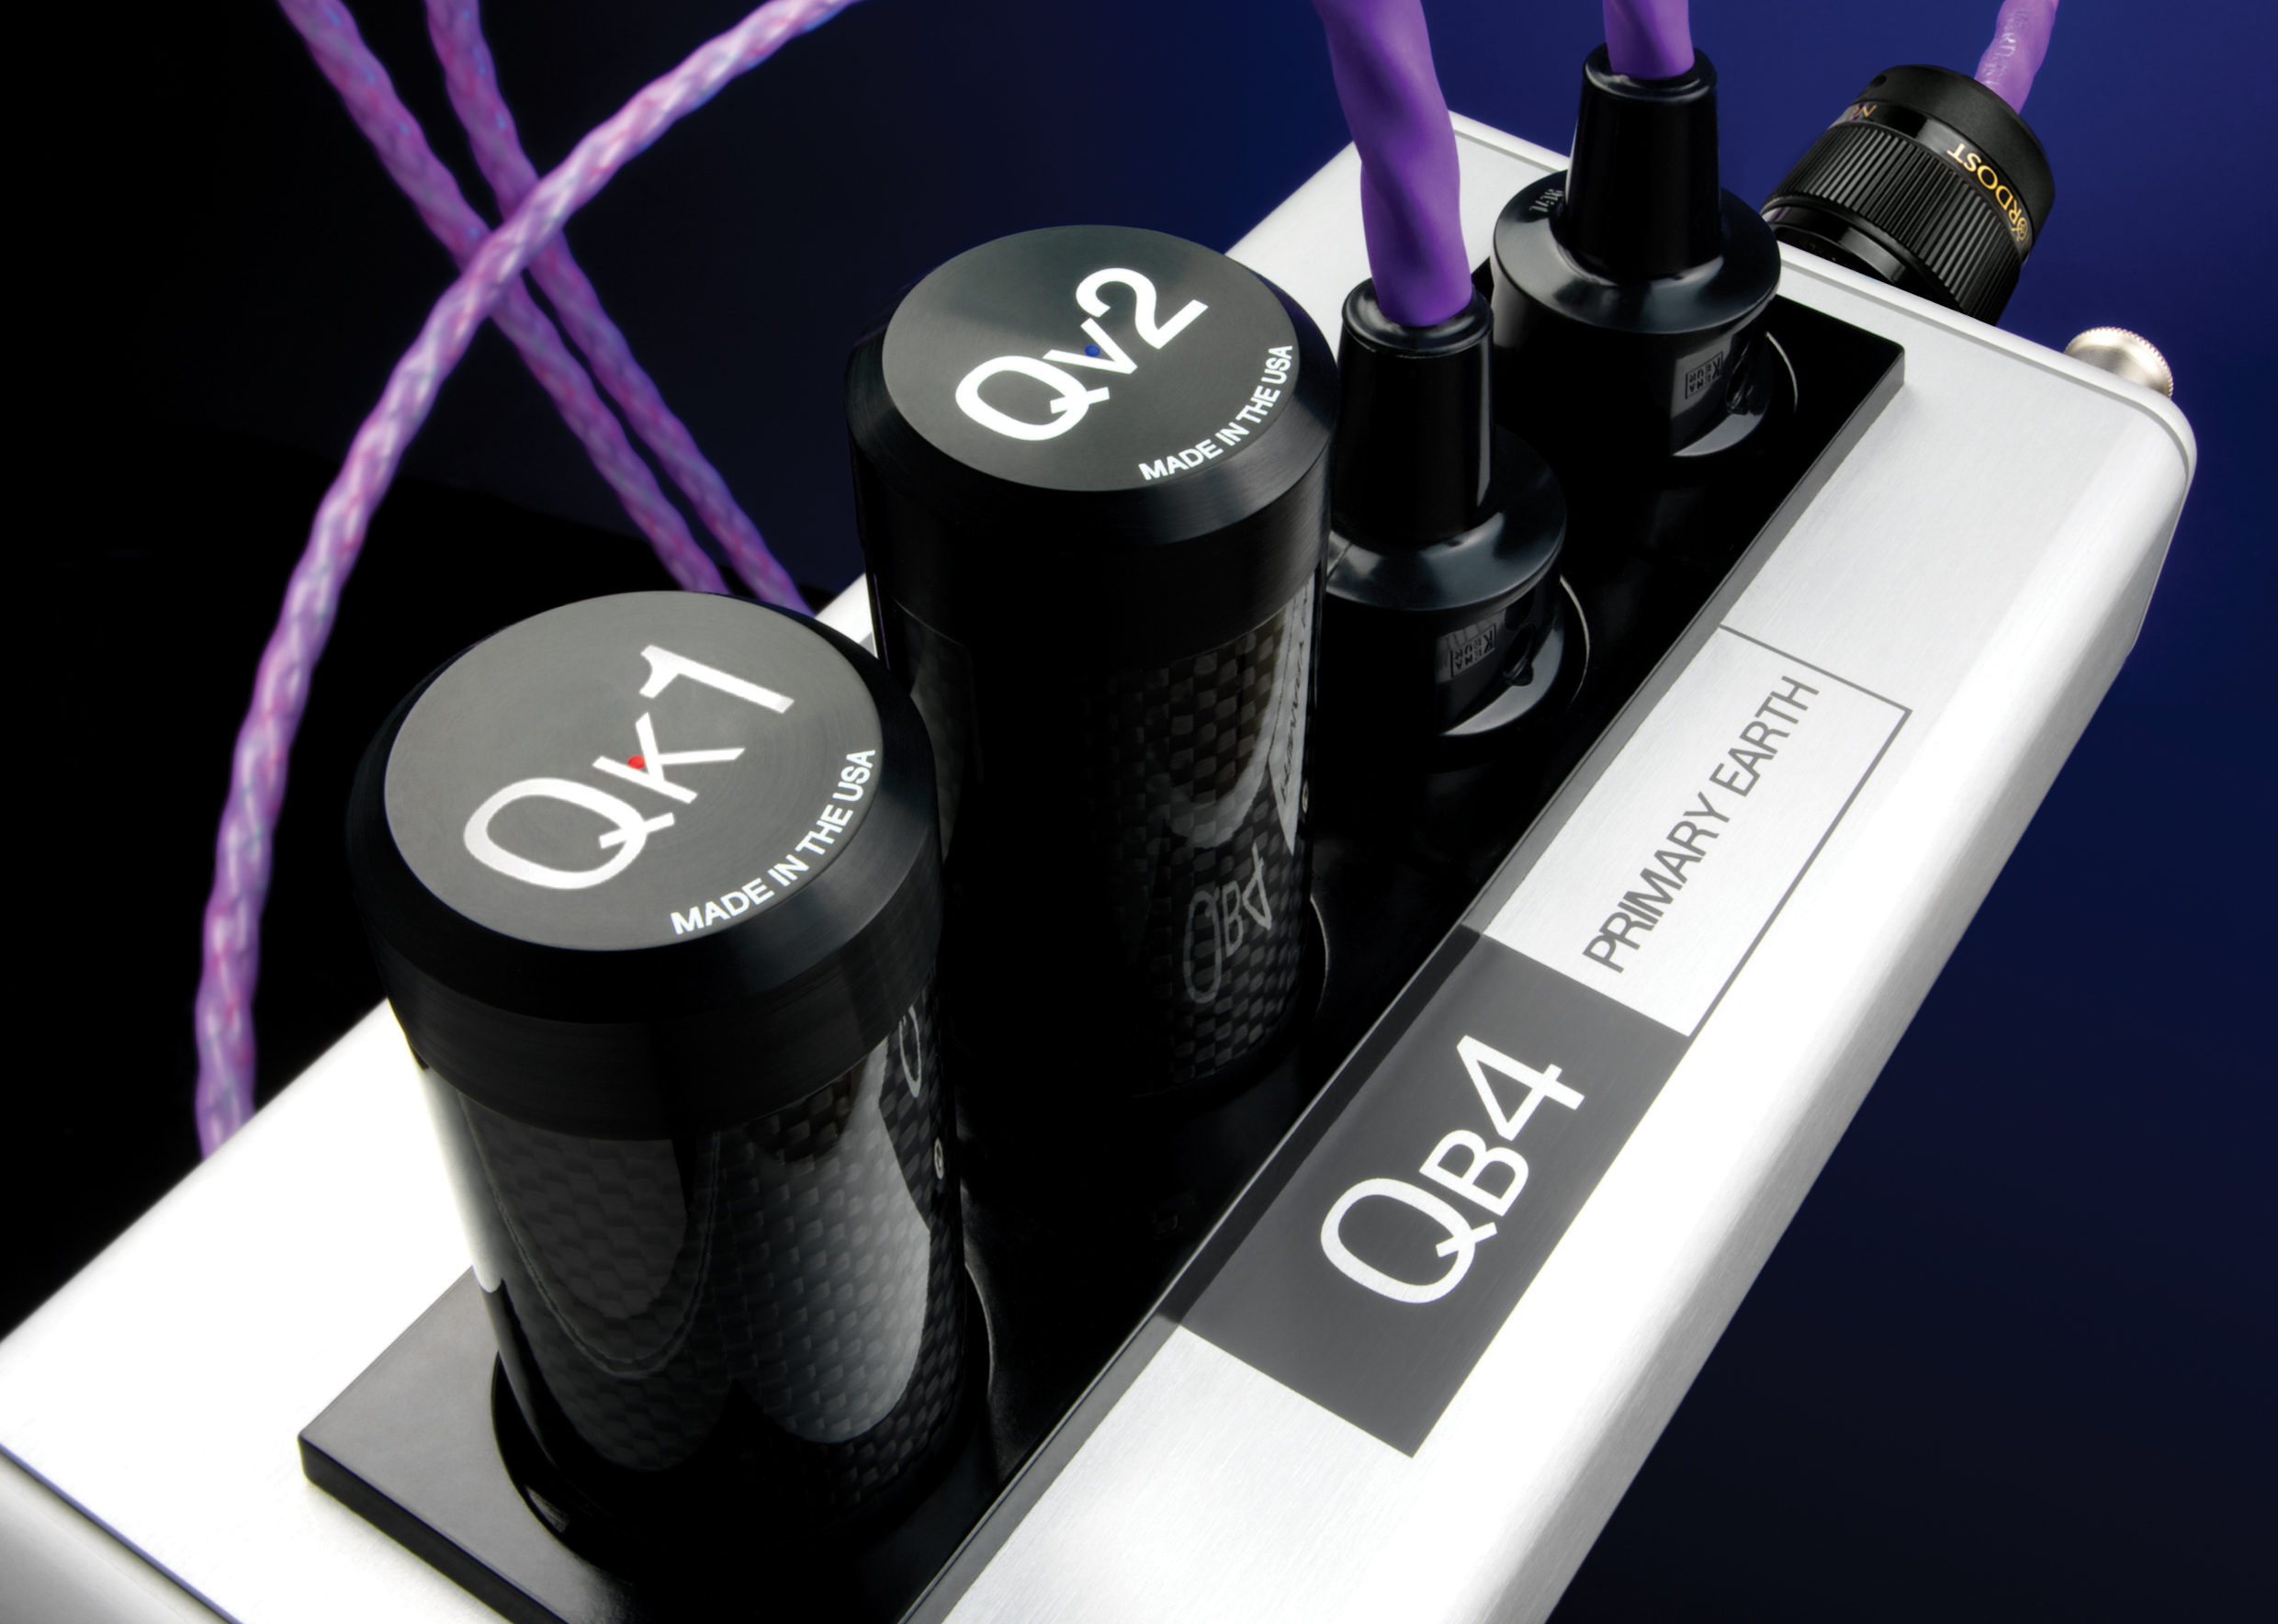
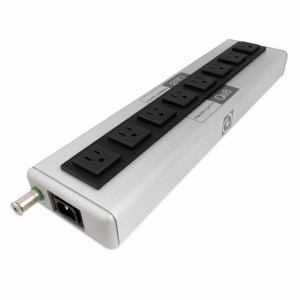
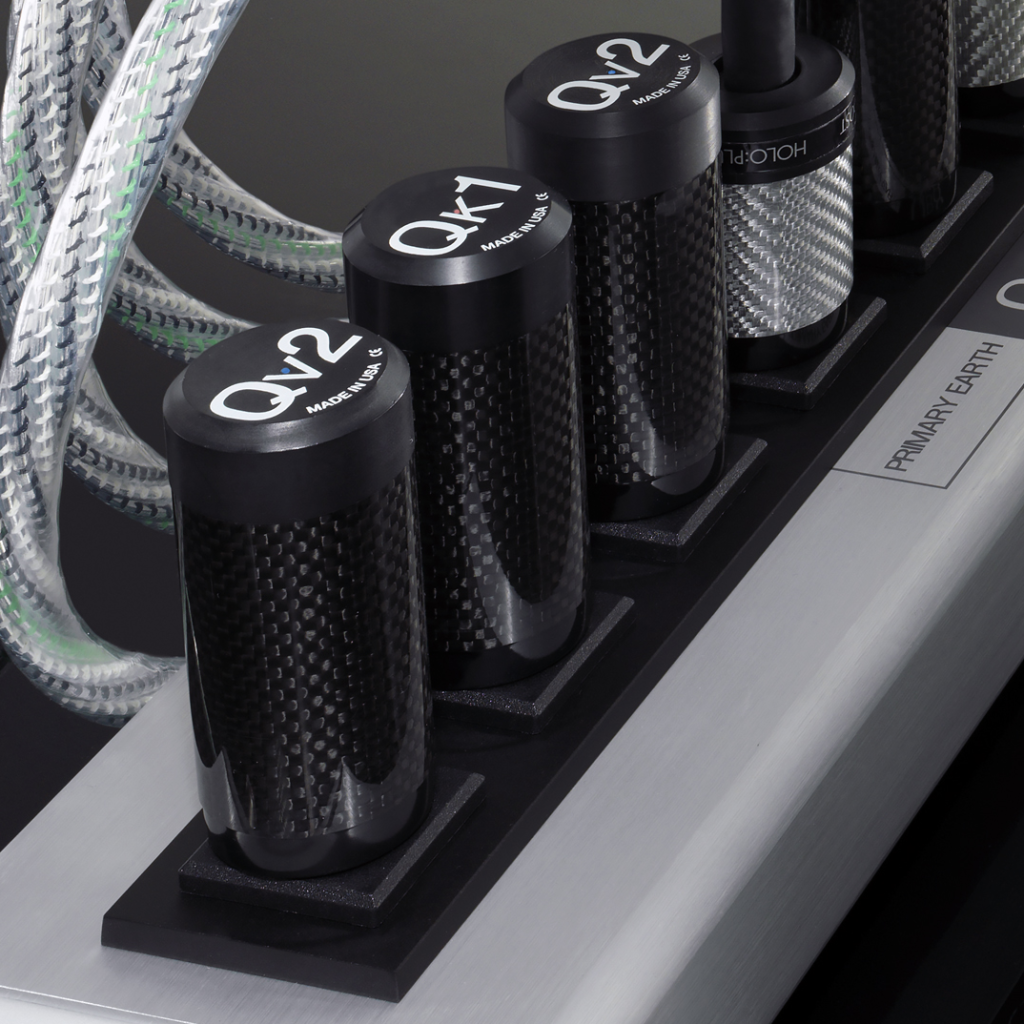
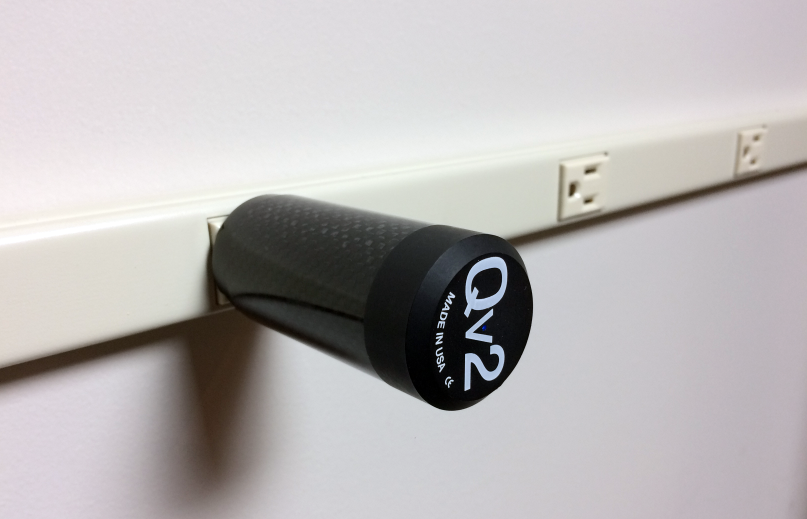 Q: I just ordered 2 pcs of your QV2 AC line harmonizers. Can I leave these devices plugged into the wall AC outlet all the time, or do I need to unplug them when my audio system is not in use? Will leaving them hooked up to a wall outlet decrease their lifespan?